

Screen Replacement iPhone XR: Complete DIY Guide for Success
Over 80 percent of British smartphone users have experienced a cracked screen at least once, leaving many people frustrated and searching for effective DIY repair solutions. For British owners of the iPhone XR, a damaged screen can disrupt daily life and impact device performance. Knowing how to safely replace your screen using the right tools not only saves money but also brings peace of mind. This guide walks you through essential steps to achieve a smooth screen replacement on your own.
Table of Contents
- Step 1: Gather Required Tools And Replacement Screen
- Step 2: Power Down Device And Remove Damaged Screen
- Step 3: Disconnect Battery And Transfer Components
- Step 4: Install New Screen And Reconnect Battery
- Step 5: Test Display Functions And Secure Assembly
Quick Summary
| Key Point | Explanation |
|---|---|
| 1. Assemble Essential Tools | Gather precision screwdrivers, tweezers, and a heat source for effective screen replacement. |
| 2. Verify Replacement Screen Compatibility | Ensure the new screen matches the iPhone XR in colour, connector type, and includes necessary components. |
| 3. Disconnect Battery First | Always disconnect the battery before handling internal components to prevent electrical damage. |
| 4. Test Functionality After Installation | Conduct thorough tests on touch and display functions before finalising the assembly. |
| 5. Maintain a Organised Workspace | Keep screws and components organised to prevent loss and ensure a smooth repair process. |
Step 1: Gather Required Tools and Replacement Screen
Replacing an iPhone XR screen requires precision and the right equipment. Before diving into the repair, you will need to collect several specific tools and a compatible replacement screen to ensure a smooth and successful process.
For this repair, assemble the following essential toolkit: a precision screwdriver set (with Phillips and pentalobe tips), tweezers, plastic pry tools, suction cup, heat gun or hairdryer, anti static wrist strap, protective eyewear, and work gloves. Additionally, source a high quality replacement screen that matches your iPhone XR model precisely. Verify the replacement screen includes the digitiser, LCD panel, and front glass assembly to guarantee complete compatibility.
When selecting your replacement screen, pay careful attention to colour matching, connector type, and whether the part includes pre installed components like the front camera and earpiece speaker. Some screens arrive with these components already attached, while others require separate installation.
To help choose the correct replacement screen, here is a comparison of key purchasing factors:
| Factor | Importance for iPhone XR | Impact if Incorrect |
|---|---|---|
| Colour Matching | Ensures visual cohesion | Mismatched appearance |
| Connector Type | Allows proper fit | Incompatibility, no function |
| Included Components | Eases installation | Extra steps, risk of damage |
| Digitiser Presence | Enables touch response | Loss of touchscreen control |
| LCD Panel Quality | Affects display clarity | Poor visuals or malfunctions |
Professional advice: Ensure your workspace is clean, well-lit, and static-free before beginning the screen replacement process to minimise potential damage to sensitive electronic components.
Step 2: Power Down Device and Remove Damaged Screen
Removing a damaged iPhone XR screen requires careful preparation and methodical execution. Your primary goals in this step are completely powering down the device and safely extracting the compromised screen without causing additional damage.
Begin by powering off your iPhone XR completely. Press and hold the side button and volume down button simultaneously until the power off slider appears. Slide the indicator to shut down the device fully. Next, gather your anti static wrist strap and attach it to prevent potential electrostatic discharge that could harm internal components. Professional mobile screen replacement techniques recommend working on a clean, flat surface with adequate lighting and space to organise your tools.
To remove the damaged screen, first use a pentalobe screwdriver to carefully remove the two screws located at the bottom of the device near the charging port. Apply gentle pressure with a suction cup near the home button area, then use a plastic pry tool to slowly separate the screen from the device frame. Work methodically around the edges, applying consistent but minimal force to prevent additional cracking or internal component damage.
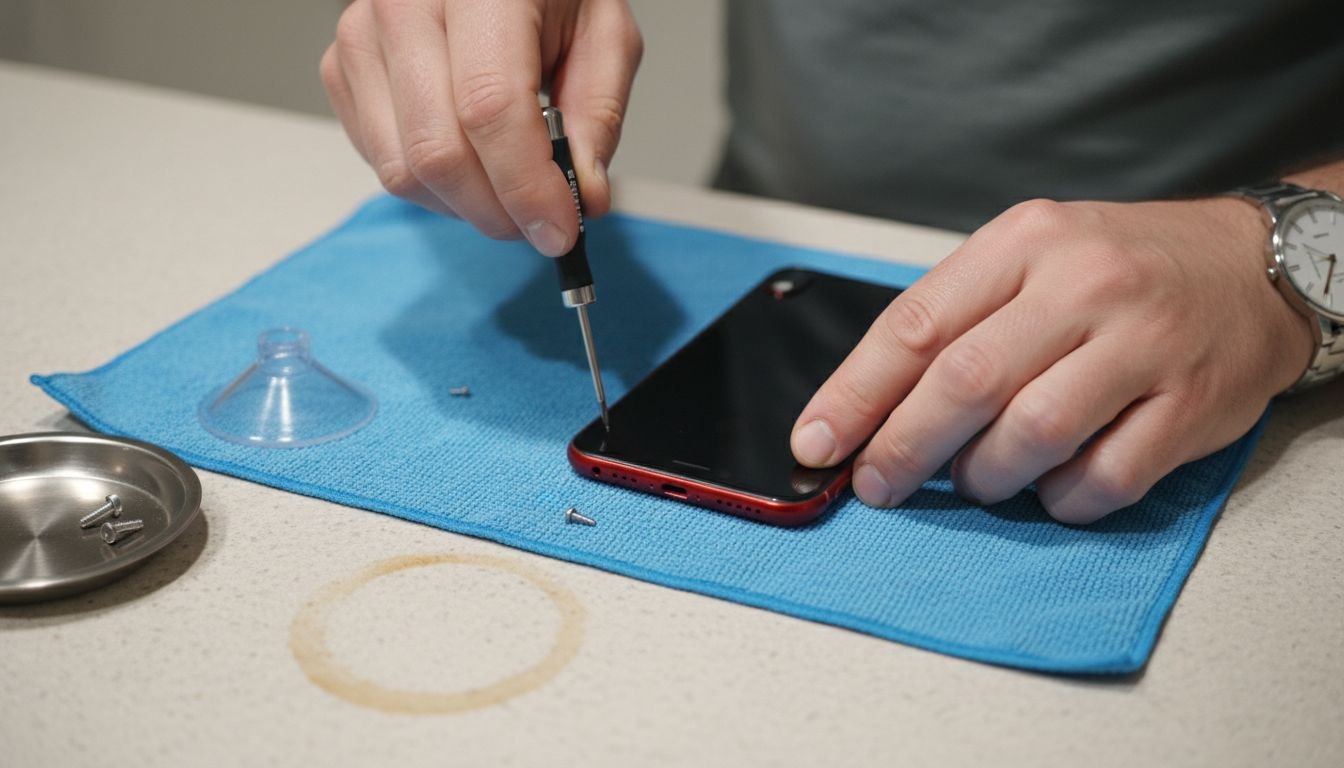
Professional advice: Always work in a well-ventilated area with good lighting, and keep a small magnetic parts tray nearby to prevent losing tiny screws during the repair process.
Step 3: Disconnect Battery and Transfer Components
Disconnecting the battery and carefully transferring sensitive electronic components is a critical phase in your iPhone XR screen replacement process. This step requires precision and understanding of the device’s intricate internal architecture to prevent potential damage.
Carefully use a plastic spudger or specialised prying tool to gently disconnect the battery connector located on the logic board. When handling phone battery replacement techniques, ensure you apply minimal pressure and maintain a steady hand to avoid bending or damaging the delicate connectors. Before removing any components, take high-resolution photographs of the current configuration as a reference for reassembly. You will need to transfer several small yet crucial components from the original screen assembly to the new screen including the front facing camera, earpiece speaker, proximity sensor, and metal mounting brackets.
Methodically remove each component using precision tweezers, placing them in a clean and organised manner. Work on an anti static mat to prevent potential electrostatic discharge that could compromise your device’s sensitive electronics. Pay particular attention to the small metal brackets and connectors ensuring they are cleaned and free from debris before transferring them to the new screen assembly.
Professional advice: Keep a magnetic parts tray nearby to prevent losing tiny screws and components during the transfer process.
Step 4: Install New Screen and Reconnect Battery
Installing the new screen and reconnecting the battery represents the culmination of your iPhone XR repair journey. This critical stage requires precision alignment and careful reconnection to ensure your device functions perfectly after the screen replacement.
Begin by carefully positioning the transferred components such as the front facing camera, earpiece speaker, and proximity sensor onto the new screen assembly. Professional screen installation techniques recommend aligning these components meticulously before securing them in place. Gently reconnect the battery connector to the logic board using minimal pressure and ensuring perfect alignment. The connector should click smoothly into position without requiring excessive force.
Carefully lower the new screen assembly into the iPhone XR frame, starting from the top and working your way down. Apply even pressure around the edges to ensure a secure and flush fit. Use the original screws to secure the screen in place at the bottom of the device near the charging port. Double check all connections and ensure no adhesive or dust has compromised the seal between the screen and device frame.
Professional advice: Test all screen functionality softly before fully securing everything to confirm proper connection and prevent potential rework.
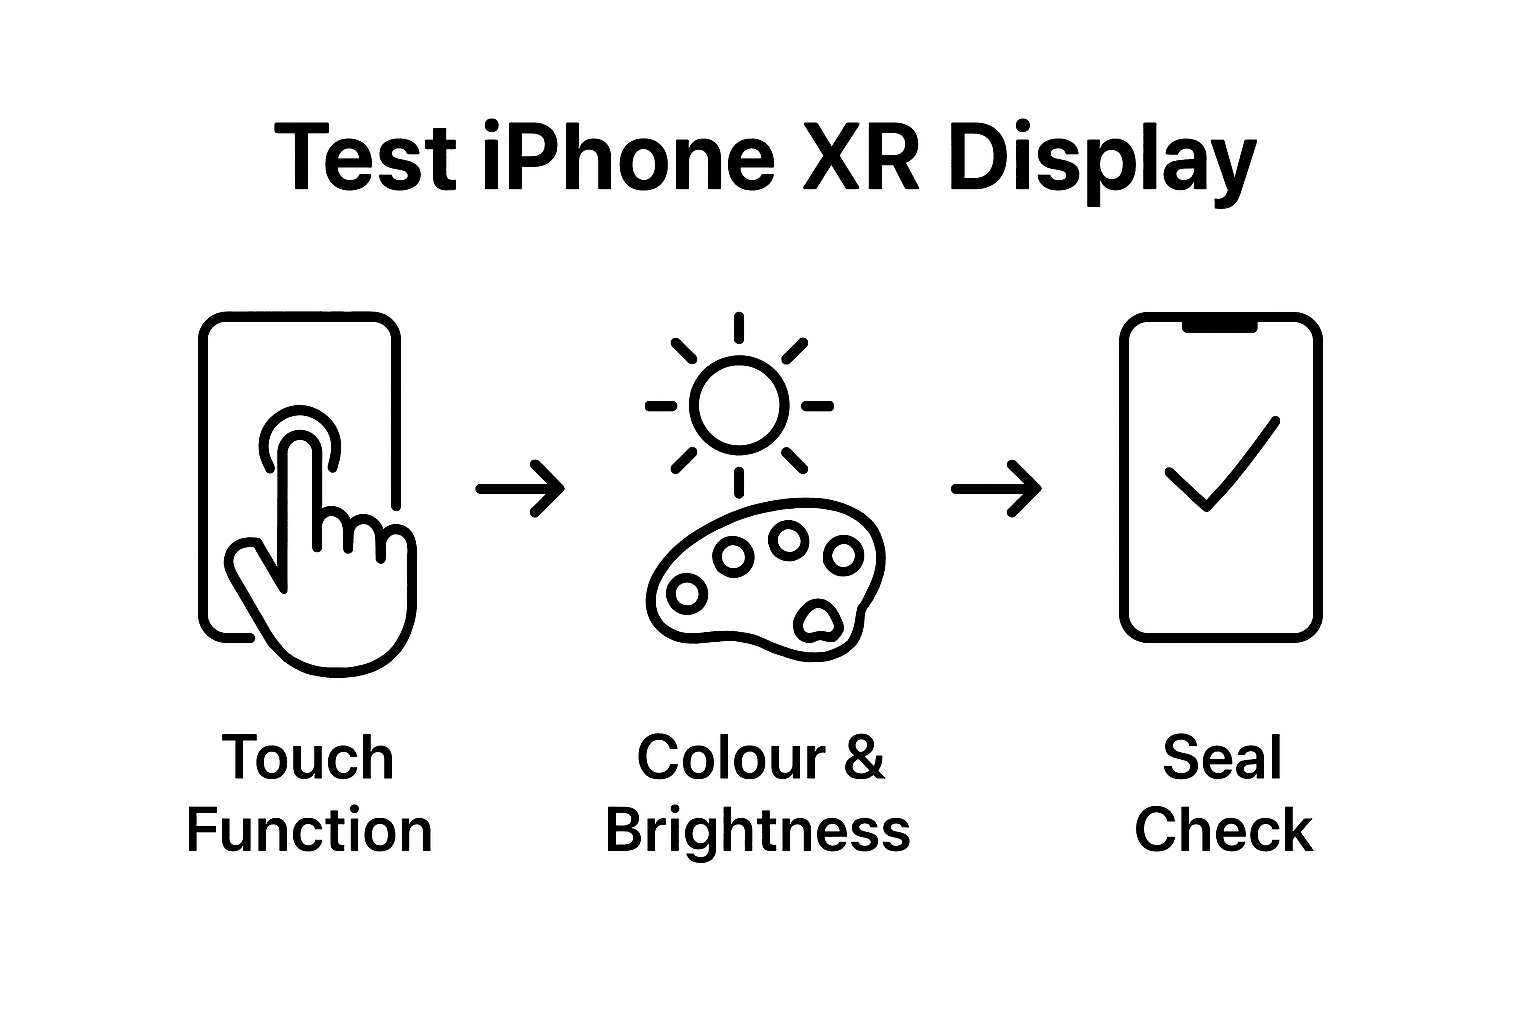
Step 5: Test Display Functions and Secure Assembly
The final stage of your iPhone XR screen replacement involves thoroughly testing display functionality and ensuring a secure, professional assembly. This critical phase determines the success of your entire repair process and requires methodical verification of every screen component.
Power on the device and systematically check all display functions including touch responsiveness, colour accuracy, brightness levels, and screen sensitivity. Understanding LCD assembly mechanics helps confirm that each component is working correctly. Navigate through multiple screen interactions such as typing, swiping, scrolling, and opening different applications to verify comprehensive touch performance. Pay special attention to edge sensitivity and ensure no dead zones exist across the screen surface.
Once you have confirmed full functionality, apply gentle pressure around the screen edges to ensure a perfect seal. Check that no gaps exist between the new screen and the device frame. Verify that all physical buttons respond correctly and that the proximity sensor and front facing camera operate as expected. If any minor issues are detected during testing, carefully disassemble and recheck your component connections before final securing.
Here is a summary of critical display functionality tests for post-repair verification:
| Test Type | What to Check | Potential Issue if Failed |
|---|---|---|
| Touch Responsiveness | Swiping and tapping flow | Unresponsive or dead areas |
| Colour Accuracy | Natural colour display | Distorted or uneven colours |
| Brightness Levels | Screen illuminates fully | Dimness or flickering |
| Edge Sensitivity | Corners and edges react | Missed touches near device rim |
| Physical Buttons | Button response timing | Delayed or absent button input |
Professional advice: Always perform a comprehensive functionality test in different lighting conditions to ensure consistent screen performance across various environments.
Essential Support for Your iPhone XR Screen Replacement Journey
Facing the challenge of replacing your iPhone XR screen involves mastering delicate steps like disconnecting the battery, transferring sensitive components, and installing the new display perfectly. The precision needed to avoid further damage or poor screen performance can be daunting. Our guidance on terms like LCD assembly, digitiser presence, and connector types highlights the critical nature of selecting the right parts and tools.
At Buy2fix, we understand these pain points. We offer a comprehensive range of high-quality mobile phone repair parts tailored for DIY enthusiasts and professionals alike. Whether you need a compatible replacement screen that includes digitiser and LCD assembly or specialised components like flex cables and connectors, our UK-based inventory ensures you get the right fit. Benefit from our free UK mainland shipping and one-year warranty that guarantees peace of mind as you take on your repair.
Ready to complete your iPhone XR screen replacement with confidence and expert-grade parts? Explore our full selection at Buy2fix today, and equip yourself with everything required for a flawless repair. Don’t let uncertainty hold you back from restoring your device’s flawless display—start your order now and take the next crucial step towards success.
Frequently Asked Questions
What tools do I need for an iPhone XR screen replacement?
You will need a precision screwdriver set, a suction cup, plastic pry tools, tweezers, a heat gun or hairdryer, an anti-static wrist strap, protective eyewear, and work gloves. Gather these tools before starting to ensure a smooth screen replacement process.
How do I power down my iPhone XR before the screen replacement?
To power off your iPhone XR, press and hold the side button and the volume down button simultaneously until the power off slider appears. Slide the indicator to completely shut down the device and proceed with the replacement.
What should I be careful about when removing the damaged screen?
When removing the damaged screen, apply gentle pressure with a suction cup at the home button area and use a plastic pry tool to work around the edges. Be mindful to apply consistent but minimal force to prevent cracking or damaging other components.
How do I confirm all functions of the new screen after installation?
After installing the new screen, power on your device and test touch responsiveness, colour accuracy, brightness levels, edge sensitivity, and functionality of physical buttons. Perform these tests thoroughly to ensure everything operates correctly before securing the assembly.
What components should I transfer from the old screen to the new one?
Make sure to transfer the front-facing camera, earpiece speaker, proximity sensor, and metal mounting brackets from the old screen assembly to the new screen. Handle these components with care to avoid damaging them during the transfer.
How can I prevent static discharge while working on my iPhone XR?
To prevent static discharge, always wear an anti-static wrist strap and work on an anti-static mat. Maintain a clean, dry workspace and avoid wearing clothing that may generate static electricity.
Recommended
- How Much to Replace iPhone XR Screen: Complete Guide – buy2fix
- iPhone Screen Replacement Near Me: Complete DIY Guide – buy2fix
- Replacement Screen for iPhone 11: Step-by-Step DIY Guide – buy2fix
- iPhone 12 Max Screen Replacement: Full Step-by-Step Guide – buy2fix
- Akkus reparieren Guide: So bringen Sie Ihre Akkus zurück ins Leben - accu.blog
Let customers speak for us
For Samsung Galaxy A26 SM-A266B Original Earpiece Speaker with Cable

Very good communication throught. Good product

Well made part very strong easy to fit great value for the money

Well packed, with fast shipping :)

Exactly what the doctor ordered…great color, comfort, and durability. Trust this watch band!

Brilliant strap, second purchase, bought bracelet before. Excellent value. Thank you

Great item for splitting your Audio signal

Outstanding product!
Next level customer service.

Very satisfied but the delivery needs to get more faster...

Good price,quick delivery

Best phone case ever! This is my second one as I broke my first. Would defo recommend

Great fitting Apple Watch bands

For Apple Watch Ultra 3 / 2 / 1 49mm RedPepper Armor Metal Case Integrated Silicone Watch Band(Steel Black White)

Good price and quick postage

