

Screen Replacement Best Practices: Ensuring Lasting Repairs
Broken screens account for more than 60 percent of smartphone repairs across the British market, revealing just how vital screen replacement is for device longevity. Whether you are a DIY enthusiast or run a small repair business, mastering screen techniques can mean the difference between frustrated customers and lasting satisfaction. This guide delivers practical insights so British technicians achieve top results and build a reputation for trustworthy, high-quality repairs.
Table of Contents
- What Is Screen Replacement And Why It Matters
- Types Of Replacement Screens And Key Differences
- Essential Tools And Prep For Safe Screen Repair
- Step-By-Step Screen Removal And Installation
- Inspecting, Testing, And Verifying Your Repair
- Avoiding Common Screen Replacement Mistakes
Key Takeaways
| Point | Details |
|---|---|
| Importance of Screen Replacement | Screen replacement is crucial for maintaining device functionality, as damaged screens hinder communication and usability. |
| Diverse Screen Technologies | Understanding various screen technologies such as LCD, LED, and OLED is essential for selecting the right replacement. |
| Proper Tools and Preparation | A well-prepared workspace and appropriate tools are vital for safe and effective screen repair. |
| Thorough Testing Post-Repair | Conduct comprehensive inspections and functional tests to ensure the newly installed screen performs reliably. |
What Is Screen Replacement and Why It Matters
Screen replacement represents a critical repair technique for maintaining the functionality and usability of electronic devices, particularly smartphones and tablets. At its core, this process involves removing a damaged display panel and installing a new one to restore the device’s visual interface and touch responsiveness. With modern devices becoming increasingly dependent on screen technology, understanding screen replacement has never been more important.
The significance of screen replacement goes beyond mere cosmetic repair. Scientific research from Cincinnati Children’s Hospital demonstrates that screens are now integral to daily communication, learning, and information processing. A cracked or malfunctioning screen can completely interrupt these essential functions, making prompt and professional repair crucial.
Understanding screen replacement requires knowledge of several key technical aspects. Different devices have unique screen architectures, including varying connection types, display technologies, and attachment mechanisms. Successful replacement demands precise tools, technical expertise, and an understanding of the specific device’s design. Professionals and DIY enthusiasts must consider factors like screen quality, compatibility, and potential warranty implications when undertaking this delicate repair process.
Pro tip: Always research your specific device model and obtain manufacturer-recommended replacement parts to ensure optimal performance and compatibility.
Types of Replacement Screens and Key Differences
The world of replacement screens is diverse and complex, with multiple technologies offering unique characteristics for different electronic devices. Comprehensive research on flat-panel displays reveals several primary screen types that technicians and repair professionals must understand: LCD, LED, OLED, and microLED technologies. Each display technology presents distinct advantages and limitations that significantly impact device performance, visual quality, and repair complexity.
LCD (Liquid Crystal Display) screens remain the most common replacement option, particularly for smartphones and tablets. These displays use liquid crystal molecules sandwiched between polarised glass layers to create images, offering reliable performance and moderate cost-effectiveness. LED screens, which are essentially advanced LCD variants using light-emitting diodes for backlighting, provide improved brightness and energy efficiency. Understanding screen replacement options requires careful consideration of these technological nuances.
More advanced screen technologies like OLED (Organic Light-Emitting Diode) and microLED represent cutting-edge alternatives. OLED screens generate light directly through organic compounds, enabling deeper blacks, more vibrant colours, and potentially thinner device profiles. MicroLED technology, though currently less widespread, promises superior brightness, longer lifespan, and enhanced energy efficiency. Each screen type demands specific handling techniques, specialised tools, and precise understanding of its unique structural composition.
Pro tip: Always verify the exact screen specification for your specific device model before purchasing a replacement to ensure complete compatibility and optimal performance.
Here is a comparison of popular screen technologies used in device repairs:
| Screen Type | Visual Quality | Energy Efficiency | Typical Use Case |
|---|---|---|---|
| LCD | Moderate | Average | Most smartphones |
| LED | High | Good | Tablets, phones |
| OLED | Very high | Excellent | Premium devices |
| microLED | Exceptional | Superior | Latest tech, high-end displays |
Essential Tools and Prep for Safe Screen Repair
Comprehensive international repair guidelines reveal that successful screen replacement requires meticulous preparation and specialised tools. Technicians must assemble a precise toolkit that enables safe, efficient device repairs while minimising potential damage. Critical tools include precision screwdrivers with multiple bit sizes, anti-static wrist straps, plastic opening tools, tweezers, magnifying glasses, and high-quality suction cups designed specifically for screen removal.

Workspace preparation is equally crucial in screen repair procedures. Ergonomic assessments from the British Safety Council emphasise creating a clean, well-lit environment with appropriate workstation setup. This involves using an anti-static mat, ensuring proper lighting, maintaining comfortable working height, and implementing strict electrostatic discharge (ESD) protection measures. Technicians should wear anti-static clothing and use grounded equipment to prevent potential electronic component damage during the repair process.
Before commencing any screen replacement, gathering comprehensive device documentation becomes paramount. This includes obtaining the specific device’s repair manual, understanding its internal architecture, and having precise replacement part specifications. Professional repair experts recommend creating a systematic workspace with clearly organised tools, magnetic project mats for keeping screws secure, and dedicated containers for storing device components during disassembly.
Pro tip: Invest in high-quality, device-specific repair kits and always work in a controlled, static-free environment to minimise the risk of inadvertent damage during screen replacement.
Below is a summary of essential tools and their specific roles in safe screen repair:
| Tool | Purpose | Importance Level |
|---|---|---|
| Precision screwdrivers | Remove device screws safely | Essential |
| Anti-static wrist strap | Prevent electrostatic damage | Critical |
| Plastic opening tools | Pry screens without causing scratches | Highly recommended |
| Tweezers | Handle small electronic parts | Important |
| Suction cups | Aid in screen removal | Useful, not always required |
Step-by-Step Screen Removal and Installation
Comprehensive repair guides from global repair communities reveal that successful screen replacement demands a systematic, carefully planned approach. The process begins with thorough device preparation, which includes backing up all data, powering down the device completely, and gathering all necessary tools and replacement components. Technicians must work in a clean, well-organised workspace with adequate lighting and anti-static protection to prevent potential electronic damage.
The actual screen removal requires precision and patience. Begin by carefully disconnecting the battery and removing any external components like protective cases or additional accessories. Use plastic opening tools to gradually separate the screen from the device’s frame, applying gentle, consistent pressure to avoid cracking or further damaging the existing display. Detailed procedural instructions emphasise the importance of maintaining a methodical approach, documenting each step and keeping track of every screw and component during disassembly.
Installation of the new screen demands equal attention to detail. Carefully align the new screen’s connectors, ensuring they match the device’s original connection points precisely. Gently secure the screen, applying even pressure to prevent misalignment or potential internal stress. Professional screen replacement guides recommend testing all connections and functionalities before final reassembly, including touch responsiveness, display clarity, and structural integrity.
Pro tip: Take high-resolution photographs of each disassembly stage to serve as a visual reference during reassembly, ensuring you can accurately return every component to its original position.
Inspecting, Testing, and Verifying Your Repair
Visual inspection techniques form the critical first stage of screen replacement verification. Technicians must meticulously examine the newly installed screen for any signs of misalignment, structural inconsistencies, or potential damage. This involves checking for uniform contact between the screen and device frame, ensuring no gaps or uneven edges exist that might compromise the screen’s structural integrity or water resistance.
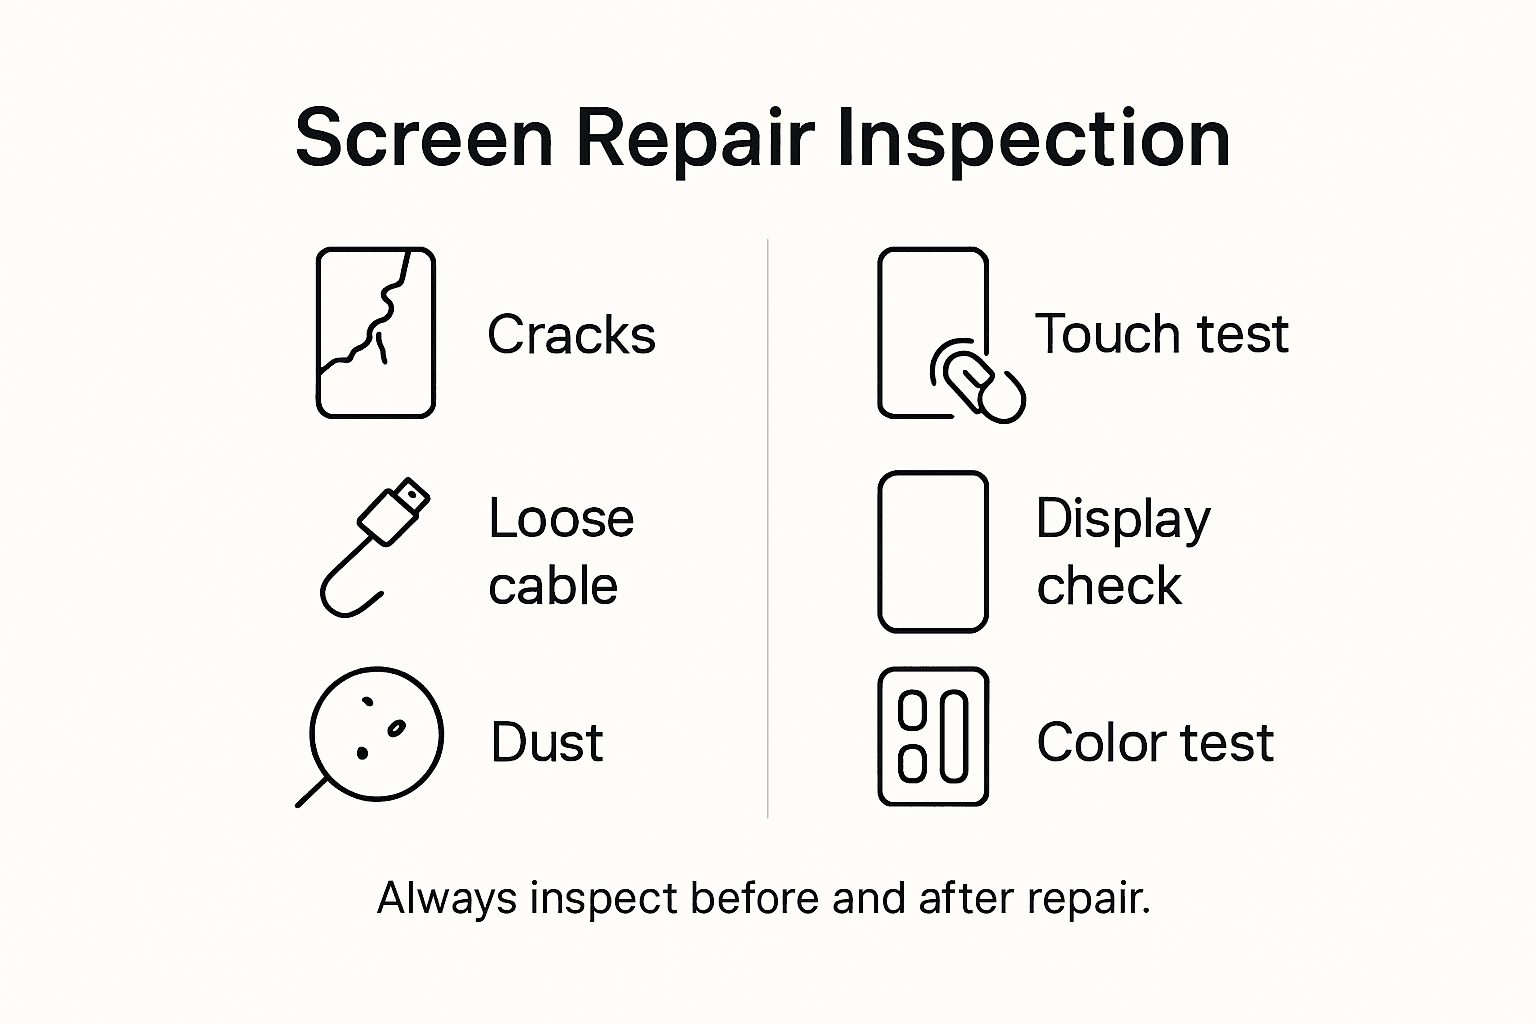
Professional electrical equipment testing protocols recommend a comprehensive functional assessment beyond visual examination. This includes systematically testing all screen functionalities: touch responsiveness across entire surface areas, colour calibration, brightness levels, colour accuracy, and pixel performance. Technicians should simulate multiple usage scenarios, including different lighting conditions, touch interactions, and screen rotation to confirm complete operational reliability.
Further verification requires detailed diagnostic testing. Mobile phone repair experts suggest running manufacturer-specific diagnostic applications that can detect subtle hardware irregularities not immediately visible during physical inspection. These diagnostic tools can reveal potential connectivity issues, touch sensitivity variations, and underlying electronic integration problems that might compromise the screen’s long-term performance.
Pro tip: Create a standardised checklist of diagnostic tests specific to your device model, ensuring consistent and thorough verification of every screen replacement repair.
Avoiding Common Screen Replacement Mistakes
Digital device health guidelines highlight the critical importance of understanding potential pitfalls during screen replacement. One of the most prevalent mistakes technicians make involves improper handling of delicate screen components, which can lead to irreversible damage. This includes using excessive force during removal, failing to ground static electricity, or using incompatible tools that might scratch or compromise the new screen’s surface.
Ergonomic considerations play a significant role in preventing repair errors. Professional optometric research demonstrates that incorrect screen installation can lead to long-term usability issues and potential user discomfort. Common mistakes include misaligning screen connectors, applying uneven pressure during installation, or selecting replacement screens that do not precisely match the device’s original specifications. Technicians must pay meticulous attention to connector compatibility, adhesive placement, and ensuring complete structural integration.
Quality control represents another critical area where mistakes frequently occur. Comprehensive screen replacement guides emphasise the importance of thorough testing after installation. Technicians often overlook subtle issues like minor touch sensitivity variations, colour calibration discrepancies, or potential moisture vulnerability. Skipping comprehensive post-installation diagnostics can result in seemingly functional screens that degrade rapidly or fail unexpectedly under normal usage conditions.
Pro tip: Develop a standardised pre-repair assessment and post-repair verification checklist to systematically identify and mitigate potential screen replacement errors.
Ensure Your Screen Replacement Success with Expert Quality Parts and Tools
The article highlights key challenges such as handling delicate screen components, choosing compatible replacement panels, and following precise repair steps to avoid costly mistakes or damage. Pain points include the need for reliable, high-quality screens and specialised tools to maintain visual quality, touch responsiveness, and device integrity. Understanding terms like OLED, LCD, and anti-static precautions is crucial for lasting repairs.
At Buy2fix, we understand these challenges and provide a comprehensive range of mobile phone repair parts including LCD and OLED screens, as well as essential tools like precision screwdrivers and anti-static wrist straps to help both DIY enthusiasts and professional technicians achieve flawless screen replacements. Benefit from our free UK Mainland shipping, rigorous quality assurance, and detailed product information to confidently source the exact parts your device requires.
Ready to upgrade your repair skills and guarantee lasting screen replacements? Visit our site now at Buy2fix and explore our full inventory of mobile phone repair parts and expert-led solutions. Take the first step to avoid common repair pitfalls with trusted components and create lasting results with every repair.
Frequently Asked Questions
What is the significance of screen replacement in electronic devices?
Screen replacement is crucial for maintaining the functionality and usability of devices like smartphones and tablets. A damaged screen can interrupt communication, learning, and other essential functions, making prompt repair important.
What are the main types of replacement screens available?
The primary types of replacement screens include LCD, LED, OLED, and microLED. Each type has unique advantages: LCD is common and cost-effective, LED offers improved brightness, OLED provides vibrant colours and deeper blacks, while microLED promises superior brightness and energy efficiency.
What tools are essential for safe screen repair?
Essential tools for screen repair include precision screwdrivers, an anti-static wrist strap, plastic opening tools, tweezers, and suction cups. Preparing a clean and statically controlled workspace is also critical to avoid damaging electronic components.
How can I verify that the screen replacement was successful?
To verify a successful screen replacement, conduct visual inspections to check for alignment and structural integrity, perform functional tests for touch responsiveness and colour accuracy, and run manufacturer-specific diagnostic applications to detect any underlying issues.
Recommended
- Understanding Choosing Screen Replacements for Devices – buy2fix
- Choosing Quality Replacement Screens: Ensuring Reliable Mobile Repairs – buy2fix
- How to Get Phone Screen Fixed Safely and Efficiently – buy2fix
- Common Screen Replacement Issues – What Every Repairer Faces – buy2fix
- Gutter Lifespan: How Long Do Gutters Last? | Larry’s Gutters
- Why Pools Need Resurfacing And When To Act
- Heavy Duty Floor Protection: A Practical Guide to Safe, Durable Floori – Mats4U USA
Let customers speak for us
For Samsung Galaxy A26 SM-A266B Original Earpiece Speaker with Cable

Very good communication throught. Good product

Well made part very strong easy to fit great value for the money

Well packed, with fast shipping :)

Exactly what the doctor ordered…great color, comfort, and durability. Trust this watch band!

Brilliant strap, second purchase, bought bracelet before. Excellent value. Thank you

Great item for splitting your Audio signal

Outstanding product!
Next level customer service.

Very satisfied but the delivery needs to get more faster...

Good price,quick delivery

Best phone case ever! This is my second one as I broke my first. Would defo recommend

Great fitting Apple Watch bands

For Apple Watch Ultra 3 / 2 / 1 49mm RedPepper Armor Metal Case Integrated Silicone Watch Band(Steel Black White)

Good price and quick postage

