

How to Fix Phone Screen: Repair Guide for DIY Success
Every british DIY enthusiast knows cracked smartphone screens are far too common. With the average screen replacement in the United Kingdom costing over £150, many are turning to at-home solutions to keep repair expenses in check. Preparing the right workspace and knowing smart repair techniques can make all the difference between a rushed fix and a flawless, high-quality result. This guide shows how a carefully organised approach gives british repairers a cost-effective way to get professional results from their own kitchen table.
Table of Contents
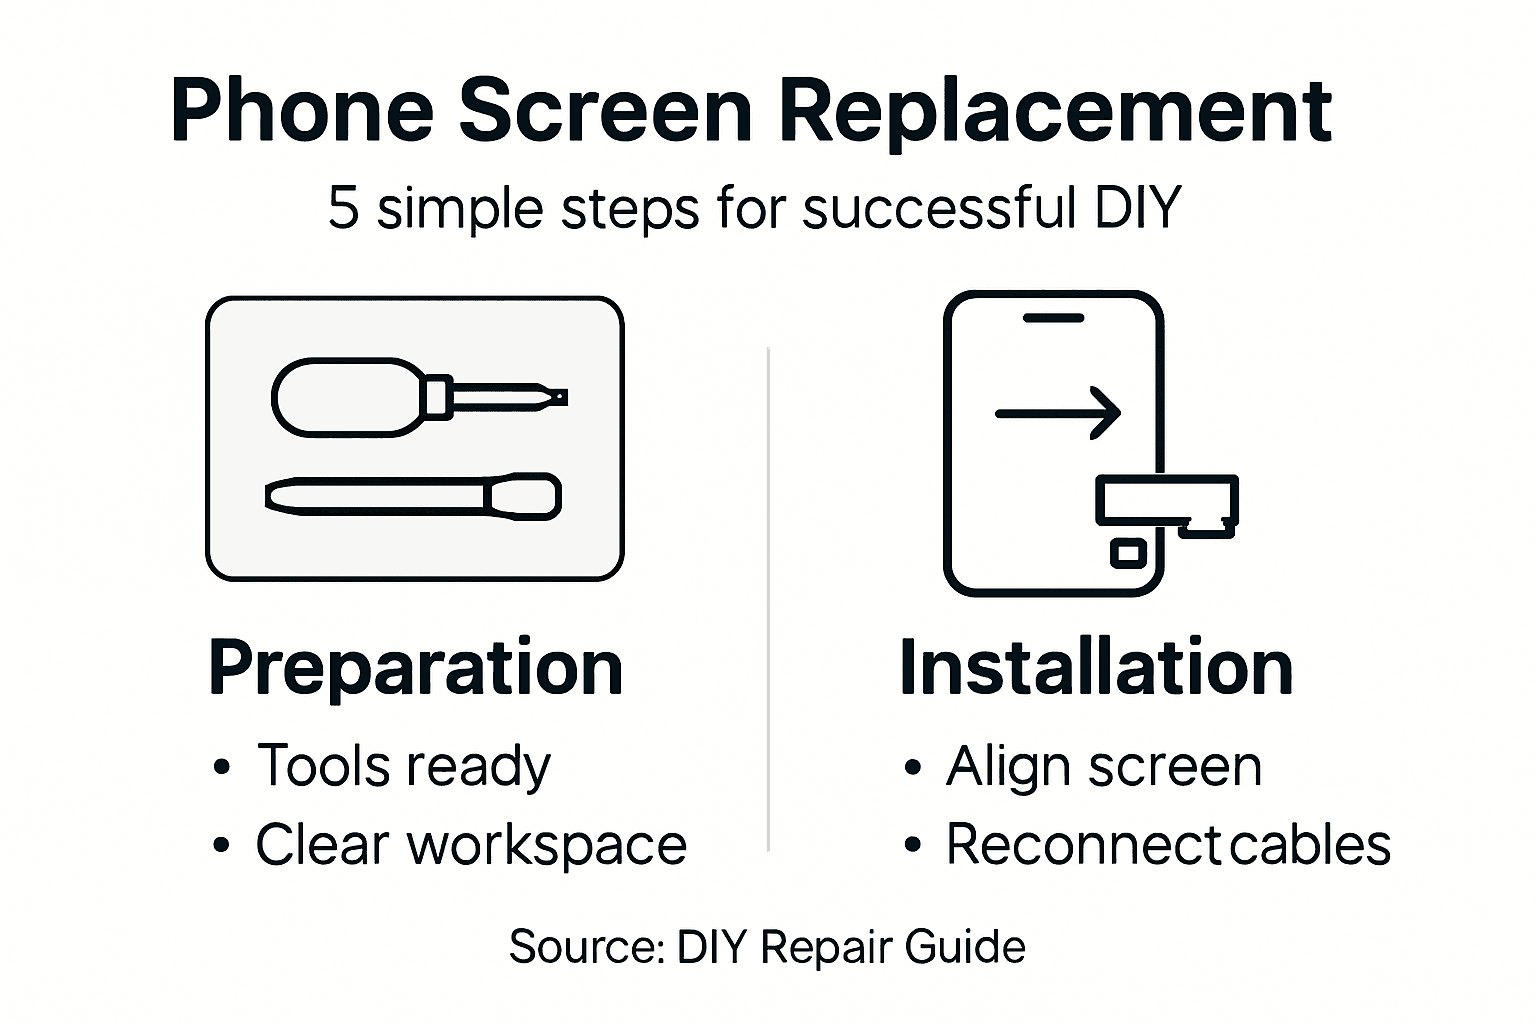
- Step 1: Prepare Your Work Area And Gather Tools
- Step 2: Assess Screen Damage And Identify Parts Needed
- Step 3: Remove Damaged Screen Safely
- Step 4: Install Replacement Screen Correctly
- Step 5: Test Functionality And Inspect Results
Quick Summary
| Key Point | Explanation |
|---|---|
| 1. Prepare Your Workspace Well | A clean, well-lit area prevents lost parts and minimises damage during repairs. |
| 2. Identify Damage Type Precisely | Assess screen damage thoroughly to choose appropriate replacement parts for effective repair. |
| 3. Use Proper Tools for Removal | Employ specialised tools like suction cups and heat for safe screen detachment, avoiding extra damage. |
| 4. Ensure Correct Screen Installation | Align and secure new screens carefully to maintain functionality and avoid defects post-repair. |
| 5. Test Functionality Thoroughly | Run comprehensive tests on all smartphone functions to confirm successful screen replacement and detect issues. |
Step 1: Prepare Your Work Area and Gather Tools
Before diving into your smartphone screen repair, creating an organised and strategic workspace is crucial for success. A well prepared area will help you manage small components, minimise potential damage, and ensure a smooth repair process. Community repair guides consistently emphasise the importance of workspace preparation as a fundamental step in any electronics repair.
First, select a clean, well-lit workspace with a flat surface like a table or desk. Spread out a white or light-coloured cloth to help you see small screws and components easily. Gather essential tools beforehand: precision screwdriver set, plastic pry tools, tweezers, magnetic screw tray, anti-static wrist strap, and soft microfibre cloth. Keep your smartphone repair manual or online tutorial nearby for reference. Consider using a small container or compartmentalised tray to organise screws and components systematically as you disassemble the device.
Ensure your workspace is free from static electricity, which can damage electronic components. Avoid carpeted areas and work near a grounded surface. If possible, use an anti-static mat or wear an anti-static wrist strap to prevent potential electrostatic discharge that could harm your smartphone’s delicate internal circuitry.
Expert Advice: Work slowly and methodically, keeping all components neatly organised to prevent losing any tiny parts during your smartphone screen repair.
Here’s a quick summary of essential workspace setup tips and their benefits for smartphone screen repair:
| Setup Tip | Benefit | Risk if Ignored |
|---|---|---|
| Use anti-static tools | Prevents electrostatic damage | Component failure |
| Organise tiny parts | Avoids losing screws/components | Incomplete reassembly |
| Bright, clean surface | Enhances visibility and accuracy | Misplacing small items |
| Magnetic tools/trays | Secures metallic parts | Parts rolling away |
Step 2: Assess Screen Damage and Identify Parts Needed
Identifying the precise extent of your smartphone screen damage is crucial before beginning any repair work. Mobile device forensics highlights the importance of conducting a thorough inspection to determine the exact components requiring replacement.
Begin by carefully examining your smartphone screen under good lighting. Look for different types of damage that might necessitate specific repair approaches. Minor surface cracks might only require glass replacement, while deeper damage could mean replacing the entire display assembly. Check for issues beyond visible cracks such as touch responsiveness problems, pixel discolouration, or areas where the screen does not register touch inputs. Pay close attention to the screen edges and corners, where structural damage often begins. Note whether the crack is superficial or if it penetrates deeper into the display layers.

Evaluate the damage type to determine the most appropriate replacement part. Superficial cracks might only need glass screen replacement, whereas more extensive damage could require a full LCD display assembly. Look for signs of internal damage like dead pixels, colour distortion, or unresponsive touch zones. Compare the damage against your smartphone model specifications to ensure you purchase the correct replacement part.
Expert Tip: Take clear, well-lit photographs of the screen damage from multiple angles to help identify precise replacement requirements and communicate effectively with repair professionals if needed.
Assessing damage type ensures you choose the right repair path. This table differentiates common screen damage types and corresponding solutions:
| Damage Type | Symptoms | Recommended Solution |
|---|---|---|
| Superficial crack | Minor lines, full touch | Glass replacement |
| Deep screen fracture | Display distortion, dead pixels | LCD assembly replacement |
| Unresponsive zones | Touch fails in areas | Touch digitiser replacement |
| Edge/corner damage | Chips near sides, instability | Full screen assembly |
Step 3: Remove Damaged Screen Safely
Removing a damaged smartphone screen requires precision, patience, and careful technique to prevent additional device damage. Forensic methods for dismantling damaged phones provide valuable insights into safe screen removal techniques that can be adapted for DIY repairs.
Begin by powering off your smartphone completely and disconnecting any external power sources. Gather specialised tools including a suction cup, plastic prying tools, heat gun or hairdryer, and protective work gloves. Carefully apply gentle heat around the screen edges to soften the adhesive binding the screen to the device frame. This heat application helps loosen the screen without applying excessive force. Attach a suction cup to the screen surface and apply steady upward pressure while simultaneously using a thin plastic prying tool to separate the screen from the device body. Work slowly and methodically around the edges, maintaining even pressure to prevent cracking or further damaging internal components.
As you lift the screen, be mindful of connected ribbon cables and connectors linking the display to the motherboard. These delicate connections can be easily damaged if you pull too quickly or at an incorrect angle. Gently disconnect these cables using tweezers or a plastic spudger, taking care not to bend or stress the connectors. Keep track of each cable and connector location to ensure proper reconnection during screen replacement.
Expert Tip: Place small magnets or a magnetic parts tray nearby to keep track of tiny screws and prevent them from rolling away during the screen removal process.
Step 4: Install Replacement Screen Correctly
Successfully installing a replacement smartphone screen requires meticulous attention to detail and precise technical skills. Device hardware installation techniques emphasise the critical importance of careful, methodical reassembly to ensure optimal functionality.
Begin by carefully aligning the new screen with the smartphone frame, ensuring all mounting points match perfectly. Gently reconnect the ribbon cables and connectors to the motherboard, using tweezers to position them accurately. Apply even, gentle pressure to secure connections without bending or stressing the delicate electronic components. Start by connecting the primary display ribbon cable first, then systematically attach secondary connectors like touch sensors and flex cables. Verify each connection is seated correctly before proceeding to the next step.
Carefully lower the new screen into position, starting from one edge and working methodically across the device. Apply uniform pressure around the screen perimeter to activate the adhesive, ensuring a secure and even seal. Avoid pressing directly on the screen centre to prevent potential damage to the display panel. Take your time during this process, double checking alignment and connection integrity before considering the installation complete.
Expert Tip: Use anti static wrist straps and work on a clean, well illuminated surface to minimise the risk of accidental damage during screen replacement.
Step 5: Test Functionality and Inspect Results
After installing your replacement screen, comprehensive testing is crucial to verify the repair’s success. Android device testing procedures provide systematic approaches to ensure your smartphone functions perfectly after screen replacement.
Begin with a visual inspection under different lighting conditions. Check for any gaps between the screen and device frame, ensuring a seamless fit. Test the entire touchscreen surface by systematically tapping each corner and centre region to verify complete touch responsiveness. Open applications requiring precise touch input like drawing apps or games to confirm accuracy across the entire display. Examine colour reproduction by displaying white backgrounds and checking for uniform brightness, and look closely for any dead pixels or discolouration that might indicate improper installation.
Proceed to test all smartphone functions thoroughly. Verify camera functionality, speaker performance, touch sensitivity during typing, and screen rotation. Make several phone calls to check audio quality and ensure the proximity sensor works correctly. Run the device through multiple tasks to confirm the screen replacement has not compromised any core smartphone functionalities. Pay special attention to screen brightness settings, auto rotate features, and overall system performance.
Expert Tip: Take photographs of the screen during testing and compare them with images taken before repair to identify any subtle differences in display quality.
Repair Your Smartphone Screen With Confidence Using Quality Parts from Buy2fix
Fixing a cracked or unresponsive smartphone screen often feels overwhelming because of the delicate components and precise steps involved. This guide highlights how vital it is to assess the damage correctly, remove the old screen safely, and fit the new one meticulously. Many readers experience frustration when they lose tiny screws or damage ribbon cables during removal or reassembly. The pain points are clear: you need reliable, compatible replacement parts to avoid repeated repairs and ensure your device works flawlessly after fixing the display.
At Buy2fix, we understand these challenges deeply. We offer a vast range of high-quality mobile phone repair parts including LCD screens, display assemblies, flex cables, connectors, and tools tailored for major brands like iPhone, Samsung Galaxy, Huawei and more. Our products are sourced and tested to give you the best aftermarket or genuine standards backed by warranties and a 30-day return policy. Whether you are a DIY enthusiast or professional technician, get everything you need to complete your smartphone screen repair smoothly from one trusted UK retailer.
Ready to make your DIY repair a success? Explore our selection of Mobile Phone Repair Parts and start your project with confidence today. Remember to work on a clean, static-free surface and keep your components organised. Visit Buy2fix now to access expert-grade parts and accessories that will keep your phone looking and working like new.
Frequently Asked Questions
How do I prepare my workspace for phone screen repair?
Before starting your phone screen repair, ensure your workspace is clean, well-lit, and free from static electricity. Use a flat surface covered with a light-coloured cloth to easily see small components and gather essential tools like a precision screwdriver, plastic pry tools, and an anti-static wrist strap.
What should I look for when assessing screen damage?
When assessing screen damage, examine your screen for cracks, touch responsiveness issues, and pixel discolouration. Take note of the damages and determine if you need a glass replacement or a full LCD display assembly; this will guide you in ordering the correct parts.
How do I safely remove a damaged phone screen?
To safely remove a damaged phone screen, power off the device and apply gentle heat around the edges to loosen the adhesive. Use a suction cup to lift the screen while using a plastic prying tool to separate it from the body, being careful with internal cables during the process.
What steps are involved in installing a replacement phone screen?
To install a replacement screen, align the new screen with the phone frame, reconnect the ribbon cables carefully, and apply even pressure to secure the screen in place. Double-check all connections before securing the screen to ensure everything is properly seated and functioning.
How can I test if my screen replacement was successful?
After installing the new screen, conduct a thorough test by checking touch responsiveness, screen brightness, and colour accuracy. Verify all smartphone functions, like the camera and speaker performance, to ensure the repair was successful.
What should I do if my screen shows issues after replacement?
If your screen shows issues post-replacement, double-check all connections to ensure everything is secure and properly aligned. If problems persist, you may need to re-evaluate the installation process or consider professional assistance.
Recommended
- How to Fix My Phone Screen: Complete Step-by-Step Guide – buy2fix
- How to Fix Phone Screen Near Me Cheap: A Practical Guide – buy2fix
- How to Get Phone Screen Fixed Safely and Efficiently – buy2fix
- How to Install a New Phone Screen Like a Pro – buy2fix
- Step by Step Phone Screen Protection: Keep Your Device Safe – StudioShake
Let customers speak for us
For Samsung Galaxy A26 SM-A266B Original Earpiece Speaker with Cable

Very good communication throught. Good product

Well made part very strong easy to fit great value for the money

Well packed, with fast shipping :)

Exactly what the doctor ordered…great color, comfort, and durability. Trust this watch band!

Brilliant strap, second purchase, bought bracelet before. Excellent value. Thank you

Great item for splitting your Audio signal

Outstanding product!
Next level customer service.

Very satisfied but the delivery needs to get more faster...

Good price,quick delivery

Best phone case ever! This is my second one as I broke my first. Would defo recommend

Great fitting Apple Watch bands

For Apple Watch Ultra 3 / 2 / 1 49mm RedPepper Armor Metal Case Integrated Silicone Watch Band(Steel Black White)

Good price and quick postage

