

How to Fix Phone Screen Near Me: A Complete DIY Guide
Cracked screens can turn a favourite smartphone into a daily frustration, especially when finding the right replacement part feels like searching for a needle in a haystack. For British DIY repair fans, the difference between a seamless fix and a costly mishap often comes down to identifying your exact model and sourcing the correct replacement screen. This guide shares clear, step-by-step advice on pinpointing your phone model, verifying parts, and preparing your workspace so you can tackle your own repairs with confidence and keep your device running smoothly.
Table of Contents
- Step 1: Identify Your Phone Model And Screen Type
- Step 2: Source Quality Replacement Parts Near You
- Step 3: Organise Essential Tools And Workspace
- Step 4: Remove Damaged Screen Safely
- Step 5: Install New Screen And Test Functionality
Quick Summary
| Key Insight | Explanation |
|---|---|
| 1. Identify Your Phone Model | Use your IMEI number to accurately find your device model to avoid costly mistakes. |
| 2. Source Quality Replacement Parts | Purchase parts from authorised retailers to ensure compatibility and optimal performance. |
| 3. Prepare Your Workspace | Organise tools and set up a clean, well-lit area to facilitate a smooth repair process. |
| 4. Remove Damaged Screen Carefully | Follow meticulous steps to prevent additional damage to your device during disassembly. |
| 5. Test New Screen Functionality | Verify the new screen’s performance before final installation to detect any issues early. |
Step 1: Identify Your Phone Model and Screen Type
Before embarking on your mobile screen repair journey, accurately identifying your phone’s model and screen type is crucial. This step ensures you purchase the correct replacement screen and avoid costly mistakes.
Begin by locating your phone’s unique IMEI number, which serves as a digital fingerprint for your device. You can typically find this 15-digit code in three primary locations:
- Inside the battery compartment (if removable)
- In your phone’s settings menu
- By dialling *#06# on most smartphones
Once you’ve located the IMEI number, you can use online resources to verify your exact phone model, including specific screen specifications. Different manufacturers and models have unique screen configurations, ranging from LCD to OLED panels with varying resolutions and connection types.
Accurate model identification prevents purchasing incompatible replacement screens and saves you time and money.
To determine your precise screen type, examine these critical characteristics:
Here’s a quick reference comparing common mobile screen technologies:
| Screen Technology | Durability | Colour Accuracy | Power Usage |
|---|---|---|---|
| LCD | Moderate | Good | Average |
| OLED | Fragile | Excellent | Low |
| AMOLED | Fragile | Superior | Very Low |
- Screen size (measured diagonally in inches)
- Resolution (pixel count)
- Display technology (LCD, OLED, AMOLED)
- Touch sensitivity type
- Connector style and pin configuration
Pro tip: Take clear, well-lit photos of your current screen and IMEI number before disassembly to help technicians or online support verify your exact requirements.
Step 2: Source Quality Replacement Parts Near You
With your phone model and screen type confirmed, the next critical step is procuring high-quality replacement parts that match your device’s exact specifications. Sourcing the right components requires careful research and strategic shopping to avoid potential device damage.
Start by exploring local and online marketplaces specialising in mobile phone repair components. Your primary goal is to find authentic replacement parts that guarantee device compatibility and performance. Consider these essential sourcing strategies:
- Check manufacturer-authorised retailers
- Compare prices across multiple specialist electronics stores
- Read detailed product specifications carefully
- Verify part compatibility with your specific phone model
- Examine return and warranty policies
Purchasing genuine parts from reputable suppliers dramatically reduces the risk of potential device malfunction.
When evaluating potential replacement screens, pay close attention to these critical quality indicators:
- Exact model number match
- Original manufacturer certification
- Comprehensive warranty coverage
- Transparent supply chain documentation
- Positive customer reviews from verified purchasers
Remember that while aftermarket parts might seem cheaper, they often compromise device performance and potentially void existing warranties.
Below is a summary of screen replacement sourcing options and their advantages:
| Source Type | Quality Assurance | Price Range | Warranty Support |
|---|---|---|---|
| Manufacturer-authorised | High, certified parts | Medium to high cost | Full manufacturer |
| Specialist retailers | Good, verified parts | Competitive pricing | Store-provided |
| Online marketplaces | Mixed, check ratings | Low to medium cost | Varied, often limited |
Pro tip: Request detailed technical specifications and original packaging documentation before finalising any replacement part purchase to ensure maximum compatibility and quality.
Step 3: Organise Essential Tools and Workspace
A meticulously prepared workspace is your first line of defence when undertaking a phone screen replacement project. Proper organisation and tool selection can mean the difference between a successful repair and a potential device disaster.
Before diving into the repair, gather essential precision tools that will ensure a smooth and professional repair process. Your toolkit should include:
- Precision screwdriver set with multiple bit sizes
- Anti-static mat or workspace liner
- Plastic pry tools and metal tweezers
- Magnifying glass or bright desk lamp
- Small containers for sorting screws and components
- Isopropyl alcohol and microfibre cleaning cloths
- Soft, lint-free work surface
A well-organised workspace reduces the risk of losing tiny components and minimises potential damage to your device.
Set up your repair area with these critical considerations in mind:
- Choose a clean, well-lit, and flat surface
- Ensure adequate workspace lighting
- Work in a static-free environment
- Keep children and pets away from your workspace
- Have digital repair guides or videos readily accessible
Position your tools within easy reach and create a systematic layout that allows smooth movement between components. Consider using a white or light-coloured surface to help you track small parts more effectively.
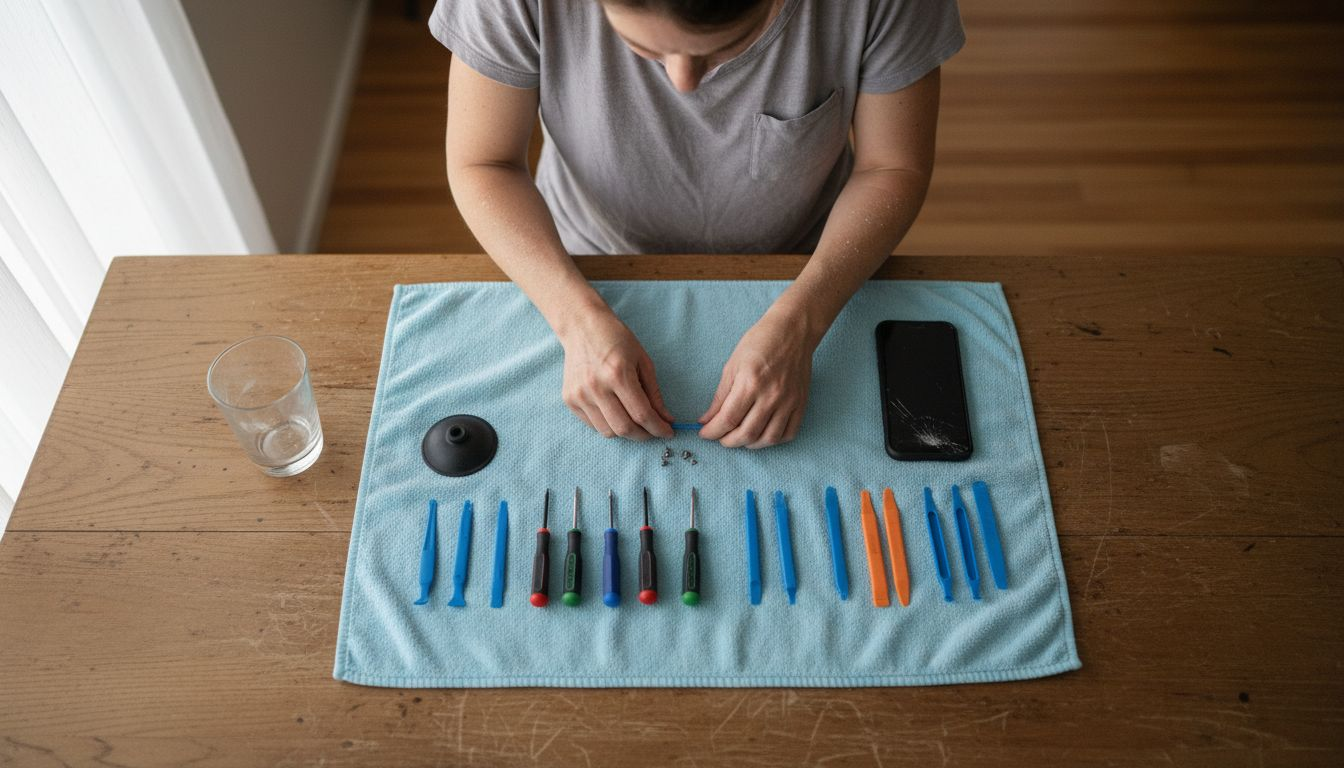
Pro tip: Create a simple magnetic screw board or use small labelled containers to prevent losing microscopic screws during your phone screen repair.
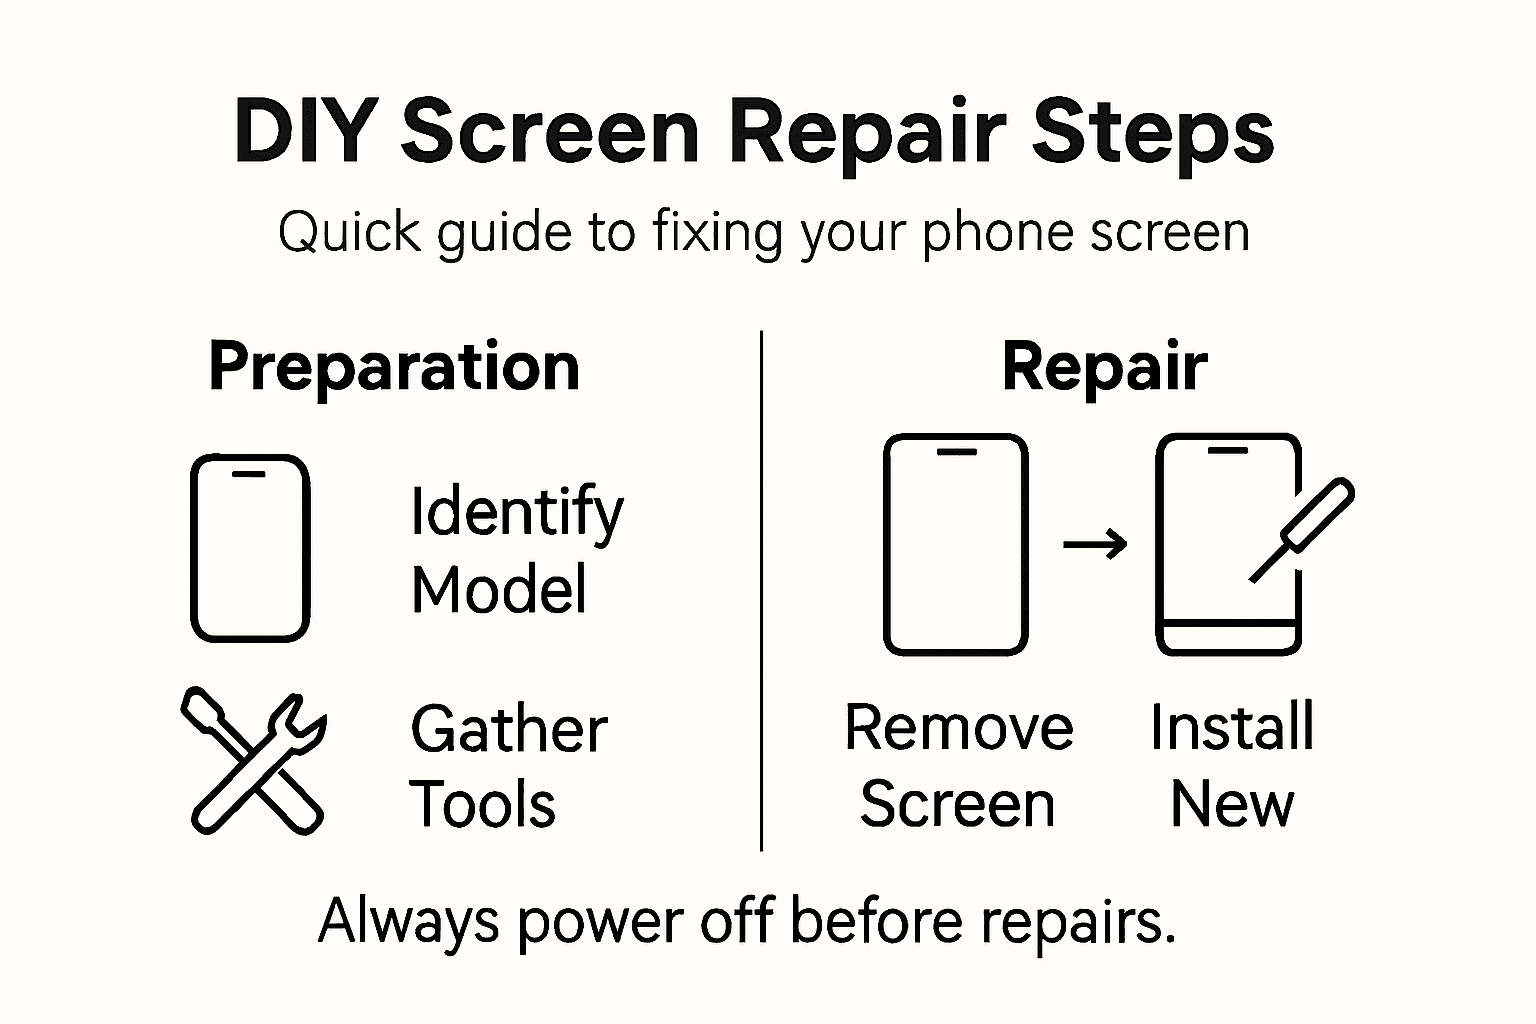
Step 4: Remove Damaged Screen Safely
Preparing to remove a damaged phone screen requires precision, patience, and methodical approach to device disassembly. Your goal is to extract the broken screen without causing additional damage to your smartphone’s delicate internal components.
Begin by implementing best practices for handling damaged mobile devices, which emphasise gentle manipulation and controlled force. Critical initial steps include:
- Power off your smartphone completely
- Disconnect the battery if possible
- Wear anti-static wrist strap or work on anti-static mat
- Use precision tools designed for electronic repairs
- Work in a clean, well-illuminated workspace
Careful, controlled removal prevents further device damage and potential data loss.
Execute the screen removal process through these systematic steps:
- Remove external screws around device perimeter
- Use plastic pry tools to carefully separate screen edges
- Disconnect internal screen connectors gently
- Lift screen at consistent, measured angles
- Inspect internal components for additional damage
Approach each movement with extreme caution, applying minimal pressure and maintaining a steady hand throughout the entire process. Unexpected force can compromise delicate circuit connections and potentially render your device irreparable.
Pro tip: Take clear, well-lit photographs of your device’s internal layout before and during disassembly to serve as a visual reference for reassembly.
Step 5: Install New Screen and Test Functionality
With your damaged screen carefully removed, the critical phase of installing and validating your new screen begins. Precise installation and comprehensive functionality testing will ensure your smartphone returns to peak performance.
Implement systematic screen replacement protocols that guarantee both physical and operational integrity. Your installation process should focus on meticulous component alignment and gentle handling:
- Align screen connectors precisely
- Apply gentle, even pressure during installation
- Ensure no dust or debris between screen and device
- Check cable connections for secure attachment
- Verify screen fits flush with device frame
Careful installation minimises risk of future technical complications and preserves device functionality.
Test your new screen thoroughly using these comprehensive verification steps:
- Power on device and check initial display quality
- Test touch responsiveness across entire screen surface
- Examine colour accuracy and pixel performance
- Check brightness levels and colour temperature
- Validate all screen gestures and multi-touch functions
Pay close attention to subtle indicators of potential installation issues, such as unresponsive zones or unusual display behaviours that might suggest improper connection.
Pro tip: Perform initial tests without fully securing the screen, allowing quick readjustment if unexpected issues arise during the first functional assessment.
Fix Your Phone Screen with Confidence Using Buy2fix
If you have been following our detailed guide on how to fix phone screens near you, you already know that accurate phone model identification, sourcing quality replacement parts, and organising the right tools are crucial steps. These core challenges often leave DIY enthusiasts feeling overwhelmed or worried about purchasing incorrect or low-grade components. At Buy2fix, we understand your concerns and are here to simplify the process with our extensive range of authentic replacement parts and repair accessories.
Explore our Mobile Phone Repair Parts collection where you can find carefully selected LCD screens, display assemblies, flex cables, and more for popular brands like iPhone and Samsung Galaxy. With free UK mainland shipping, a 30-day return policy, and a one-year warranty on all products, you can confidently start your phone screen repair today. Don’t let uncertainty hold you back from restoring your device—visit Buy2fix now and equip yourself with everything you need for a successful DIY repair.
Frequently Asked Questions
How do I identify my phone model before fixing the screen?
To identify your phone model, locate your IMEI number by checking your settings menu, looking inside the battery compartment, or dialing *#06#. Once you have the IMEI number, use it to verify your exact model and screen specifications online.
What steps should I take to source quality replacement parts for my phone screen?
Start by comparing prices and specifications from local electronics stores and reputable online marketplaces. Ensure you purchase parts that match your model exactly, look for original manufacturer certification, and check for comprehensive warranties to guarantee compatibility and quality.
What tools do I need to prepare for a DIY phone screen replacement?
Gather essential precision tools, including a screwdriver set, anti-static mat, plastic pry tools, and a cleaning cloth. Arrange a clean and well-lit workspace to facilitate a smooth repair process and minimise the risk of losing small components.
How can I safely remove the damaged screen from my phone?
To safely remove a damaged screen, begin by powering off your device and disconnecting the battery if possible. Use plastic pry tools to carefully separate the screen edges, disconnect internal connectors gently, and take your time to avoid damaging any internal components.
What should I do after installing the new screen to ensure it works properly?
After installing the new screen, power on your device and test the display quality, touch responsiveness, and colour accuracy. Conduct a thorough check of all screen gestures and functions to ensure everything is working correctly, making adjustments as needed before securing the screen in place.
Recommended
- How to Fix My Phone Screen: Complete Step-by-Step Guide – buy2fix
- How to Fix Phone Screen Near Me Cheap: A Practical Guide – buy2fix
- How to Fix Phone Screen: Repair Guide for DIY Success – buy2fix
- How to Install a New Phone Screen Like a Pro – buy2fix
- How to Plan a Product Photoshoot for Professional Results
Let customers speak for us
Well made part very strong easy to fit great value for the money

Well packed, with fast shipping :)

Exactly what the doctor ordered…great color, comfort, and durability. Trust this watch band!

Brilliant strap, second purchase, bought bracelet before. Excellent value. Thank you

Great item for splitting your Audio signal

Outstanding product!
Next level customer service.

Very satisfied but the delivery needs to get more faster...

Good price,quick delivery

Best phone case ever! This is my second one as I broke my first. Would defo recommend

Great fitting Apple Watch bands

For Apple Watch Ultra 3 / 2 / 1 49mm RedPepper Armor Metal Case Integrated Silicone Watch Band(Steel Black White)

Good price and quick postage

Perfect fit.

Absolutely necessary

Second Purchase and still a very happy customer. Keep up the good work.
