

How to Replace iPhone 11 Screen Safely and Easily
Cracked screens are a common frustration for anyone using an iPhone 11 in the United Kingdom, especially when costly repairs threaten your budget. Tackling the job yourself offers a practical way to save money, but accuracy and safety are key to success. This guide highlights step-by-step, British-focused advice on workspace setup, tool recommendations, and expert-tested techniques, helping you confidently restore your iPhone 11 with minimal risk and maximum satisfaction.
Table of Contents
- Step 1: Prepare Your Workspace And Gather Tools
- Step 2: Power Off And Open The iPhone 11
- Step 3: Disconnect Battery And Remove Broken Screen
- Step 4: Install The New iPhone 11 Screen
- Step 5: Reconnect Components And Test Functionality
Quick Summary
| Key Point | Explanation |
|---|---|
| 1. Create an organised workspace | A clean, static-free workspace prevents damage and enhances efficiency during the iPhone repair process. |
| 2. Power off device before disassembly | Shutting down the iPhone 11 and removing the SIM card prevents electrical damage and interference during repair. |
| 3. Disconnect battery first | Safely disconnecting the battery avoids potential electrical issues and ensures a safe environment for repairs. |
| 4. Test functionality after repair | Thoroughly check all device functions post-replacement to confirm successful installation and avoid future issues. |
| 5. Follow precision in all steps | Use careful techniques and proper tools throughout repairs to prevent damage to sensitive components and ensure proper fitting of new parts. |
Step 1: Prepare your workspace and gather tools
Before diving into your iPhone 11 screen replacement, creating a clean, organised workspace is crucial. Proper preparation minimises the risk of damaging your device and ensures a smooth repair process.
Start by selecting a well-lit, clean, and static-free workspace with ample room to spread out your tools and components. A solid, flat surface like a wooden table or desk works best. Cover the surface with an electronics repair workspace mat to protect against scratches and provide a comfortable working area.
You’ll need several specialised tools for this repair:
- Precision screwdriver set with multiple bit sizes
- Plastic pry tools or spudgers
- Anti-static wrist strap
- Tweezers with fine, non-conductive tips
- Magnifying glasses or headband magnifier
- Bright, focused desk lamp
- Soft, lint-free microfibre cloths
- Small parts tray or magnetic mat to keep screws organised
Ensure your workspace is free from potential hazards like liquids, food, or pets that might interfere with the delicate repair process. Have a small container nearby to store screws and tiny components safely.
Here is a summary showing the impact of essential workspace elements for iPhone repairs:
| Workspace Element | Benefit | Common Risk if Ignored |
|---|---|---|
| Anti-static wrist strap | Prevents electrostatic discharge | Component damage from static |
| Magnetic parts tray | Keeps screws organised and safe | Lost screws can halt progress |
| Magnifying glasses | Assists with precision tasks | Misalignment or bent connectors |
| Lint-free microfibre cloths | Reduces dust and residue | Dust can interfere with assembly |
A clean, organised workspace is your first line of defence against accidental damage during smartphone repairs.
Expert tip: Always work in a well-ventilated area with consistent room temperature to prevent electronic components from experiencing thermal stress.
Step 2: Power off and open the iPhone 11
Before beginning the screen replacement process, you must carefully power down and prepare your iPhone 11 for disassembly. This crucial step ensures your safety and prevents potential electrical damage during the repair.
Start by completely powering off your device. Press and hold the side button and volume down button simultaneously until the power off slider appears. Slide the power off option and wait for the device to shut down completely. Remove any SIM card using the SIM card ejection tool to prevent interference during the repair.
Next, you’ll need to remove the bottom pentalobe screws using a specialised pentalobe screwdriver. These tiny screws are located at the bottom of the device near the charging port:
- Position your pentalobe screwdriver precisely
- Carefully unscrew each bottom screw
- Store screws in a magnetic parts tray to prevent loss
Precision and patience are essential when working with small electronic components.
Once the screws are removed, you’ll be ready to carefully separate the screen from the device’s body. Ensure your workspace remains clean and static-free throughout this delicate process.
Expert tip: Discharge your iPhone battery to below 25% before repair to minimise risk of electrical complications during screen replacement.
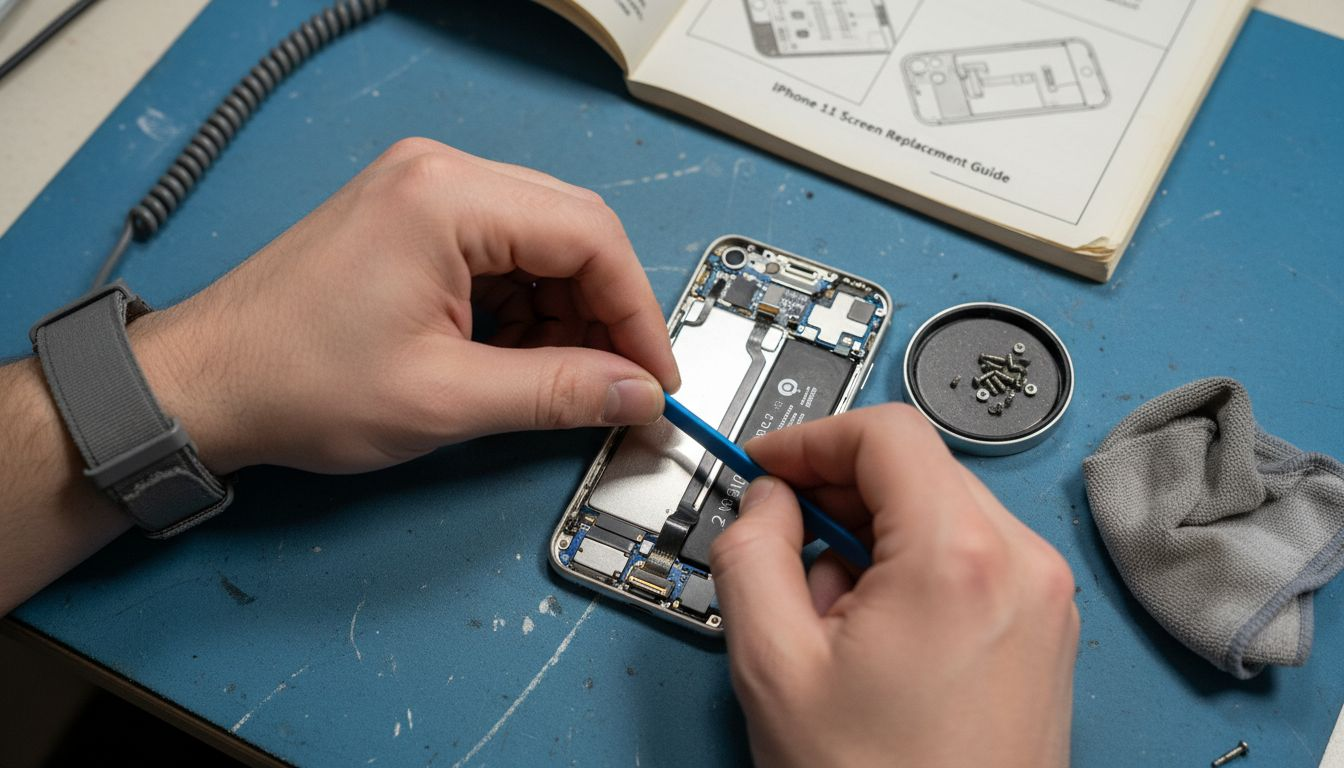
Step 3: Disconnect battery and remove broken screen
Removing the damaged screen requires careful navigation of your iPhone 11’s internal components. This critical step demands precision to prevent further damage and prepare for the new screen installation.
To begin, you’ll need to safely disconnect the battery before attempting any internal component removal. Use a plastic spudger or specialised pry tool to carefully disconnect the battery connector from the logic board:
- Locate the battery connector near the bottom of the logic board
- Gently lift the connector using minimal pressure
- Ensure no residual static electricity is present
After disconnecting the battery, you’ll need to remove the broken screen using a systematic approach:
- Use a heat gun or hairdryer to warm the adhesive around screen edges
- Apply a suction cup to the bottom of the screen
- Gently lift and separate the screen using plastic pry tools
- Work slowly around the edges to prevent cable damage
Extreme caution is required when separating internal components to avoid electrical damage.
Once you’ve loosened the screen, carefully disconnect the display cables connecting the screen to the phone’s logic board. Keep your movements deliberate and controlled throughout this delicate process.
Expert tip: Ground yourself using an anti-static wrist strap to prevent potential electrostatic discharge that could damage sensitive internal components.
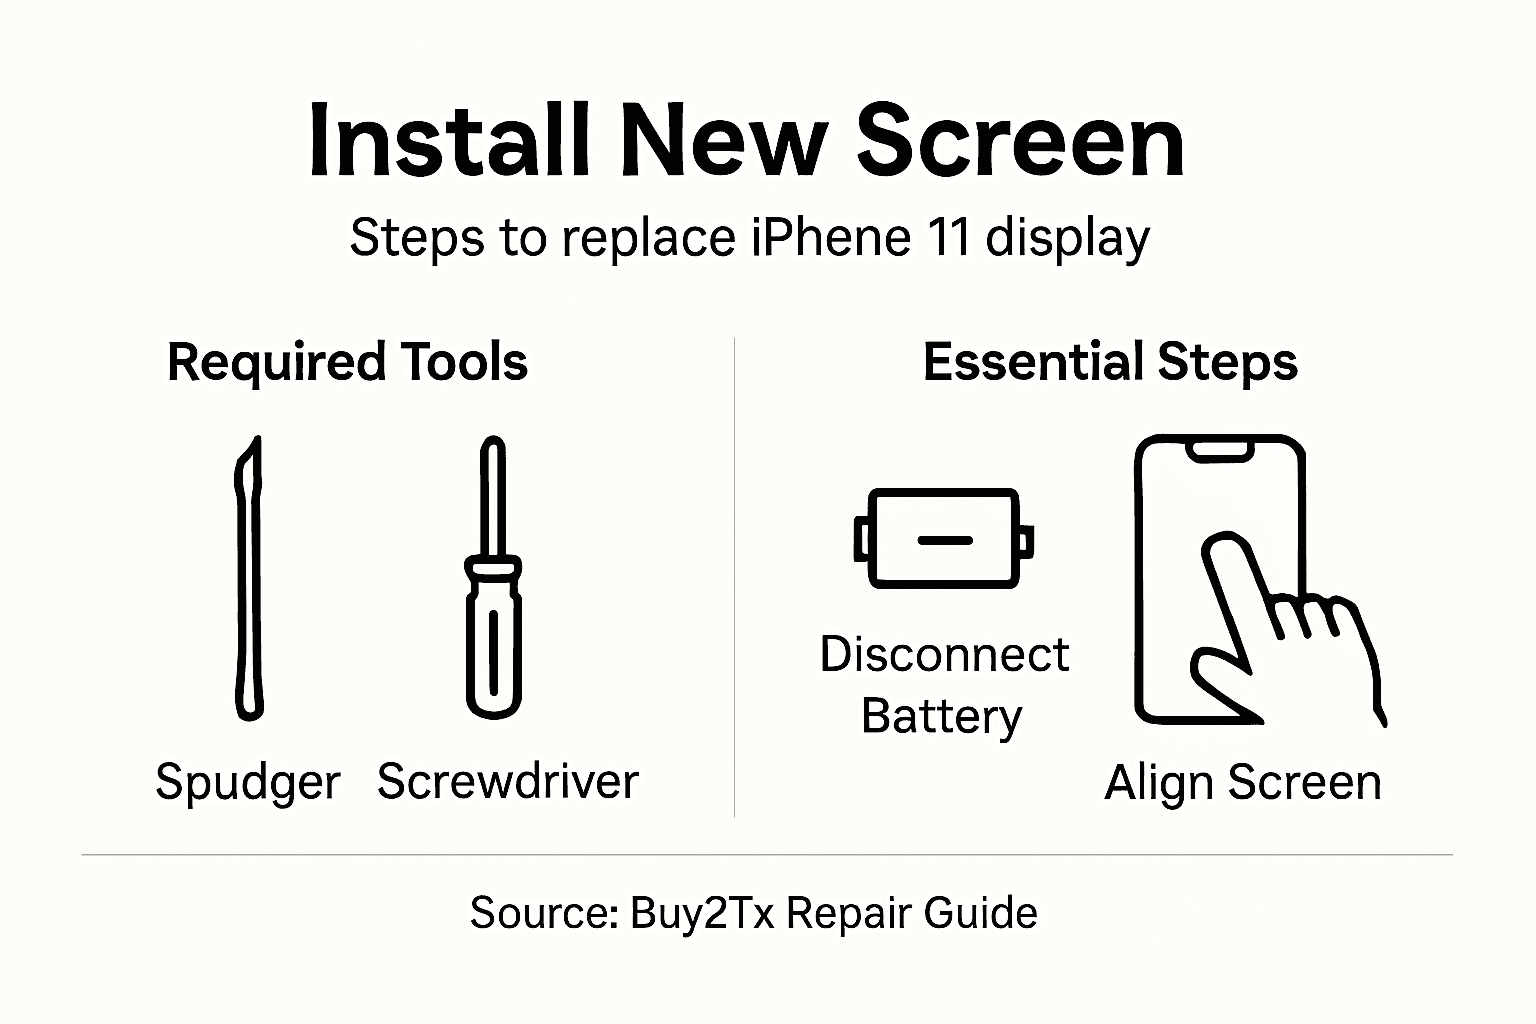
Step 4: Install the new iPhone 11 screen
Installing the replacement screen is a delicate process that requires precision and patience. Your goal is to carefully reconnect all components and ensure a perfect fit for your new iPhone 11 display.
Begin by carefully aligning the new screen with the iPhone’s frame. Ensure all cable connectors are clean and undamaged before proceeding:
- Position the display cable precisely over its original connector
- Gently press the connector into place using minimal pressure
- Confirm the connection is secure and flush
Key steps for successful installation include:
- Inspect the new screen for any manufacturing defects
- Clean the phone’s frame with isopropyl alcohol
- Apply new adhesive strips around the screen’s perimeter
- Carefully lower the screen into position
- Apply even, gentle pressure to secure the display
Precision during screen installation can prevent future technical complications.
Once the screen is aligned, reconnect the battery connector to the logic board. Ensure all connections are clean, secure, and properly seated before proceeding to the final testing phase.
Expert tip: Use magnification and proper lighting to verify each connection, preventing potential microscopic alignment errors.
Step 5: Reconnect components and test functionality
After carefully installing your new screen, the critical final stage involves thoroughly testing all device functions to ensure a successful repair. Reconnecting and verifying each component requires methodical attention to detail.
Begin by systematically checking iPhone functionality through comprehensive testing protocols:
- Reconnect the battery connector securely
- Power on the device completely
- Verify touchscreen responsiveness
- Test Face ID and camera functions
- Check display colour and clarity
- Confirm all buttons work correctly
Key diagnostic checks include:
- Test touch sensitivity across entire screen
- Verify colour accuracy and brightness
- Check screen registration and calibration
- Ensure no dead pixels or display irregularities
- Validate haptic feedback mechanisms
Thorough testing prevents future technical complications and ensures repair quality.
If any functionality appears compromised, carefully review your reconnection process and verify all cable connections. Minor adjustments might resolve intermittent issues.
The table below compares typical issues and recommended checks after a screen replacement:
| Issue Detected | Key Diagnostic Step | Recommended Action |
|---|---|---|
| Touchscreen unresponsive | Test in multiple areas | Reconnect display cable firmly |
| Face ID not working | Inspect sensor connections | Realign front sensors carefully |
| Dim or irregular colours | Check brightness control | Reseat or clean connectors |
| Loose screen edges | Examine adhesive seal | Reapply screen adhesive strips |
Expert tip: Wait 24 hours after repair before subjecting your device to extreme temperatures or significant physical stress to allow components to settle properly.
Trusted Solutions for Your iPhone 11 Screen Replacement
Replacing an iPhone 11 screen yourself can be challenging, especially when precision and quality components are crucial to a successful repair. The article highlights common difficulties such as disconnecting delicate flex cables, handling sensitive internal parts without damage, and ensuring reliable reassembly. Avoid the frustration of lost screws, static discharge, or incompatible parts by choosing trusted replacement components designed specifically for your device.
At Buy2fix, we specialise in supplying high-quality LCD screens and display assemblies for iPhone 11 as well as essential repair tools and accessories. Benefit from our comprehensive range of genuine or best quality aftermarket parts and experience peace of mind with our one-year warranty and rigorous quality checks. Whether you are a DIY enthusiast or a professional technician, our mobile phone repair parts inventory offers everything you need to restore your device confidently.
Start your repair with the right parts and expert support available at Buy2fix. Visit our website now to browse our extensive collection and enjoy free UK mainland shipping on your order. Repair your iPhone 11 with superior components to achieve excellent results today.
Frequently Asked Questions
How can I prepare my workspace for replacing the iPhone 11 screen?
Start by selecting a clean, organised, and well-lit space free from hazards. Use an electronics repair workspace mat to protect against scratches and gather essential tools like a precision screwdriver set and plastic pry tools to ensure a smooth repair process.
What should I do before opening my iPhone 11 for a screen replacement?
Completely power off your iPhone 11 by pressing and holding the side button and volume down button until the power off slider appears. Make sure to remove the SIM card using the SIM card ejection tool to prevent interference during the repair.
How do I disconnect the battery safely during the screen replacement?
To safely disconnect the battery, use a plastic spudger or specialised pry tool to lift the battery connector from the logic board. Ensure that you apply minimal pressure and confirm that no static electricity is present to avoid damaging the components.
What steps should I follow to install the new iPhone 11 screen?
Begin by aligning the new screen with the iPhone’s frame and ensure all connectors are clean. Press each connector into place using gentle pressure and apply adhesive strips around the screen’s perimeter before carefully lowering it into position and securing it evenly.
How can I test the functionality of my iPhone 11 after replacing the screen?
After reconnecting the battery, power on your device and check for touchscreen responsiveness, Face ID, camera functions, display clarity, and button functionality. Conduct these tests to ensure all features work properly and address any issues before completing the repair.
What should I do if I encounter issues after replacing my iPhone 11 screen?
If you notice problems like an unresponsive touchscreen or display irregularities, check all cable connections carefully. Reseat any loose connectors and verify that all components are properly aligned to potentially resolve the issues.
Recommended
Let customers speak for us
Well made part very strong easy to fit great value for the money

Well packed, with fast shipping :)

Exactly what the doctor ordered…great color, comfort, and durability. Trust this watch band!

Brilliant strap, second purchase, bought bracelet before. Excellent value. Thank you

Great item for splitting your Audio signal

Outstanding product!
Next level customer service.

Very satisfied but the delivery needs to get more faster...

Good price,quick delivery

Best phone case ever! This is my second one as I broke my first. Would defo recommend

Great fitting Apple Watch bands

For Apple Watch Ultra 3 / 2 / 1 49mm RedPepper Armor Metal Case Integrated Silicone Watch Band(Steel Black White)

Good price and quick postage

Perfect fit.

Absolutely necessary

Second Purchase and still a very happy customer. Keep up the good work.
