

How to test phone components: A step-by-step guide
TL;DR:
- Systematic component testing reduces guesswork and ensures accurate phone repairs.
- Proper workspace setup and use of diagnostic codes/software help identify faults non-invasively.
- Deep hardware tests like multimeter diode checks are essential for diagnosing motherboard issues.
A phone that refuses to power on is every repair enthusiast’s nightmare. You press the button, nothing happens, and suddenly you’re faced with a costly guessing game: is it the battery, the screen, the motherboard? Replacing parts at random wastes money and time. Systematic component testing changes everything. This guide walks you through the exact tools, methods, and step-by-step checks used by professional technicians to diagnose batteries, displays, cameras, and motherboards accurately. Whether you’re a DIY enthusiast tackling your first teardown or a small repair business owner looking to sharpen your workflow, these reliable methods will help you pinpoint faults with confidence.
Table of Contents
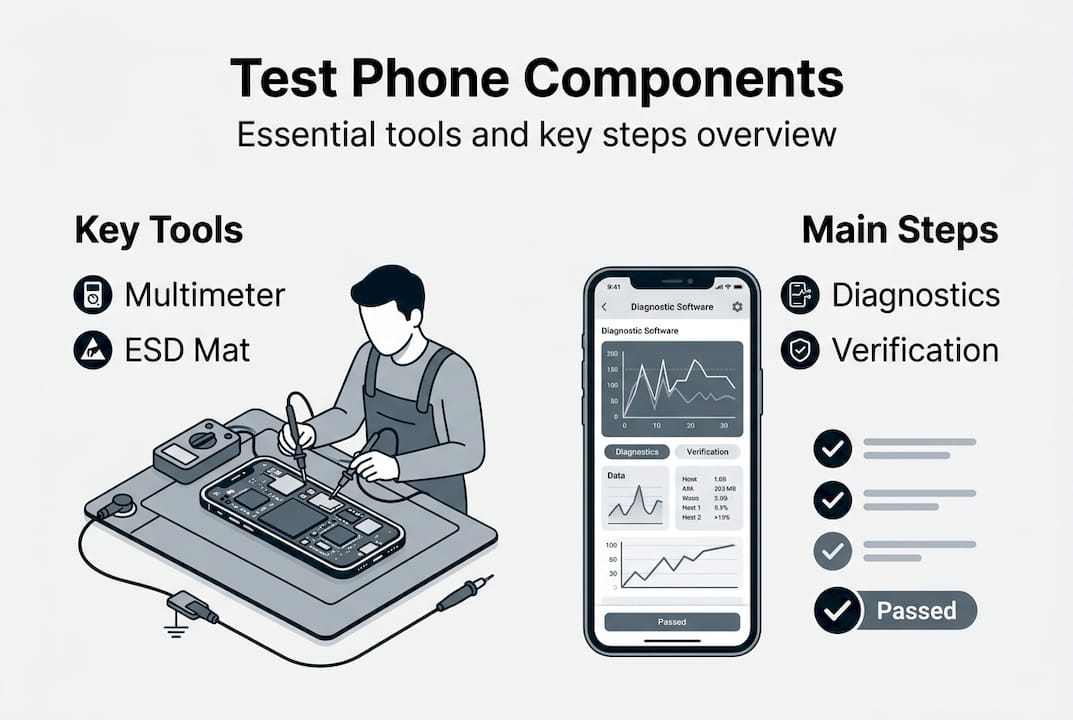
- Essential tools and preparation for phone component testing
- Non-invasive methods: Using diagnostic codes and apps
- Testing batteries, displays, and cameras: Step-by-step checks
- Motherboard and advanced hardware testing techniques
- Troubleshooting: Edge cases and practical repair tips
- Expert perspective: Why methodical testing beats guesswork
- Where to find quality parts and support for mobile repairs
- Frequently asked questions
Key Takeaways
| Point | Details |
|---|---|
| Start safe and simple | Always begin diagnostics using built-in codes and apps before opening the phone. |
| Use proper tools | A multimeter, DC supply, isopropyl alcohol, and ESD precautions are vital for accurate, safe testing. |
| Test methodically | Follow a step-by-step process, confirming faults with measurements and swaps. |
| Know when to escalate | Advanced motherboard faults need empirical values and experience—don’t guess. |
| Source quality parts | For reliable repairs, always use genuine components from trusted suppliers. |
Essential tools and preparation for phone component testing
Before you touch a single screw, your workspace and toolkit need to be right. A cluttered bench or the wrong tools can turn a simple repair into a costly mistake. Good preparation is what separates a clean, successful repair from a frustrating one.
Your workspace should have an ESD-safe mat to prevent static discharge, strong lighting to spot tiny components, and a clean, organised surface. Static electricity is invisible but destructive. A single discharge can permanently damage sensitive chips on a motherboard.
The essential phone repair tools you’ll need cover a range of functions. A comprehensive tool checklist includes a digital multimeter, DC power supply, microscope, soldering iron, opening tools, and isopropyl alcohol for cleaning. Here’s a quick reference:
| Tool | Primary use | Notes |
|---|---|---|
| Digital multimeter | Voltage, continuity, diode testing | Essential for battery and PCB checks |
| DC power supply | Simulate battery power | Helps identify shorts safely |
| Microscope | Inspect solder joints and corrosion | 7x to 45x magnification recommended |
| Soldering iron | Reflow or replace components | Use with flux for clean joints |
| Opening tools | Pry, spudger, suction cup | Plastic tools reduce scratch risk |
| Isopropyl alcohol | Clean connectors and liquid damage | Use 99% concentration |
The tools every technician needs also include precision screwdrivers, tweezers, and anti-static gloves. Lay them out before you start so nothing interrupts your workflow mid-repair.
Safety first: Always disconnect the battery before testing any internal component. Failure to do so risks short circuits, data loss, or permanent board damage.
Pro Tip: Use 99% isopropyl alcohol on a soft brush to clean corroded connectors and liquid-damaged areas before testing. It evaporates quickly and leaves no residue, giving you a cleaner baseline reading.
Non-invasive methods: Using diagnostic codes and apps
Once you’re set up, it’s best to start troubleshooting in the least risky way, using your phone’s built-in features. You can learn a great deal about a device’s health without removing a single component.

Diagnostic apps and built-in codes allow you to test phone components like the display, sensors, battery, camera, speakers, and touchscreen without disassembly. On Samsung devices, dialling #0# opens a full hardware test menu. On many Android phones, ##4636##** reveals battery stats and signal information.
| Method | Scope | Ease of use | Accuracy |
|---|---|---|---|
| Built-in diagnostic codes | Display, touch, sensors, camera | Easy | High for hardware faults |
| Third-party diagnostic apps | Battery health, storage, sensors | Moderate | Good for general health |
| Manufacturer apps | Model-specific tests | Easy | Very high for that brand |
Third-party apps such as Phone Doctor Plus or CPU-Z can surface issues with sensors, GPS, and audio that codes might miss. They’re a useful second layer of verification.
Knowing how to spot genuine phone parts matters here too. A faulty aftermarket component can mimic a motherboard fault in diagnostics, leading you down the wrong path entirely. Understanding how to choose phone parts before sourcing replacements saves significant time.
Software diagnostics have limits. They can’t detect a cracked solder joint, a partially shorted circuit, or a physically damaged connector. When codes and apps point to a fault but can’t confirm it, that’s your signal to move to hardware testing.
Pro Tip: Always cross-check a suspected faulty component with a known good part before ordering a replacement. It’s the single fastest way to confirm a diagnosis and avoid common repair mistakes.
Testing batteries, displays, and cameras: Step-by-step checks
After assessing software diagnostics, you may need to test individual components, beginning with the most common culprits. Batteries, screens, and cameras account for the vast majority of phone faults.
Battery testing
- Visually inspect the battery for swelling or bulging. A swollen battery is a fire risk and must be replaced immediately.
- Use a multimeter to check voltage. A healthy battery reads between 3.7V and 4.2V. Anything below 3.5V suggests a dead or failing cell.
- Note symptoms: rapid drain, overheating during charging, and sudden shutdowns all point to battery failure.
- Swap with a known good battery or connect a DC power supply to confirm the fault is isolated to the battery.
Display testing
- On Samsung, use #0# to run colour and touch grid tests directly from the dialler.
- If the screen is black but the phone rings when called, the display assembly is likely at fault rather than the motherboard.
- Reseat the display connector carefully. A loose ribbon cable is a surprisingly common cause of blank screens after a drop.
- Swap the display assembly with a tested unit to confirm. Check for DIY phone screen repair guidance before attempting this.
Camera testing
- Open the camera app and test both front and rear cameras. Blurry images, black screens, or app crashes all indicate a fault.
- After any disassembly, reseat the camera connector and test again. Drops frequently dislodge flex cables.
- Inspect the lens and module for physical damage, especially after impact. Cracks in the lens housing can cause focus failures.
Understanding the common causes of damage helps you anticipate which component is most likely at fault based on how the phone was used or dropped.
Pro Tip: Reseat every cable and connector before concluding a component has failed. At least 20% of apparent hardware faults are simply loose connections.
Motherboard and advanced hardware testing techniques
When basic parts test fine, deeper issues often lie within the motherboard. Here’s how to diagnose them like a pro.
Motherboard testing uses two approaches: cold testing and hot testing. Cold testing means the device is powered off. You use a multimeter in diode or continuity mode to check circuits without any risk of further damage. Hot testing involves a live circuit with a DC power supply, allowing you to measure actual voltages at specific points.
Here’s how to approach cold testing systematically:
- Set your multimeter to diode mode.
- Place the negative probe on the ground point and the positive probe on the test point. Normal diode values range from 0.3V to 0.9V per point.
- A reading of zero or a continuous beep in continuity mode between positive and negative rails indicates a short circuit.
- A half short produces an unusually low diode reading, often between 0.1V and 0.3V, and typically causes overheating or rapid battery drain.
For hot testing, connect a DC power supply set to the phone’s nominal voltage (usually 3.8V to 4.2V). Watch the current draw. A short on the board will cause an immediate current spike, often above 2A, without the phone powering on.
Reference values matter: Always record diode mode readings from a known good board of the same model before diagnosing a faulty one. Without a baseline, you’re guessing.
Liquid damage and corrosion are the most common causes of motherboard faults. Look for green or white residue around connectors and chips. Avoid costly DIY errors by cleaning the board with isopropyl alcohol before testing, as residue can produce false readings.
Troubleshooting: Edge cases and practical repair tips
Even after thorough diagnostic tests, there are situations where odd faults persist. Here’s how to tackle those tricky edge cases.
Some of the most confusing faults involve phones that technically work but behave strangely. A phone that powers on but overheats and drains its battery within an hour is a classic sign of a half short circuit. Ghost touches on the screen after a drop usually point to a damaged digitiser or a loose connector pressing against the frame.
Here’s a practical checklist for edge cases:
- Liquid damage: Remove the battery immediately, clean the board with isopropyl alcohol, and dry thoroughly before any testing.
- Half shorting: Use a DC supply and monitor current draw. Abnormal draw without full power-on confirms the fault.
- Post-drop connector issues: Inspect every flex cable under a microscope. Even a slightly torn ribbon can cause intermittent faults.
- Swapped board test: If symptoms persist after replacing a component, swap the entire board with a known working unit to isolate whether the fault is in the board or elsewhere.
- Final pre-reassembly check: Power on the device with the DC supply before closing it up. Confirm all functions work before sealing the housing.
Always disconnect the battery first and use ESD-safe tools throughout. These habits prevent secondary damage during repair.
For more complex scenarios, advanced troubleshooting tips from the repair community can provide model-specific guidance when you hit a wall.
Pro Tip: When in doubt, swap the suspected component with a verified working one. It’s the most reliable confirmation method available, and it saves hours of circuit-level investigation.
Expert perspective: Why methodical testing beats guesswork
The most expensive habit in phone repair isn’t buying the wrong part. It’s skipping steps.
We’ve seen it repeatedly: a technician swaps a screen because the display looks dead, only to discover the fault was a corroded connector on the board. The new screen works for a week, then fails again because the root cause was never addressed. That’s two screens wasted and a frustrated customer.
Methodical testing forces you to verify before you act. It means noting reference values, cross-checking with known good parts, and documenting what you find at each stage. For a small repair business, this discipline directly affects your reputation. A repair that comes back within a week is far more damaging than taking an extra 20 minutes to test properly the first time.
DIY enthusiasts benefit just as much. Avoiding repair mistakes isn’t about being cautious to the point of paralysis. It’s about building a reliable process that you can repeat confidently on every device. Take notes. Use checklists. Record your multimeter readings. Over time, those records become an invaluable personal reference library that makes every future repair faster and more accurate.
The technicians who rarely get it wrong aren’t necessarily more talented. They’re more systematic.
Where to find quality parts and support for mobile repairs
Armed with reliable methods, you’ll want trusted parts and support to ensure every repair meets professional standards. Sourcing poor-quality components undermines even the most thorough diagnostic process. A replacement battery that reads correctly on a multimeter but fails within a month wastes your effort entirely.
Buy2Fix UK stocks a wide range of genuine and high-quality aftermarket parts for iPhone, Samsung, Huawei, Xiaomi, OPPO, and many more brands. With free UK mainland shipping, a one-year warranty on parts, and a 30-day return policy, it’s a reliable partner for both DIY enthusiasts and professional repair businesses. Browse the blog for ongoing repair guides, tool recommendations, and component advice to keep your skills sharp and your repairs successful.
Frequently asked questions
What is the safest way to test phone components without damaging them?
Start with non-invasive diagnostic codes and apps to check display, sensors, battery, and camera, then progress to hardware tests only when software checks confirm a suspected issue.
How do you know if a phone battery needs replacing?
If the battery shows swelling, fails to hold charge, or reads below 3.7V on a multimeter, it almost certainly needs replacing, especially if accompanied by overheating or sudden shutdowns.
What does it mean if my phone turns on but heats up and drains quickly?
This is a strong indicator of a half short on the motherboard, which requires cold and hot multimeter testing to locate and confirm the fault.
Is it necessary to take apart the phone to test every component?
No. Many faults are identified using built-in diagnostic codes and apps before any disassembly is needed, reducing the risk of introducing new faults during the process.
Recommended
Let customers speak for us
Well made part very strong easy to fit great value for the money

Well packed, with fast shipping :)

Exactly what the doctor ordered…great color, comfort, and durability. Trust this watch band!

Brilliant strap, second purchase, bought bracelet before. Excellent value. Thank you

Great item for splitting your Audio signal

Outstanding product!
Next level customer service.

Very satisfied but the delivery needs to get more faster...

Good price,quick delivery

Best phone case ever! This is my second one as I broke my first. Would defo recommend

Great fitting Apple Watch bands

For Apple Watch Ultra 3 / 2 / 1 49mm RedPepper Armor Metal Case Integrated Silicone Watch Band(Steel Black White)

Good price and quick postage

Perfect fit.

Absolutely necessary

Second Purchase and still a very happy customer. Keep up the good work.
