

How to Replace Screen on iPhone 11 Easily and Safely
Cracked screens are a common frustration for iPhone 11 users who prefer fixing things themselves rather than paying costly repair shops. Knowing how to source reliable, model-specific tools and parts is just as important as the repair steps themselves, especially when dealing with the advanced Liquid Retina display and sensitive internal connectors. This guide will help you select the right equipment and follow a careful approach to achieve a safe, successful screen replacement.
Table of Contents
- Step 1: Gather Required Tools and Replacement Parts
- Step 2: Power Down and Disassemble Your iPhone 11
- Step 3: Remove the Damaged Screen Assembly Carefully
- Step 4: Install and Connect the New Screen Securely
- Step 5: Test All Functions and Reassemble Your Device
Quick Summary
| Key Point | Explanation |
|---|---|
| 1. Invest in quality replacement tools | Using the right tools prevents damage to your device and ensures a smoother repair process. |
| 2. Document the disassembly process | Taking photos while disassembling helps ensure correct reassembly of your iPhone 11 later. |
| 3. Perform preliminary functionality tests | Testing components before final assembly confirms all connections are secure and functional. |
| 4. Power off device before starting | Turning off your iPhone 11 prevents electrical damage during the screen replacement process. |
| 5. Keep workspace organised and clean | An organised space reduces the risk of losing small parts and prevents contamination of components. |
Step 1: Gather required tools and replacement parts
Replacing an iPhone 11 screen requires precise preparation. Before diving into the repair, you will need to collect specific tools and a compatible replacement screen. The key is selecting authentic components and having the right equipment to perform a safe, successful repair.
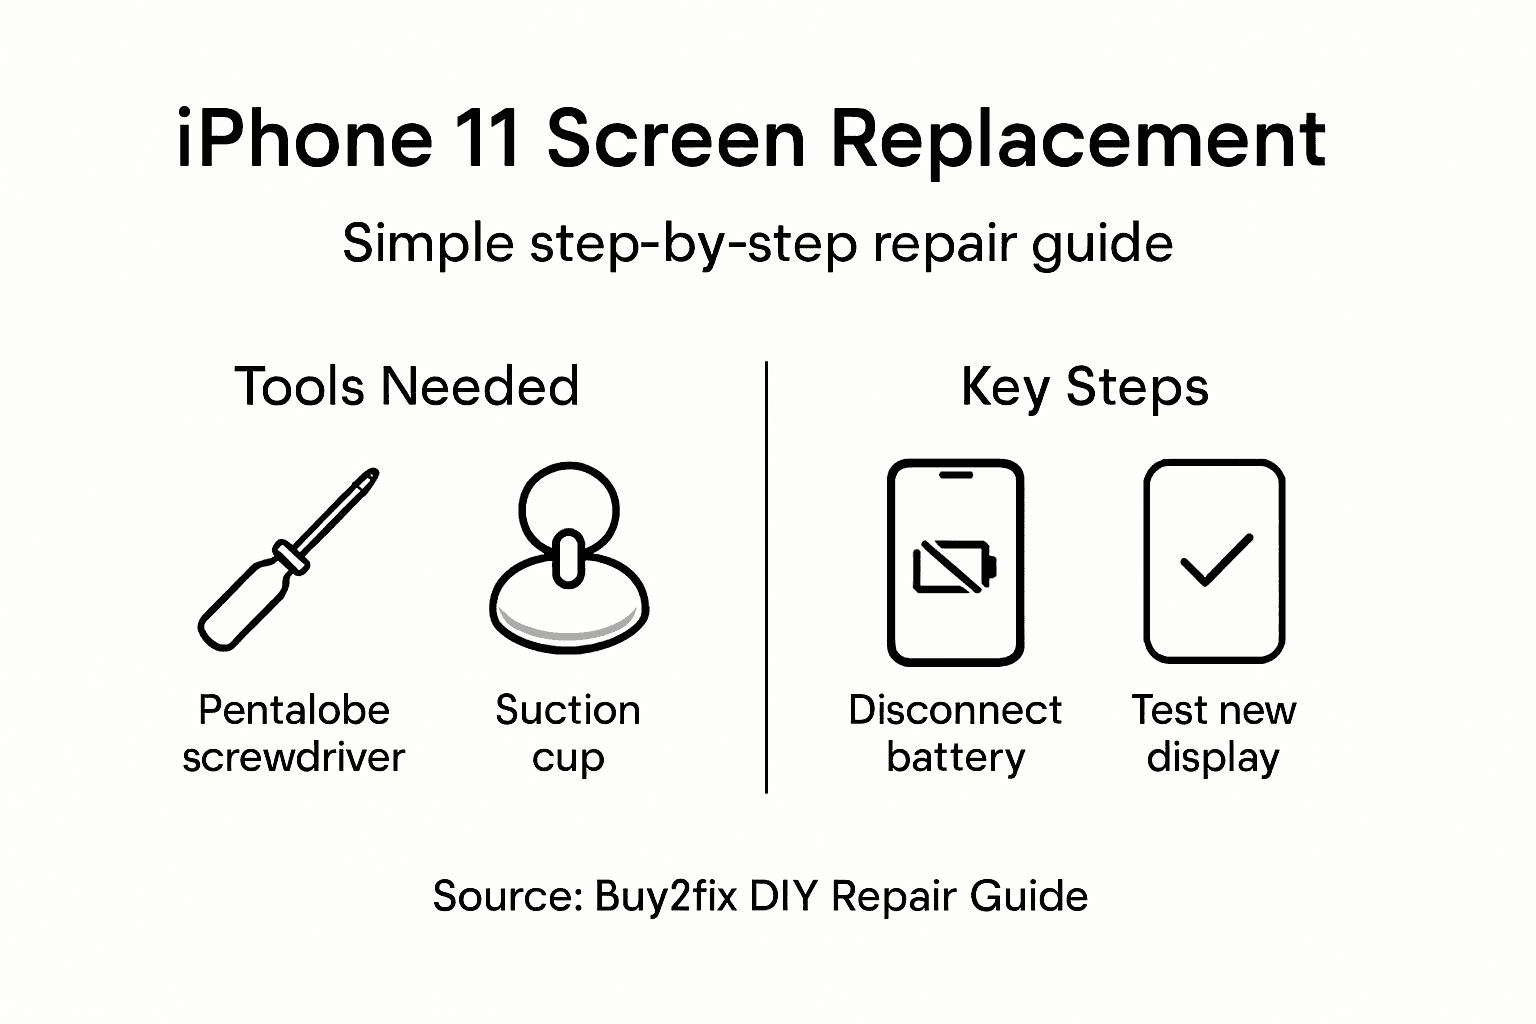
For a successful screen replacement, you will need several specialised tools. These include a pentalobe screwdriver designed specifically for Apple devices, a high-quality suction cup for lifting the display, precision plastic pry tools to carefully separate components, fine-tipped tweezers for handling delicate connectors, and an iPhone 11 replacement screen assembly that matches your exact model. Consider purchasing a comprehensive repair kit that includes these essential tools and ensures compatibility with your specific iPhone 11 variant.
Workspace preparation is equally critical. Choose a clean, well-lit area with a flat surface and magnetic project mat to keep tiny screws organised. Static-free environments prevent potential electronic damage. Arrange your tools within easy reach and wear an anti-static wrist strap to ground yourself during the repair process.
Professional Advice: Invest in quality tools and take your time reading the entire repair guide before starting to minimise potential mistakes.
Here is a summary of essential tools, with their purpose in the iPhone 11 screen replacement process:
| Tool | Specific Purpose | Impact on Repair Outcome |
|---|---|---|
| Pentalobe screwdriver | Removes device-specific screws | Prevents damage to screw threads |
| Suction cup | Lifts display assembly safely | Reduces risk of cracking the screen |
| Plastic pry tools | Separates components delicately | Prevents scratches and cable tears |
| Fine-tipped tweezers | Handles delicate connectors | Ensures precise component placement |
| Anti-static wrist strap | Grounds user during repair | Minimises static-related faults |
Step 2: Power down and disassemble your iPhone 11
Preparing to replace your iPhone 11 screen requires careful and methodical disassembly. This step involves powering down your device and systematically removing its components to access the damaged screen without causing additional harm.

Begin by completely powering off your iPhone 11 to prevent potential electrical damage. Press and hold the side button and either volume button until the power off slider appears, then slide to shut down. Next, remove the bottom screws near the charging port using a pentalobe screwdriver. These small screws secure the display assembly and must be carefully extracted. Work slowly and keep the screws in a magnetic parts tray to prevent loss.
With the screws removed, use a suction cup to gently lift the display assembly. Apply the suction cup carefully to avoid damaging the screen, then use a plastic pry tool to gradually separate the display from the phone’s body. This process requires patience and precision to prevent tearing delicate internal cables or causing additional damage. Remember that each movement should be deliberate and controlled.
Professional Advice: Always document your disassembly process by taking clear photos of each step to ensure correct reassembly later.
Step 3: Remove the damaged screen assembly carefully
Removing the damaged screen assembly is a delicate process that requires precision and patience. Your goal is to disconnect and extract the broken screen without causing additional damage to your iPhone 11’s internal components.
Begin by disconnecting the battery connector from the logic board to prevent any potential electrical short circuits during the repair. Use a plastic pry tool to gently lift and remove the battery connector. Next, carefully disconnect each screen connector one by one. These fragile cables connect the display to the device’s internal electronics and must be handled with extreme care.
As you work, maintain a steady hand and avoid applying excessive force. Slowly lift the damaged screen assembly, paying close attention to any remaining adhesive or connectors that might still be attached. Work methodically around the edges of the screen, using your plastic tool to gradually separate the assembly from the phone’s body. Keep your movements deliberate and controlled to minimise the risk of tearing internal components or causing additional damage.
Professional Advice: Place a clean white cloth or anti static mat underneath your work area to catch any tiny screws or components that might accidentally fall during the disassembly process.
Step 4: Install and connect the new screen securely
Installing a replacement screen for your iPhone 11 requires meticulous attention to detail and precision. Your objective is to reconnect all components correctly and ensure the new display functions perfectly.
Begin by carefully connecting display and sensor cables to the logic board. Align each connector precisely, ensuring they are seated correctly and firmly. Pay special attention to the digitizer, front camera, and sensor connections. These delicate cables must be positioned without any tension or strain, which could compromise their functionality or cause future connectivity issues.
Once all connectors are properly seated, reconnect the battery connector. Before fully securing the screen, perform a preliminary functionality test. Briefly power on the device to verify touch responsiveness, display clarity, and sensor operations including Face ID. Check that all screen sections respond correctly and no dead zones exist. If everything functions smoothly, carefully position the new screen assembly, applying gentle and even pressure to ensure proper adhesion. Use the original screws to secure the display, tightening them gradually and uniformly to maintain structural integrity.
Professional Advice: Use a magnifying glass or smartphone camera zoom to inspect connector alignment and ensure each cable is perfectly seated before final installation.
Step 5: Test all functions and reassemble your device
The final stage of your iPhone 11 screen replacement involves comprehensive testing and careful reassembly. Your goal is to verify that every component functions correctly and restore the device to its original condition.
Power on the device and systematically test device functionality across multiple aspects. Check the touchscreen responsiveness by navigating through different applications, ensuring no dead zones or unresponsive areas exist. Verify Face ID by attempting to unlock the phone using facial recognition. Test the front camera by taking a few selfies and checking image quality. Confirm speaker and microphone performance by making a brief test call and playing audio through the speakers.
Once you have verified all functions are working perfectly, proceed with final reassembly. Carefully align the screen and gently press it into place, ensuring a secure and even fit. Replace and tighten the original screws using your pentalobe screwdriver, working gradually to maintain balanced pressure. Double check that no gaps exist between the screen and phone body and that the device feels structurally solid and intact.
The following table provides a concise comparison of critical testing actions after screen replacement:
| Device Function Tested | How to Test | Reason for Testing |
|---|---|---|
| Touchscreen | Navigate apps, check all areas | Verifies responsiveness and accuracy |
| Face ID | Attempt facial unlock | Confirms front sensor/camera function |
| Speaker & Microphone | Make a call and play audio | Checks sound input and output quality |
| Camera | Take a selfie, inspect image | Ensures image clarity and focus |
Professional Advice: Always perform a complete backup of your device data before starting the repair process to protect against potential data loss.
Get the Right Tools and Parts for Your iPhone 11 Screen Replacement
Replacing your iPhone 11 screen can be challenging without precise tools and quality components. The article highlights key pain points such as securing genuine replacement parts, careful disassembly, and delicate reconnection of flex cables and connectors. You want to avoid risks like damaging internal components or lowering the device functionality after repair. Ensuring you have the right LCD screens and display assemblies along with specialised tools like pentalobe screwdrivers and plastic pry tools is essential for a smooth and safe repair experience.
At Buy2fix, we understand the importance of quality and reliability in DIY repairs. We offer best quality aftermarket and genuine iPhone 11 screens, backed by a one-year warranty and tested to meet professional standards. With free UK mainland shipping and a comprehensive selection of repair parts and accessories you can confidently replace your screen without second-guessing the fit or functionality. Don’t risk further damage or frustration – explore our range today and take the first step toward restoring your device with expert-grade components from Buy2fix.
Frequently Asked Questions
What tools do I need to replace the screen on my iPhone 11?
You will need specific tools including a pentalobe screwdriver, a suction cup, plastic pry tools, fine-tipped tweezers, and a replacement screen assembly. Gather these tools before starting the repair to ensure a smooth process.
How do I power down my iPhone 11 before screen replacement?
To power down your iPhone 11, press and hold the side button along with either volume button until the power off slider appears. Slide to turn off the device and ensure it is completely powered down to avoid electrical damage during the repair.
How can I prevent static damage while replacing the screen?
Wearing an anti-static wrist strap is an effective way to ground yourself and prevent static-related faults. Additionally, work in a static-free environment to further minimise risks to the internal components of your iPhone 11.
What should I do if the touch screen does not respond after replacement?
If the touch screen does not respond, check that all display and sensor connectors are securely connected to the logic board. If necessary, carefully reseat the connectors, then power on the device to test functionality again.
How do I ensure I secure the display assembly correctly during reassembly?
While reassembling, ensure all connectors are seated properly and apply even pressure when securing the display assembly. Tighten the screws gradually to maintain structural integrity and double-check for any gaps to ensure the screen is firmly fitted.
Should I back up my device before replacing the screen?
Yes, always perform a complete backup of your device data before starting any repair process. This protects against potential data loss and allows you to restore your information if needed.
Recommended
- Replacement Screen for iPhone 11: Step-by-Step DIY Guide – buy2fix
- How to Replace Screen iPhone 11: Complete Step-by-Step Guide – buy2fix
- iPhone 11 Pro Replacement Screen: Complete DIY Guide – buy2fix
- iPhone 12 Max Screen Replacement: Full Step-by-Step Guide – buy2fix
- Limoncello Luxe Tough Case for iPhone - Stylish & Protective – San Rocco Italia
Let customers speak for us
Well made part very strong easy to fit great value for the money

Well packed, with fast shipping :)

Exactly what the doctor ordered…great color, comfort, and durability. Trust this watch band!

Brilliant strap, second purchase, bought bracelet before. Excellent value. Thank you

Great item for splitting your Audio signal

Outstanding product!
Next level customer service.

Very satisfied but the delivery needs to get more faster...

Good price,quick delivery

Best phone case ever! This is my second one as I broke my first. Would defo recommend

Great fitting Apple Watch bands

For Apple Watch Ultra 3 / 2 / 1 49mm RedPepper Armor Metal Case Integrated Silicone Watch Band(Steel Black White)

Good price and quick postage

Perfect fit.

Absolutely necessary

Second Purchase and still a very happy customer. Keep up the good work.
