

Replace your phone screen and save money with DIY repair
Professional phone screen repairs in the UK can drain your wallet, often costing between £80 and over £320 depending on your device model. You can cut these expenses dramatically by replacing the screen yourself. This guide walks you through every step, from gathering the right tools to testing your repair, so you can restore your phone safely and affordably.
Table of Contents
- Introduction And Why Diy Screen Replacement?
- Prerequisites And Tools Required
- Step-By-Step Screen Removal
- Installing The New Screen And Reassembly
- Common Mistakes And Troubleshooting
- Testing And Quality Assurance
- Expected Outcomes, Timeline, And Cost
- Explore Buy2Fix For Quality Tools And Parts
- Frequently Asked Questions
Key takeaways
| Point | Details |
|---|---|
| Cost savings | DIY screen replacement saves 40-70% compared to professional repairs in the UK. |
| Essential preparation | Proper tools, quality parts, and ESD precautions are vital for success. |
| Methodical process | Following step-by-step instructions reduces the risk of damaging your device. |
| Pre-sealing testing | Testing the new screen before final reassembly prevents costly repeat repairs. |
| Common pitfalls | Skipping battery disconnection and improper adhesive handling cause most failures. |
Introduction and why DIY screen replacement?
Replacing your phone screen yourself offers substantial financial benefits. Professional repairs can cost between £80 and over £320 depending on phone model and service, whilst DIY approaches often bring that figure down to £30-£120. Beyond savings, you gain practical skills and extend your device’s lifespan.
There are trade-offs to consider. Attempting repairs yourself may void manufacturer warranties on newer devices. Mistakes during disassembly can damage delicate internal components. Yet with careful planning and the correct approach, these risks become manageable.
Key benefits include:
- Significant cost reduction compared to professional services
- Learning valuable technical skills for future repairs
- Faster turnaround with no waiting for appointments
- Environmental benefit of extending device life rather than replacing
DIY kits save 73% in the UK when you source quality parts and follow proven methods. Understanding both advantages and potential hazards helps you decide if this route suits your situation.
“The satisfaction of successfully repairing your own device, combined with substantial cost savings, makes DIY screen replacement an attractive option for technically minded individuals willing to invest time in learning proper techniques.”
Prerequisites and tools required
Before starting your repair, gather the essential tools and materials. Having everything ready prevents mid-repair scrambles and reduces error rates.
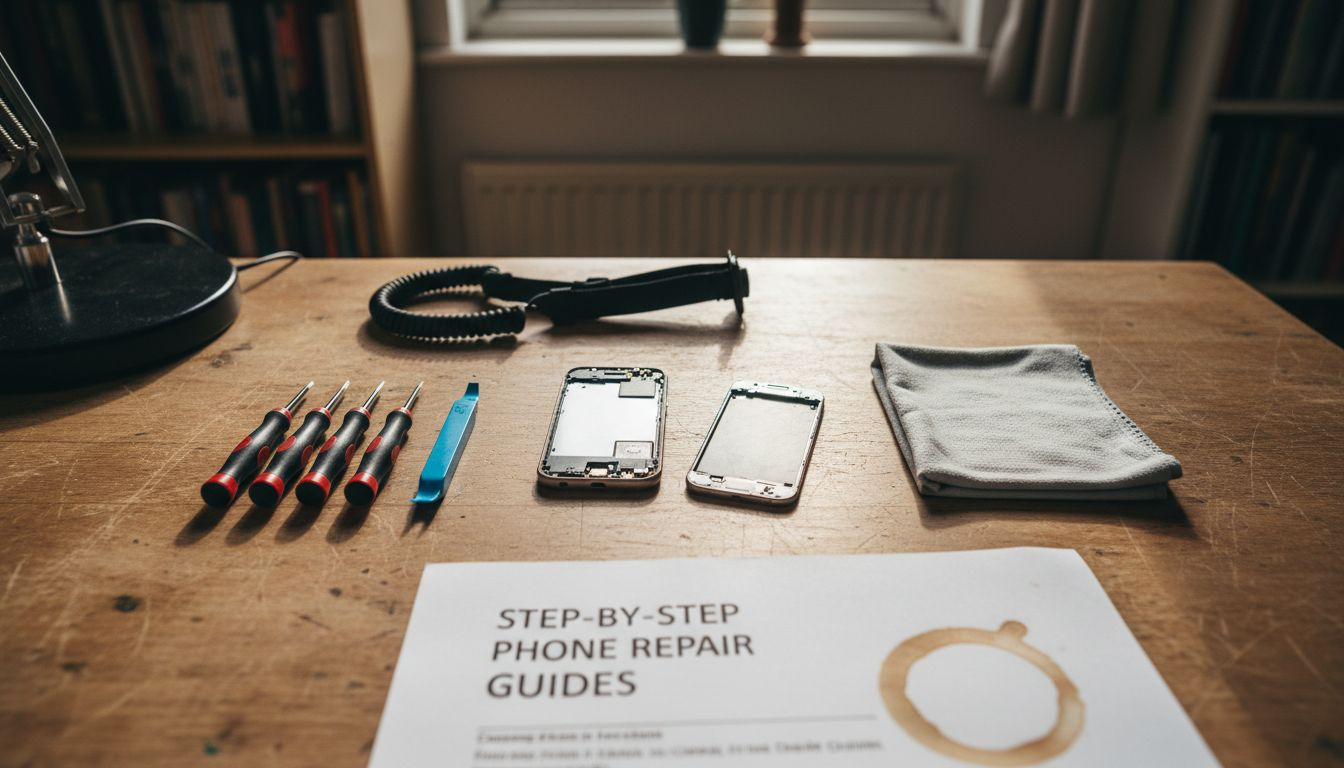
You’ll need precision screwdrivers in multiple formats. Most phones require Pentalobe, Phillips, or Tri-point drivers depending on manufacturer. Plastic pry tools prevent scratching metal frames. A suction cup helps lift screens without applying excessive force. Fine-tipped tweezers and a spudger assist with delicate cable work.
Using proper precision tools and ESD gear reduces the risk of damage during repairs. Static electricity can destroy sensitive circuits instantly. Wear an anti-static wrist strap connected to a grounded surface. Work on an anti-static mat if possible.
Source your replacement screen from reputable UK suppliers. Quality parts ensure proper fit and longevity. Cheap alternatives often fail within months or exhibit poor touch response.
| Tool category | Specific items | Purpose |
|---|---|---|
| Screwdrivers | Pentalobe, Phillips, Tri-point | Remove case screws |
| Prying tools | Plastic spudgers, guitar picks | Open device safely |
| Lifting tools | Suction cup | Separate screen from frame |
| Safety gear | ESD wrist strap, anti-static mat | Prevent static damage |
| Cleaning supplies | Isopropyl alcohol, microfibre cloth | Remove adhesive residue |
| Adhesive | Pre-cut strips or liquid adhesive | Secure new screen |
Prepare a clean, well-lit workspace. Good lighting prevents mistakes with tiny components. Safety glasses protect your eyes from spring-loaded parts. Keep isopropyl alcohol (90% or higher) on hand for cleaning.
Pro Tip: Investing in a complete repair kit from essential mobile repair tools sources saves time and reduces the chance of using incorrect tools that strip screws or crack components.
Step-by-step screen removal
Proper disassembly prevents the most common DIY failures. Follow this sequence carefully to remove your damaged screen without causing additional harm.
-
Power off your device completely. Hold the power button and select shut down rather than just letting the screen go dark.
-
Discharge any residual power by holding the power button for 15 seconds after shutdown. This step protects against electrical shock.
-
Apply gentle heat around the screen edges using a heat gun on low setting or a hairdryer. Keep the heat source moving to avoid overheating any single spot. This softens the adhesive holding the screen.
-
Remove any visible screws near the charging port or along the bottom edge. Place them in a small container, noting their positions if different lengths are used.
-
Position your suction cup near the bottom of the screen. Pull gently upwards whilst inserting a plastic pry tool into the gap that forms.
-
Removing the screen after disconnecting the battery reduces risk of electrical damage. Once you’ve lifted the screen slightly, locate and disconnect the battery connector first before proceeding.
-
Work your pry tool around the entire perimeter, releasing adhesive clips gradually. Never force any section, as internal cables may still be attached.
-
Identify the display flex cables connecting screen to motherboard. These are usually covered by small metal shields held with tiny screws.
-
Remove shield screws and lift shields carefully. Disconnect flex cables by gently prying up the connectors, not pulling on the cables themselves.
-
Lift the damaged screen away once all connections are free.
Pro Tip: Take photos at each stage, especially before disconnecting cables. These images serve as reference guides during reassembly, reducing confusion about connector positions.
“Patience during disassembly pays dividends. Rushing this stage causes 80% of accidental damage in DIY repairs. Take your time, and you’ll succeed.”
Consult step-by-step DIY screen removal guides specific to your phone model for additional visual references.
Installing the new screen and reassembly
With the old screen removed, you’re ready to install the replacement and rebuild your device. Precision here ensures proper function and longevity.
-
Clean the phone frame thoroughly using isopropyl alcohol on a microfibre cloth. Thorough cleaning of the phone frame before installation improves adhesive bonding and screen longevity. Remove all old adhesive residue and dust particles.
-
Allow the frame to dry completely for 2-3 minutes after cleaning. Any moisture interferes with adhesive bonding.
-
Prepare your replacement screen by removing any protective films from the back side only. Leave front protectors in place until after installation.
-
Position the new screen near its final location. Connect the display flex cables first, ensuring each connector seats fully with a gentle click.
-
Replace metal shields over connectors and secure with their original screws. Don’t overtighten, as this can crack solder joints.
-
Reconnect the battery connector to enable power for testing (covered in the next section).
-
If function tests pass, disconnect the battery again before applying adhesive. Apply pre-cut adhesive strips along the frame perimeter, or use liquid adhesive in a thin, even line.
-
Carefully lower the screen into position, aligning all edges with the frame. Press firmly around the entire perimeter to activate adhesive bonding.
-
Reconnect the battery one final time and replace any bottom screws removed during disassembly.
-
Power on your device and verify full functionality before considering the repair complete.
Key points during reassembly:
- Work in reverse order of disassembly, referring to your progress photos
- Ensure no cables are pinched between frame and screen
- Check that all connectors are fully seated before applying pressure
- Avoid leaving gaps between screen and frame that could allow dust ingress
Pro Tip: Test screen function before fully sealing the device. This allows easy reopening if issues arise, saving you from removing adhesive unnecessarily.
Common mistakes and troubleshooting
Even experienced repairers encounter challenges. Knowing frequent errors helps you avoid them and quickly resolve issues that do arise.
Forcing components is the most damaging mistake. If a screen won’t lift easily, more heat or gentler prying is needed. Excessive force cracks internal components like camera modules or breaks fragile circuit boards.
70% of DIY screen replacement failures result from improper tool use and skipping safety steps. Using household items like kitchen knives or flathead screwdrivers strips screw heads and gouges frames. Always use proper precision tools.
Skipping battery disconnection risks short circuits. Even brief contact between a metal tool and powered components can destroy the motherboard. Always disconnect the battery before any other cables.
Poor frame cleaning leads to adhesive failure. Screens that aren’t properly bonded develop touch response issues or allow dust and moisture inside. Spend extra time on thorough cleaning.
Troubleshooting common issues:
- No display after installation: Reconnect display flex cables, ensuring they’re fully seated. Check for damage to cable connectors.
- Touch not responding: Clean the flex cable contacts with isopropyl alcohol and reconnect. Verify the digitiser connector is secure.
- Display works but seems dim: Check brightness settings first. If maximum brightness is still low, the backlight connector may be loose.
- Screen appears but shows lines or distortion: This usually indicates a defective replacement screen. Test with known-good parts if available.
Before reassembling completely, test all functions. If problems persist, carefully disconnect and reconnect cables again. Most issues stem from incomplete connections rather than defective parts.
Pro Tip: Photograph the interior during disassembly. These images help identify correct cable routing and screw placement, preventing confusion during reassembly.
Avoid common DIY mistakes by working methodically and never rushing any step.
Testing and quality assurance
Thorough testing before final assembly prevents the frustration of discovering issues after the device is sealed. Follow this verification process to confirm repair success.
Check touch screen responsiveness across the entire display surface. Open a drawing app and scribble in all corners, edges, and centre areas. Every region should register touch accurately without dead zones.
Inspect display quality carefully. Look for dead pixels (tiny dots that don’t light up), brightness uniformity issues (darker or brighter patches), and colour accuracy. White backgrounds should appear pure white, not tinted yellow or blue.
Verify sensor functionality. Test the proximity sensor by making a call and covering the top of the screen. The display should turn off when covered, on when uncovered. Check the ambient light sensor by moving between bright and dark areas.
Testing touch responsiveness and display quality post-installation reduces repeat repair attempts by 12%. This small time investment prevents major frustration.
Essential tests to perform:
- Touch accuracy: Draw diagonals corner to corner, circles, and rapid taps
- Display uniformity: Show solid colour screens (white, black, red, green, blue)
- Brightness range: Adjust from minimum to maximum and verify smooth transitions
- Face ID or fingerprint: Test biometric security features if present
- Camera: Take photos to ensure no lens obstruction or focus issues
- Speakers and microphone: Make a test call and record audio
Power cycle your device several times. Turn it completely off and back on, checking that boot sequence completes normally. Open commonly used apps to verify stability and performance.
If any test fails, power off immediately and recheck all connections before sealing. Addressing issues now is far easier than reopening the device later.
“Quality assurance separates successful repairs from frustrating failures. Invest ten minutes in thorough testing to save hours of potential rework.”
Consult post-repair testing procedures for model-specific tests beyond these universal checks.
Expected outcomes, timeline, and cost
Understanding realistic expectations helps you plan your DIY repair project and evaluate whether the investment of time and money makes sense for your situation.
The average DIY repair takes 30 minutes to 1.5 hours depending on experience and phone complexity. First-time repairers should budget towards the longer end. Subsequent repairs proceed much faster as you develop familiarity.
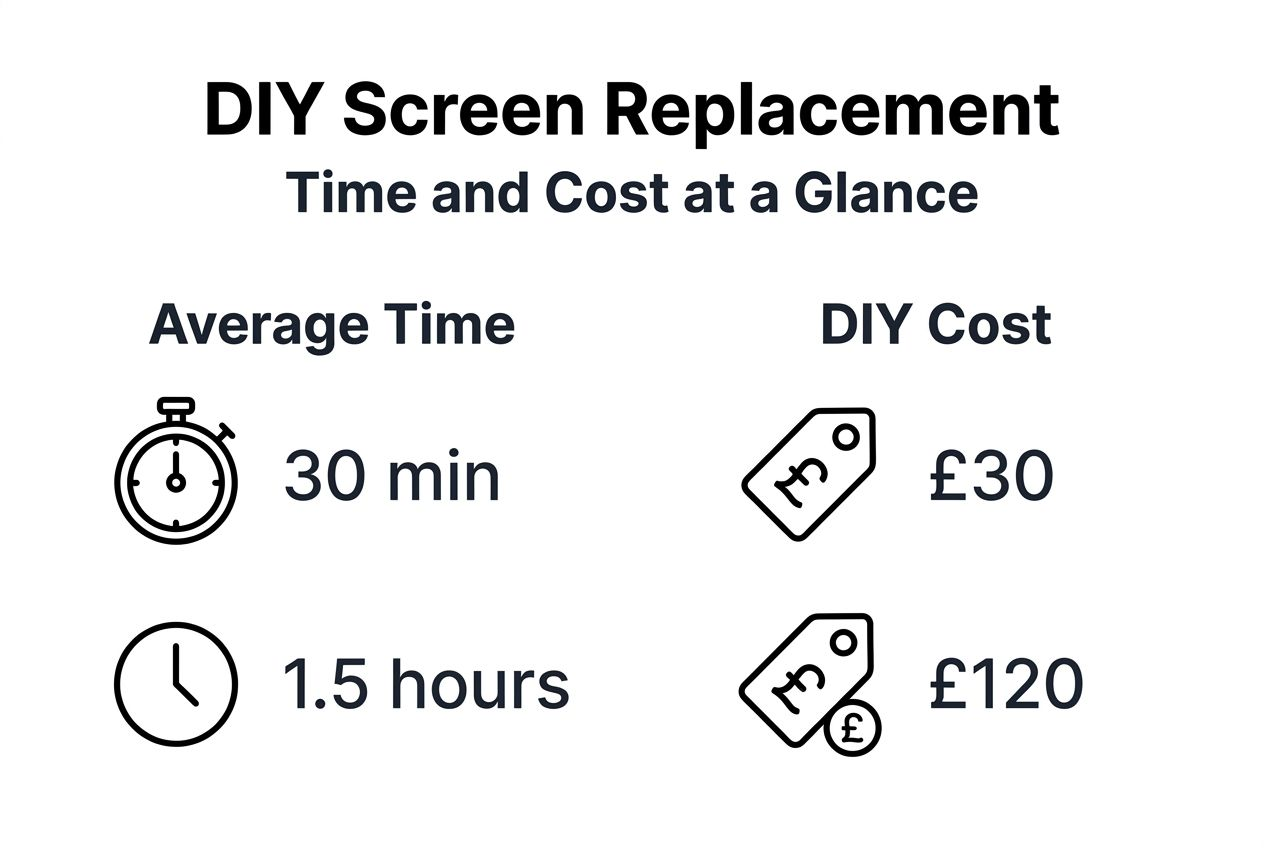
DIY screen replacements cost 40%-70% less than professional services, averaging £30-£120 versus £80-£320 in the UK. Your exact savings depend on phone model and part quality selected.
Quality considerations matter significantly. Cheap generic screens may cost £25 but often exhibit poor touch response, colour accuracy, or durability. Mid-range aftermarket parts (£50-£80) typically offer good quality-to-cost ratios. Original equipment manufacturer (OEM) parts cost most but guarantee perfect compatibility.
| Part type | Cost range | Quality level | Warranty impact |
|---|---|---|---|
| Generic | £25-£45 | Basic, may have issues | Voids warranty |
| Aftermarket | £50-£80 | Good, reliable performance | Voids warranty |
| OEM | £90-£150 | Excellent, original spec | May preserve warranty |
Factors affecting repair time:
- Phone model complexity: iPhones generally require more steps than some Android devices
- Damage extent: Screens with shattered glass take longer to remove safely
- Experience level: First repairs take 2-3x longer than subsequent attempts
- Tool quality: Proper tools dramatically speed up the process
Realistic outcomes include professional-grade results when you use quality parts and follow procedures carefully. Screens installed with proper adhesive and testing should last as long as the device itself.
Risk trade-offs exist. You void manufacturer warranties on most devices. Mistakes can cause additional damage. However, save up to 60% fixing your screen with careful DIY work makes this option compelling for many UK phone owners.
Compare DIY repair cost savings against professional quotes to determine your best path forward.
Explore Buy2Fix for quality tools and parts
Successful DIY repairs start with reliable components and proper equipment. Buy2Fix offers warranty-backed replacement screens and precision tools specifically selected for UK phone repair enthusiasts.
Our quality assurance process tests every screen before shipping, reducing the frustration of defective parts. Free UK mainland delivery means your repair supplies arrive quickly without added expense. Explore our guides on mobile phone repair basics to build your skills, check out the repair tools you need for comprehensive equipment lists, and learn about choosing phone parts to select components that match your requirements and budget. Whether you’re tackling your first screen replacement or equipping a home repair workshop, we provide the parts, tools, and knowledge to support your success.
Frequently asked questions
Is it worth replacing a cell phone screen yourself?
Yes, DIY replacement makes financial sense if you use quality parts and proper tools. You’ll save 40-70% compared to professional repairs whilst gaining valuable skills. The process carries some risk, but following proven methods minimises potential damage. For phones outside warranty periods, self-repair often represents the most cost-effective option.
How long does it take to replace a screen?
Typical repair time ranges from 30 minutes to 1.5 hours depending on phone model and your experience level. First-time repairs take longer as you familiarise yourself with the process. Subsequent repairs proceed much faster. Complex models with multiple components require additional time for careful disassembly.
What tools are essential for screen replacement?
Precision screwdrivers (Pentalobe, Phillips, Tri-point), plastic pry tools, a suction cup, and ESD safety gear form the core toolkit. You’ll also need isopropyl alcohol for cleaning, tweezers for cable work, and replacement adhesive. Using proper tools rather than household substitutes prevents damage to screws and frames. Complete repair kits include everything needed for most phone models.
Can I reuse old adhesive when installing a new screen?
No, old adhesive loses bonding strength and won’t secure the new screen properly. Always apply fresh adhesive, either pre-cut strips designed for your phone model or liquid adhesive applied evenly around the frame perimeter. Poor adhesive causes screens to lift, allowing dust ingress and compromising water resistance. Quality adhesive costs little but ensures long-term screen stability.
What if the new screen doesn’t work after installation?
First, verify all flex cable connections are fully seated with gentle pressure. Power off and reconnect the display cables, ensuring they click into place. Clean cable contacts with isopropyl alcohol if necessary. Check that no cables are pinched or damaged. Test before fully sealing the device to allow easy reopening if issues persist. Most non-function problems stem from incomplete connections rather than defective screens.
Recommended
Let customers speak for us
For Samsung Galaxy A26 SM-A266B Original Earpiece Speaker with Cable

Very good communication throught. Good product

Well made part very strong easy to fit great value for the money

Well packed, with fast shipping :)

Exactly what the doctor ordered…great color, comfort, and durability. Trust this watch band!

Brilliant strap, second purchase, bought bracelet before. Excellent value. Thank you

Great item for splitting your Audio signal

Outstanding product!
Next level customer service.

Very satisfied but the delivery needs to get more faster...

Good price,quick delivery

Best phone case ever! This is my second one as I broke my first. Would defo recommend

Great fitting Apple Watch bands

For Apple Watch Ultra 3 / 2 / 1 49mm RedPepper Armor Metal Case Integrated Silicone Watch Band(Steel Black White)

Good price and quick postage

