


1
/
of
7
No reviews
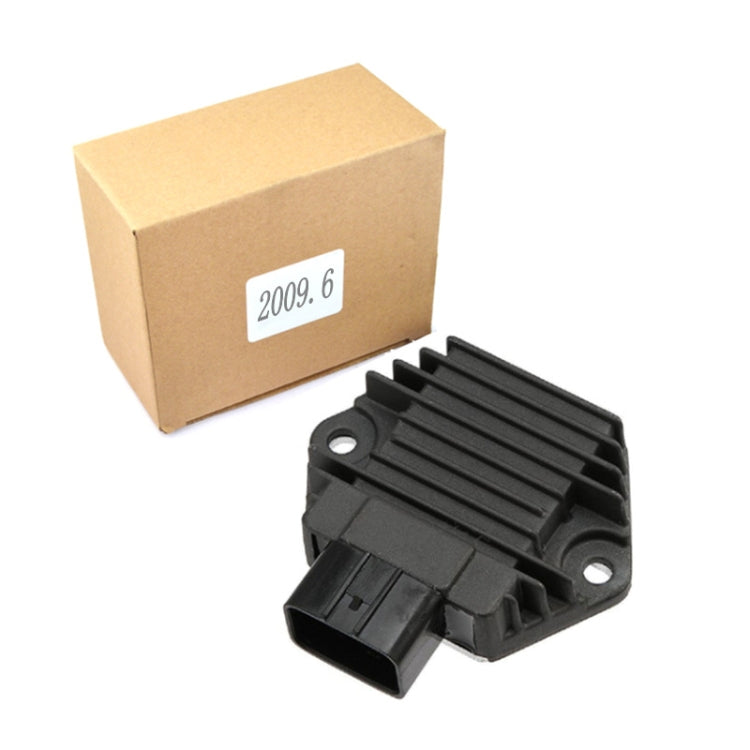
2009.6 Motorcycle Rectifier For Honda TRX350 TRX400 TRX450S VT750
2009.6 Motorcycle Rectifier For Honda TRX350 TRX400 TRX450S VT750
SKU: TBD05500748
Regular price
281,00 kr
Regular price
Sale price
281,00 kr
Duties & Import Tax Information
Duties are only included if shown at checkout. Otherwise, your local government may apply customs fees, which your courier will collect directly from you before delivery.
In Stock
CHN
This item is shipped from China.
Processed in 0–3 days
Quantity
Couldn't load pickup availability
Shipping info
To find all available shipping methods and exact delivery times, add the product to your cart and check using our shipping calculator.
30-day returns
Fast refunds: Once we receive and check your item, we aim to process your refund within 48 hours.
Return postage: Just changed your mind? You'll need to cover the return postage. If the item arrived faulty, we'll cover the cost to get it back to us.
Your details are safe
We treat your data the way we'd want ours treated. Your payment details are locked down with bank-level encryption. We never actually see your credit card numbers, and we will absolutely never sell your personal information.
Product Details
Type:
Voltage Stabilizer
1. Weight: 160G
2. Output voltage: 14.5V
3. Output current: 50A
4. Heat dissipation material: aluminum heat dissipation shell
5. Applicable battery: 12V
Applicable models:
2447
For Honda CB 300 2013 2015 31600-HP6-A01
For Honda CBF 250 2004 2007 31600-KPF-961
For Honda CBX Twister 250 Hasta 2016 31600-KPF-961
For Honda CRF AC 230 2008 2009 31600-HN5-M40
For Honda CRF R 450 2009 2012 31600-MEN-A31
For Honda CRF R 250 2010 2012 31600-MEN-A31
For Honda NX Falcon 400 s 2014 31600-HP6-A01
For Honda VT Shadow 750 2004 2009 31600-HN5-671
For Honda VT Shadow 700 2004 2009 31600-HP6-A01
For Honda XLV Transalp 650 2001 2007 31600-HN5-671
For Honda XR Tornado 250 31600-KPF-961
For Honda XRE 300 s 2013 31600-HP6-A01
For Reemplazo Shin Ngen SH683CA
Installation precautions:
1. The rectifier should be installed in a location with good ventilation and good heat dissipation. High temperature will be generated when the rectifier is working, and poor heat dissipation will damage the rectifier
2. The installation steps of the rectifier are to connect the AC input line, the positive and negative output are not connected, start the locomotive, measure the positive and negative output voltage, and when the voltage range is reasonable, plug in the positive and negative wires, and then test the positive and negative of the battery or rectifier If the voltage range is unreasonable, stop using it and give feedback. The entire installation process should be recorded and saved.
3. Note that the rectifier should be closely attached to the frame when installing it, which is good for heat conduction. You can also add thermally conductive glue between the rectifier and the frame
4. No other wires should be pressed between the rectifier and the frame
5. There should be a fuse fuse between the positive outlet of the rectifier and the battery to prevent the rectifier from being damaged when the voltage is too large and other electrical components will be burned.
Verified Compatible
Guaranteed fit for device in the title. Wrong part? Full refund including shipping.
Share


281,00 kr