

iPhone Screen Replacement Near Me: Complete DIY Guide
Most british iPhone users attempting a screen replacement face challenges that can lead to costly mistakes. Proper preparation is not just about following instructions but also about avoiding common pitfalls that can damage your device or void its warranty. With over 40 percent of phone repairs resulting in accidental damage to other components, a systematic approach greatly improves your chances of success. This guide breaks down each step, helping you gather the right tools and set up your workspace so you can achieve professional-grade results at home.
Table of Contents
- Step 1: Prepare Your Workspace And Gather Essential Tools
- Step 2: Source The Correct iPhone Replacement Screen Locally
- Step 3: Safely Dismantle Your iPhone And Remove The Damaged Screen
- Step 4: Install The New Screen And Reconnect All Components
- Step 5: Test The iPhone For Display And Touch Functionality
- Step 6: Secure Your iPhone And Dispose Of Damaged Parts Properly
Quick Summary
| Key Point | Explanation |
|---|---|
| 1. Prepare Your Workspace | Create a clean, well-lit area with an anti-static mat and gather essential tools like precision screwdrivers and pry tools. |
| 2. Source Compatible Replacement Screen | Identify your iPhone model and buy from reputable sellers offering original specifications to ensure proper functionality. |
| 3. Dismantle with Care | Power off your iPhone, remove screws, and use pry tools cautiously to avoid damaging internal components during screen removal. |
| 4. Install New Screen Accurately | Align the replacement screen correctly, secure connections, and ensure a proper fit before testing functionality. |
| 5. Dispose of Damaged Parts Responsibly | Collect all electronic waste for specialised recycling, and do not discard damaged parts in regular trash to protect the environment. |
Step 1: Prepare your workspace and gather essential tools
Replacing an iPhone screen requires careful preparation and a systematic approach to ensure a successful repair. Apple’s Self Service Repair programme recommends creating a clean, well-lit workspace with sufficient room to organise your tools and components before beginning.
Start by selecting a flat, stable surface like a wooden table or workbench with good illumination. Cover the area with an anti-static mat to protect sensitive electronic components from potential electrostatic discharge. Gather the following essential tools: precision screwdrivers (including pentalobe and Phillips head), plastic pry tools, tweezers, magnetised screw tray, clean microfibre cloth, isopropyl alcohol for cleaning, and protective eyewear. A magnifying glass or headlamp can also help with intricate work.
Organise your tools within easy reach and ensure you have a soft surface nearby to place phone components during disassembly. Keep a small container or magnetic mat handy to store screws and prevent losing these tiny parts during the repair process.
Professional tip: Photograph each disassembly stage with your smartphone. These reference images will help you reassemble the device correctly if you get confused during the repair.
Here is a summary of essential tools and their specific purposes during iPhone screen replacement:
| Tool | Purpose | Importance Level |
|---|---|---|
| Precision screwdrivers | Remove specific iPhone screws | Essential |
| Plastic pry tools | Gently separate screen from frame | Essential |
| Tweezers | Handle small connectors and cables | High |
| Magnetised screw tray | Safely store small screws during disassembly | High |
| Microfibre cloth | Clean screen and components | Medium |
| Isopropyl alcohol | Remove dirt and residue from surfaces | Medium |
| Protective eyewear | Shield eyes from potential damage | Recommended |
| Magnifying glass or headlamp | Enhance visibility for intricate tasks | Recommended |
Step 2: Source the correct iPhone replacement screen locally
Finding the right replacement screen is crucial for a successful iPhone repair. Apple’s Self Service Repair Store offers genuine parts specifically matched to individual iPhone models, ensuring compatibility and performance.
When sourcing a replacement screen, you must first identify your exact iPhone model and variant. Check the model number on the back of your device or in the settings menu under ‘General’ and ‘About’. Different iPhone generations and models require specific screen assemblies with unique connectors, display technologies, and dimensions. Avoid generic or universal screens that might compromise display quality or functionality.
Consider purchasing from reputable suppliers that specialise in mobile phone parts. Look for screens that match your iPhone’s original specifications including resolution, colour calibration, touch sensitivity, and protective coatings. Online marketplaces, specialised electronics repair shops, and authorised mobile accessory retailers can provide high quality replacement screens.
Professional tip: Always verify the return policy and warranty when purchasing a replacement screen. Some suppliers offer compatibility guarantees and will replace screens that do not perfectly match your specific iPhone model.
This table compares sources for obtaining iPhone replacement screens, highlighting their key advantages and risks:
| Source Type | Main Advantage | Main Risk |
|---|---|---|
| Apple Self Service Store | Guaranteed compatibility | Limited to official parts, higher price |
| Authorised retailers | Quality assurance, warranty | May not stock all models |
| Specialist repair shops | Expert advice, quick delivery | Varying quality, potential mark-up |
| Online marketplaces | Broad selection, competitive cost | Risk of counterfeits or low-quality screens |
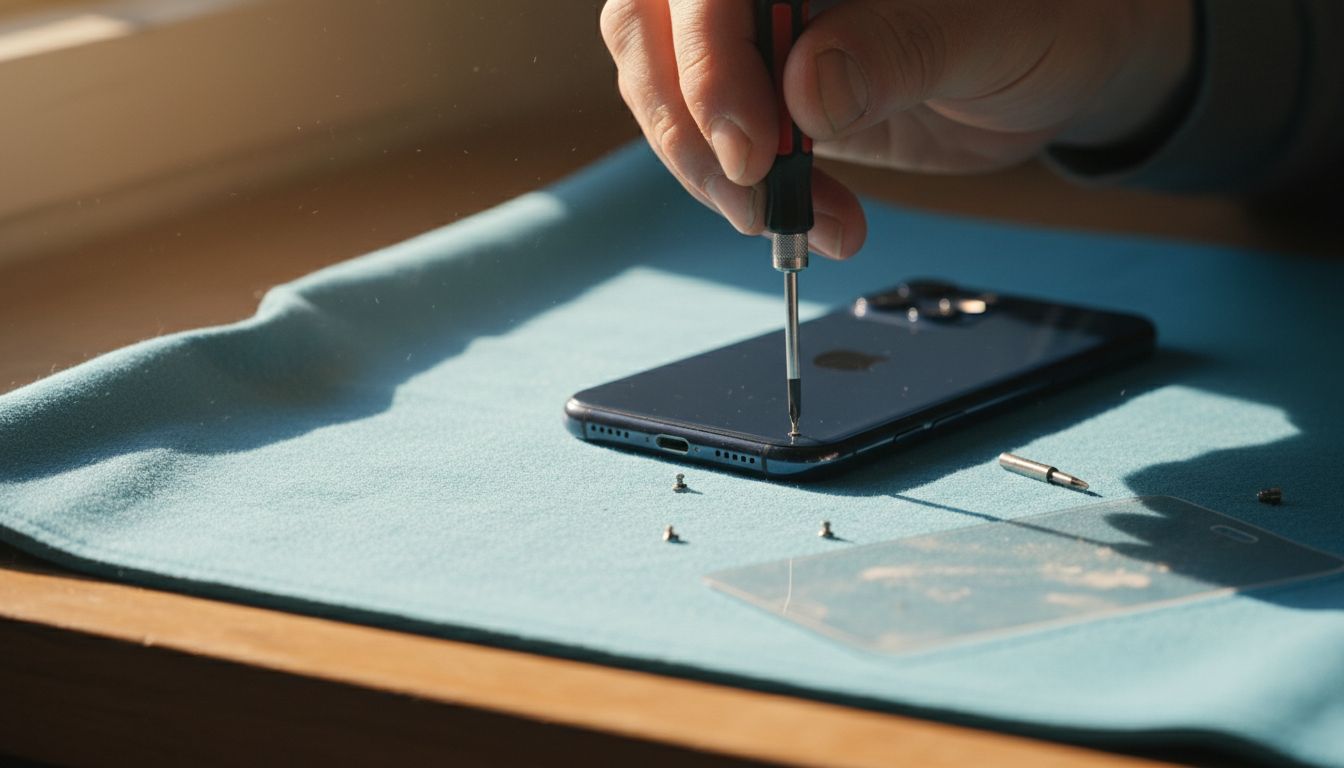
Step 3: Safely dismantle your iPhone and remove the damaged screen
Removing a damaged iPhone screen requires precision and careful technique. iFixit’s comprehensive iPhone repair guide emphasises the importance of methodical disassembly to prevent further device damage during the screen replacement process.
Begin by powering down your iPhone completely and placing it on your prepared anti-static surface. Use a pentalobe screwdriver to carefully remove the two screws located at the bottom of the device near the charging port. Gently apply a plastic pry tool along the device’s edge to carefully separate the display assembly from the phone’s frame. Work slowly and systematically around the edges to release the adhesive holding the screen in place, applying consistent but minimal pressure to avoid cracking the existing screen or damaging internal components.
Once the screen begins to lift, disconnect the display cable connecting the screen to the device’s logic board. This cable is typically located near the top of the device and requires delicate handling. Use tweezers to gently disconnect the cable, ensuring you do not bend or damage the connector. Keep all removed screws organised and track their specific placement to facilitate smooth reassembly later.
Professional tip: Take clear, well-lit photographs of each disassembly stage on your smartphone. These visual references will prove invaluable when you begin reassembling the device and need to recall exact component placement.
Step 4: Install the new screen and reconnect all components
Installing a new iPhone screen requires meticulous attention to detail and precise component alignment. iFixit’s comprehensive screen replacement guide emphasises the critical importance of carefully reconnecting each component to restore full device functionality.
Begin by positioning the new screen assembly and carefully aligning the display cable connector. Use clean tweezers to gently insert the connector into its corresponding socket on the logic board, ensuring it sits flush and straight without applying excessive force. Press down gently but firmly to establish a secure connection. Slowly lower the screen assembly back into the device frame, working methodically around the edges to reattach the adhesive. Apply even pressure to ensure a uniform seal without creating air bubbles or uneven contact points.
Once the screen is properly seated, replace the two pentalobe screws at the bottom of the device near the charging port. Double check that all connections are secure and the screen sits perfectly flush with the device’s frame. Power on the iPhone to verify the screen functions correctly and all touch responsiveness and display qualities are functioning as expected.
Professional tip: Before fully sealing the device, connect an external power source and briefly test all screen functions including touch responsiveness, colour accuracy, and brightness to confirm successful installation.
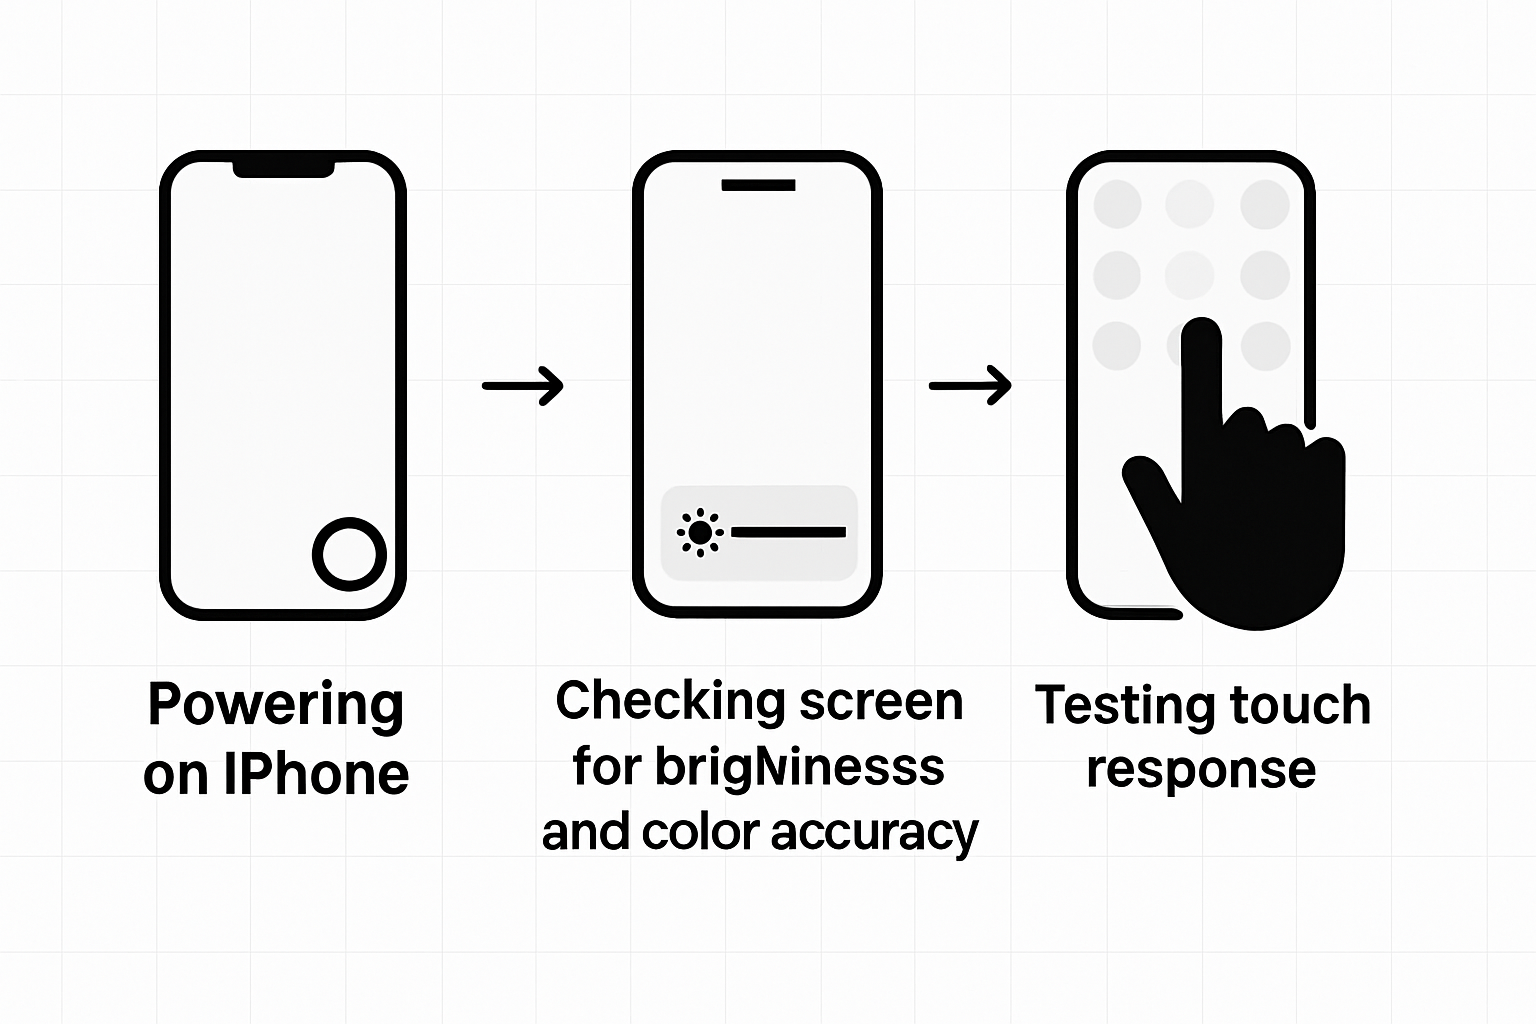
Step 5: Test the iPhone for display and touch functionality
iFixit’s comprehensive repair documentation emphasises the critical importance of thorough functionality testing after screen replacement. Verifying display and touch performance ensures your repair has been successful and prevents potential future issues.
Power on the iPhone and begin a systematic test of the new screen. Check the display brightness by adjusting settings and viewing the screen from multiple angles. Test touch responsiveness by navigating through various applications creating different gesture patterns pinching zooming scrolling and tapping. Open the keyboard and test each key carefully to confirm precise touch recognition. Verify colour accuracy by displaying high resolution images and comparing them against your previous screen or another device.
Examine the screen for any visual anomalies such as dead pixels discolouration or uneven backlight distribution. Test video playback and screen rotation to ensure complete functionality. Confirm that automatic brightness adjustment works correctly and that touch sensitivity remains consistent across the entire display surface. If you notice any irregularities during testing immediately recheck your connection points and screen installation.
Professional tip: Record a video of your functionality test. This provides a visual record of the screen performance and can be useful if you need to seek further technical support or verify the repair’s success.
Step 6: Secure your iPhone and dispose of damaged parts properly
iFixit’s comprehensive repair guide provides essential recommendations for responsibly managing electronic components after a screen replacement. Securing your newly repaired iPhone and properly handling damaged parts are crucial steps in completing your repair process.
Begin by carefully inspecting the iPhone to ensure all components are securely fastened and no loose connections remain. Gently tighten any screws and verify that the new screen sits perfectly flush with the device frame. Consider applying a protective case to prevent future damage and maintain the integrity of your repair. For the damaged screen and removed components, do not simply discard them in regular household waste.
Electronic waste requires specialised disposal methods to minimise environmental impact. Collect the damaged screen and removed parts in a dedicated electronics recycling container. Research local electronic waste recycling centres or contact mobile phone retailers that offer electronic component recycling services. Many technology stores and municipal waste facilities provide free electronic waste disposal programmes that ensure proper handling of potentially hazardous materials found in smartphone components.
Professional tip: Keep the original packaging of your replacement screen and store any leftover screws or small components in a labelled container. This organisation helps if you need future reference or encounter any warranty claims.
Find the Perfect iPhone Screen Replacement Parts for Your DIY Repair
Struggling to source the exact iPhone screen replacement components that match your model and ensure flawless functionality is common for DIY enthusiasts. This guide highlights the challenges of careful disassembly, correct part selection, and thorough testing to avoid costly mistakes or device damage. At Buy2fix, we understand the precise tools and authentic parts you need to complete your repair with confidence.
Explore our extensive range of Mobile Phone Repair Parts including high-quality LCD screens and display assemblies designed to fit your iPhone model perfectly. Benefit from our free UK mainland shipping and one-year warranty to protect your investment. Whether you are a professional technician or a first-time DIYer, our expertly sourced components and accessories provide the reliability you need to restore your device’s display and touch functionality successfully.
Ready to get started with your iPhone screen replacement project? Visit Buy2fix now to order genuine parts and essential tools. Take control of your repair process today with trusted products delivered direct to your door.
Frequently Asked Questions
How do I prepare my workspace for iPhone screen replacement?
To prepare your workspace, choose a clean, well-lit, and stable surface. Make sure to gather essential tools such as precision screwdrivers, plastic pry tools, and a magnetised screw tray, and organise them within easy reach.
What tools do I need for a successful iPhone screen replacement?
You will need several specific tools, including precision screwdrivers, plastic pry tools, tweezers, a magnetised screw tray, and isopropyl alcohol. Collect these items before starting your repairs to ensure a smooth process.
How can I ensure I get the right replacement screen for my iPhone?
To get the correct replacement screen, first identify your iPhone model by checking the model number. Purchase from reputable suppliers that offer screens specifically designed for your iPhone, avoiding generic options that may affect functionality.
What are the steps for safely dismantling my iPhone?
Start by powering down your iPhone and removing the screws near the charging port using a pentalobe screwdriver. Use a plastic pry tool to gently detach the screen, being careful to disconnect the display cable without damaging any components.
How should I test my iPhone after replacing the screen?
After installing the new screen, power on your iPhone and test its functionality by checking for display brightness, touch responsiveness, and colour accuracy. Navigate through applications and verify that all features are working correctly to ensure a successful repair.
What should I do with the damaged screen after replacement?
Collect the damaged screen and any removed components in a dedicated electronics recycling container. Research local electronic waste recycling options to ensure proper disposal of potentially hazardous materials.
Recommended
- How to Fix My Phone Screen: Complete Step-by-Step Guide – buy2fix
- How to Install a New Phone Screen Like a Pro – buy2fix
- Mobile Screen Replacement Guide: Achieve Pro Results – buy2fix
- Ultimate Mobile Device Screen Replacement Guide for 2025 – buy2fix
- Akkus reparieren Guide: So bringen Sie Ihre Akkus zurück ins Leben - accu.blog
Let customers speak for us
For Samsung Galaxy A26 SM-A266B Original Earpiece Speaker with Cable

Very good communication throught. Good product

Well made part very strong easy to fit great value for the money

Well packed, with fast shipping :)

Exactly what the doctor ordered…great color, comfort, and durability. Trust this watch band!

Brilliant strap, second purchase, bought bracelet before. Excellent value. Thank you

Great item for splitting your Audio signal

Outstanding product!
Next level customer service.

Very satisfied but the delivery needs to get more faster...

Good price,quick delivery

Best phone case ever! This is my second one as I broke my first. Would defo recommend

Great fitting Apple Watch bands

For Apple Watch Ultra 3 / 2 / 1 49mm RedPepper Armor Metal Case Integrated Silicone Watch Band(Steel Black White)

Good price and quick postage

