

How to diagnose and fix Samsung mobile display problems
Up to 20% of Samsung Galaxy S23 Ultra users experience significant display or hardware-related issues within their first year. These problems range from screen flickering and pixel defects to unresponsive touch and discolouration, severely impacting usability. This guide empowers Samsung mobile users and repair technicians to accurately diagnose display faults, apply effective troubleshooting methods, and restore devices using quality replacement parts for lasting results.
Table of Contents
- Understanding Common Display Problems On Samsung Mobiles
- Root Causes Of Samsung Mobile Display Issues
- Diagnostic And Troubleshooting Strategies For Display Problems
- Choosing Quality Replacement Parts For Samsung Display Repairs
- Common Misconceptions About Samsung Mobile Display Repairs
- Step-By-Step Repair Guidance For Popular Samsung Display Problems
- Summary And Next Steps For Repair Success
- Explore Quality Samsung Mobile Repair Parts And Tools At Buy2Fix
- Frequently Asked Questions
Key takeaways
| Point | Details |
|---|---|
| Display issue prevalence | Up to 20% of Samsung Galaxy S series users report serious screen problems early in device ownership. |
| Dual causation | Hardware faults like damaged screens and software glitches from updates both trigger display issues. |
| Diagnostic tools | Safe mode and cache partition wipes effectively isolate software conflicts from hardware damage. |
| Quality parts matter | Genuine or verified aftermarket displays prevent repeat failures and ensure colour accuracy. |
| Targeted repairs | Not every display problem requires full screen replacement; flex cable or software fixes often suffice. |
Understanding common display problems on Samsung mobiles
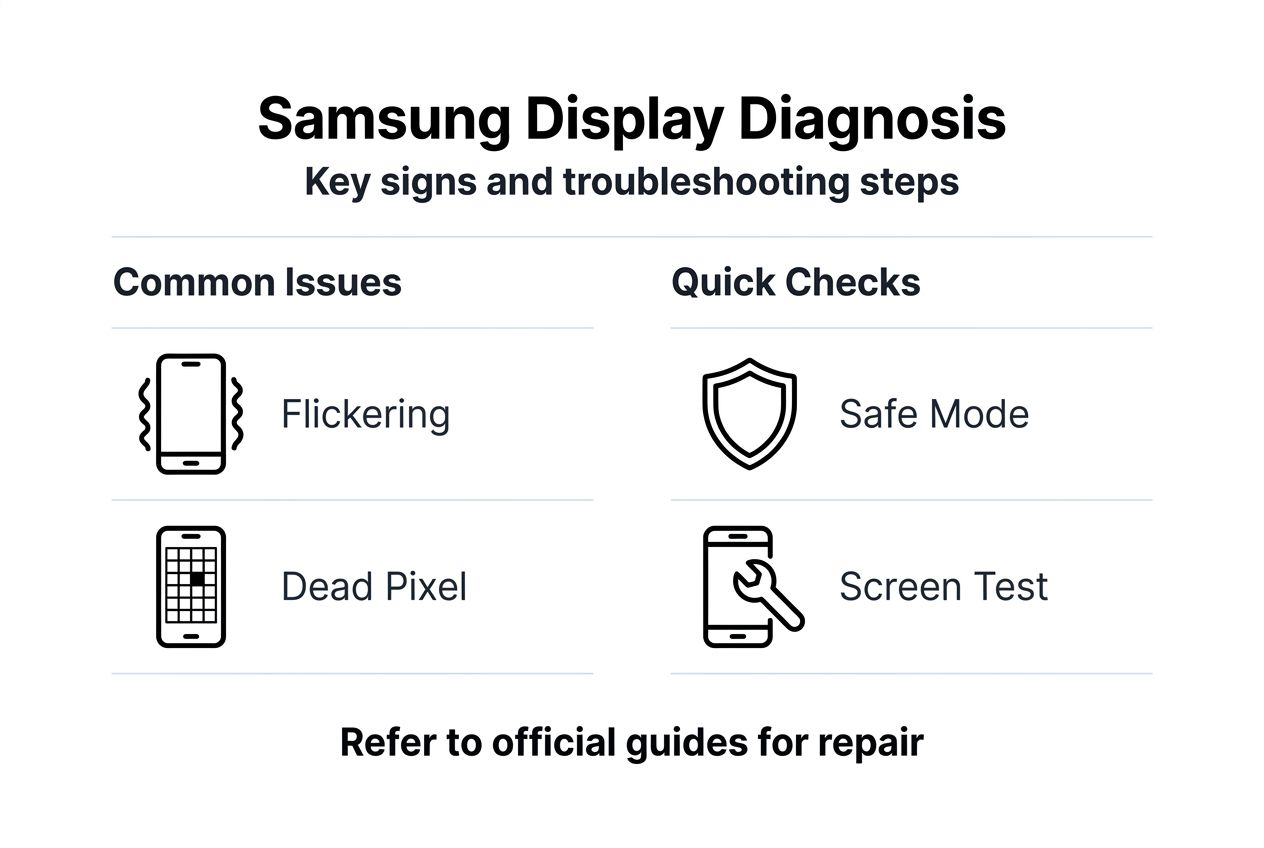
Samsung mobile owners frequently encounter several distinct display issues that compromise device functionality. 15-20% of Samsung Galaxy S23 Ultra owners face major display or hardware problems within the first year, making these faults among the most reported complaints. Screen flickering manifests as rapid brightness fluctuations or visible scan lines during normal use. Unresponsive touch areas prevent users from accessing apps or typing accurately.
Pixel defects appear as dead spots, stuck colours, or clusters of bright dots that disrupt image clarity. Discolouration issues include yellow tinting, pink casts, or uneven brightness distribution across the panel. Black screens or frozen displays render devices temporarily or permanently unusable. These symptoms degrade user experience significantly, causing frustration during daily tasks and reducing overall satisfaction with premium devices.
Both hardware and software factors contribute to Samsung display problems, requiring users to understand the distinction for effective repair. Common display issues include:
- Screen flickering or rapid brightness changes during operation
- Pixel defects manifesting as dead spots or stuck colours
- Touch unresponsiveness in specific screen regions
- Discolouration such as yellow tint or pink cast
- Completely black or frozen displays that resist input
Root causes of Samsung mobile display issues
Hardware faults represent the most common physical causes of display problems. Damaged LCD or AMOLED panels from drops or pressure create visible cracks, dead pixels, or bleeding backlight. Manufacturing defects occasionally produce pixel clusters that fail prematurely, even without user damage. Loose or corroded flex cable connections between the display assembly and motherboard interrupt signal transmission, causing intermittent flickering or complete screen failure. Water ingress corrodes internal connectors and circuitry, leading to progressive display degradation.

Software causes encompass update bugs, cache conflicts, and misconfigured settings that affect screen behaviour. Major Android or One UI updates sometimes introduce rendering glitches that cause flickering or frozen frames. Corrupted cache files accumulate after updates, interfering with display driver functions. Third-party apps with poor coding trigger screen anomalies by conflicting with system graphics routines. Samsung Galaxy S26 Ultra’s Privacy Display technology reduces visible resolution from certain angles even when disabled, affecting perceived image quality.
Differentiating hardware from software causes enables targeted repair strategies. Hardware faults require physical component replacement, while software issues resolve through settings adjustments or system resets. Consult a phone screen repair guide for detailed diagnostic workflows. The table below compares key characteristics:
| Cause Type | Common Symptoms | Diagnostic Method | Typical Solution |
|---|---|---|---|
| Hardware damage | Visible cracks, persistent dead pixels, bleeding | Physical inspection, safe mode test | Screen replacement or flex cable repair |
| Software bugs | Flickering after updates, temporary freezing | Safe mode boot, cache wipe | Update rollback, factory reset |
| Connector issues | Intermittent display loss, colour distortion | Reseating cables, connection test | Cable replacement or reconnection |
| Settings conflicts | Uneven brightness, colour shifts | Display settings review | Colour calibration, brightness adjustment |
Pro Tip: Always test your Samsung mobile in safe mode before assuming hardware failure. If display problems disappear in safe mode, a third-party app is likely the culprit rather than physical damage.
Diagnostic and troubleshooting strategies for display problems
Systematic diagnosis isolates display problems and prevents unnecessary repairs or expenses. Begin with software checks before opening the device for hardware inspection. Booting into safe mode and wiping the cache partition resolve many issues after major software updates, as these steps disable third-party apps and clear corrupted temporary files.
Follow these diagnostic steps in order:
- Boot into safe mode by powering off, then holding power until the Samsung logo appears, then holding volume down until restart completes. Observe if display issues persist without third-party apps running.
- Wipe the cache partition by powering off, then holding volume up, power, and home (or Bixby on newer models) until recovery mode loads. Select wipe cache partition using volume keys and confirm with power.
- Physically inspect the screen surface for cracks, pressure marks, or discolouration patterns that indicate internal panel damage.
- Check flex cable connections by carefully removing the rear cover (if skilled) and verifying cable seating at both display and motherboard ends.
- Test touch responsiveness across all screen areas using a touch test app or drawing app to map dead zones.
- Monitor flickering patterns: consistent flickering suggests hardware faults, while intermittent flickering during specific app use points to software conflicts.
Combining software checks with hardware inspection ensures accurate diagnosis. If safe mode eliminates display problems, uninstall recently added apps one by one to identify the conflict. If issues persist in safe mode, hardware damage is probable. Refer to phone screen repair troubleshooting for advanced techniques. Review post-update display fixes for software-specific solutions.
Pro Tip: Photograph your screen defects in different lighting conditions and app environments. These images help repair technicians diagnose issues remotely and ensure you purchase the correct replacement part.
Choosing quality replacement parts for Samsung display repairs
Selecting the right replacement display determines repair longevity and device performance. Genuine Samsung OEM parts offer perfect compatibility, accurate colour reproduction, and reliable touch sensitivity matching original specifications. These parts carry manufacturer warranties and integrate seamlessly with device firmware. High-quality aftermarket displays from reputable suppliers balance cost savings with acceptable performance, using comparable panel technology and materials.
Low-quality generic parts present significant risks despite lower prices. These displays suffer from poor colour accuracy, reduced brightness, inconsistent touch response, and premature failure within months. Generic parts often lack proper quality control, resulting in dead pixels, backlight bleeding, or adhesive failures. Verify parts authenticity through supplier reputation, customer reviews, and warranty offerings before purchasing.
Consider these factors when selecting replacement displays:
- OEM vs aftermarket: genuine parts cost more but guarantee compatibility; quality aftermarket saves money with minor compromises
- Panel type: ensure AMOLED for AMOLED models, LCD for LCD models to match original specifications
- Touch digitiser integration: purchase complete assemblies with pre-attached digitisers to simplify installation
- Warranty coverage: minimum 90-day warranty indicates supplier confidence in part quality
- Return policies: flexible returns protect against defective or incompatible parts
The table below compares display part categories:
| Part Type | Cost Range | Quality Level | Best For |
|---|---|---|---|
| Genuine OEM | High | Excellent | Premium repairs, warranty preservation |
| Quality Aftermarket | Medium | Good to Very Good | Cost-conscious repairs, out-of-warranty devices |
| Budget Generic | Low | Poor to Fair | Temporary fixes, low-value devices |
Pro Tip: Request part photos showing packaging, branding, and connector details before purchase. Authentic suppliers provide detailed images, while generic part sellers often use stock photos or refuse closeup requests.
Common misconceptions about Samsung mobile display repairs
Several persistent myths mislead users into unnecessary expenses or ineffective repair attempts. Understanding these misconceptions prevents wasted money and improves repair outcomes. Not all display issues require full screen replacement; some resolve through flex cable reconnection, software resets, or settings adjustments. Users often assume any screen problem means buying a new display assembly, overlooking simpler and cheaper solutions.
Software updates can cause display problems, contradicting the belief that updates only improve performance. Major Android or One UI updates occasionally introduce rendering bugs, driver conflicts, or cache corruption that trigger flickering or freezing. Another misconception holds that DIY repairs always void warranties, but many regions protect consumer repair rights. The UK Consumer Rights Act 2015 permits self-repair without automatic warranty loss, provided repairs don’t cause the original fault.
Partial repairs like replacing damaged flex cables offer cost-effective alternatives to full screen replacement. A loose or torn flex cable causes symptoms identical to panel failure, yet costs a fraction to replace. DIY repairs save significant money compared to professional services but require proper knowledge, tools, and patience. Rushing repairs without understanding procedures risks further damage.
Key misconceptions to avoid:
- All screen problems need full display replacement (many resolve through cable or software fixes)
- Software updates never cause display issues (updates can introduce bugs requiring rollback or cache clearing)
- DIY repairs always void warranties (consumer protection laws often preserve rights)
- Aftermarket parts always fail quickly (quality aftermarket parts perform reliably for years)
- Professional repair is always safer than DIY (skilled DIY with proper tools matches professional quality)
Consult a DIY screen replacement guide and review DIY phone screen repair kits for informed repair decisions.
Step-by-step repair guidance for popular Samsung display problems
Executing repairs methodically ensures safety and success. Address flickering or dead pixels by replacing the screen assembly following manufacturer procedures. Power off completely, remove the rear cover using appropriate heat and pry tools, disconnect the battery first to prevent shorts, then carefully detach flex cables and remove the damaged display. Install the replacement panel by reversing these steps, ensuring proper cable seating and adhesive bonding.
Fix unresponsive touch by inspecting and reconnecting flex cables before assuming panel damage. Open the device, locate the display flex cable connector on the motherboard, gently lift the connector latch, remove and inspect the cable for tears or corrosion, then reconnect firmly and test. If touch remains unresponsive after reconnection, the digitiser layer requires replacement.
Apply software resets to resolve frozen or black screens caused by system crashes. Hold power and volume down for 10 seconds to force restart. If the screen remains black, boot into recovery mode and perform a factory reset after backing up data. Test the device thoroughly after each repair:
- Identify the specific display problem through systematic diagnosis as outlined earlier.
- Gather necessary tools including heat gun or hairdryer, plastic pry tools, precision screwdrivers, and replacement parts.
- Review model-specific disassembly guides from reputable sources to understand your device’s internal layout.
- Power off completely and remove SIM card tray and rear cover using controlled heat to soften adhesive.
- Disconnect battery immediately after opening to prevent electrical damage during repair.
- Remove damaged display by heating edges, carefully prying up the panel, and disconnecting all flex cables.
- Install replacement display by connecting flex cables first, testing function before final assembly, then securing with adhesive.
- Reassemble device, power on, and test all display functions including touch, brightness, colours, and rotation.
- Monitor the repair for 48 hours to ensure stable performance without recurring issues.
Refer to faulty screen identification, DIY screen replacement guide, and DIY screen repair guide for detailed model-specific instructions and visual aids.
Summary and next steps for repair success
Accurate diagnosis forms the foundation of successful Samsung display repair. Early identification of hardware versus software causes prevents unnecessary component replacement and reduces costs. Software troubleshooting through safe mode and cache clearing resolves many issues without physical intervention. When hardware repair becomes necessary, choosing genuine or verified high-quality parts ensures repair longevity and device reliability.
Follow manufacturer guides and reputable repair tutorials to avoid damaging sensitive components during disassembly and reassembly. Test completed repairs thoroughly across all display functions before considering the job finished. Trustworthy suppliers like Buy2Fix offer quality replacement displays, tools, and expert support for DIY enthusiasts and small repair businesses.
Best practices for repair success:
- Diagnose systematically using software checks before hardware inspection
- Source parts from verified suppliers with warranties and return policies
- Follow model-specific repair guides to understand unique assembly challenges
- Test repairs immediately and monitor for 48 hours to catch early failures
- Maintain proper tools and workspace organisation to prevent component loss or damage
Pro Tip: Keep spare flex cables and adhesive strips on hand when performing display repairs. These inexpensive components often sustain damage during disassembly, and having spares prevents project delays or incomplete repairs.
Explore quality Samsung mobile repair parts and tools at Buy2Fix
Restoring Samsung displays to full functionality requires reliable parts and proper tools. Buy2Fix provides genuine and high-quality Samsung display replacement parts for models ranging from current flagships to older devices. Our comprehensive selection includes complete LCD and AMOLED assemblies, flex cables, digitisers, and adhesive kits tailored to specific Samsung models.
DIY repairers and small businesses benefit from our extensive phone screen repair guides and DIY phone screen replacement guide, offering step-by-step instructions with visual aids. Our quality assurance processes ensure every part ships tested and ready for installation. Free UK mainland shipping, a 30-day return policy, and one-year warranty coverage provide peace of mind for every purchase. Extend your device lifespan and maintain customer satisfaction with dependable parts and expert advice from Buy2Fix.
Frequently asked questions
What are the most common display problems on Samsung mobiles?
Common problems include screen flickering, pixel defects appearing as dead spots or stuck colours, unresponsive touch in specific areas, discolouration like yellow tint or pink cast, and completely black or frozen displays. These symptoms arise from both hardware damage such as cracked panels or loose flex cables and software issues including update bugs or cache corruption. Each problem type requires different diagnosis methods: hardware faults need physical inspection and component replacement, while software issues resolve through safe mode testing, cache clearing, or factory resets.
Can software issues cause Samsung mobile display problems?
Major software updates can introduce bugs causing display flickering or freezing, often fixed by cache wiping and safe mode reboot. Android or One UI updates occasionally create rendering glitches, driver conflicts, or cache file corruption that interfere with screen behaviour. Third-party apps with poor coding trigger similar symptoms by conflicting with system graphics routines. Clearing the cache partition and booting into safe mode isolate these software conflicts from hardware damage, enabling targeted solutions without physical repairs. Review software update display fixes for detailed troubleshooting.
How do I choose the right replacement display part for my Samsung phone?
Select genuine OEM or verified high-quality aftermarket parts compatible with your specific Samsung model number. Genuine parts guarantee perfect fit, accurate colour reproduction, and reliable touch sensitivity but cost more. Quality aftermarket displays from reputable suppliers offer acceptable performance at lower prices, using comparable panel technology. Avoid cheap generic parts that risk poor colour accuracy, reduced brightness, inconsistent touch, and premature failure. Check supplier warranties for minimum 90-day coverage, review customer feedback for quality confirmation, and verify return policies protecting against defective or incompatible parts.
What are the best first steps to diagnose screen flickering on Samsung mobiles?
Boot your phone into safe mode by powering off, holding power until the Samsung logo appears, then holding volume down until restart completes. If flickering disappears in safe mode, a third-party app causes the problem rather than hardware damage. Wipe the cache partition by entering recovery mode and selecting the cache wipe option to clear corrupted temporary data from recent updates. Physically inspect the screen and flex cable connections for visible damage, loose connectors, or corrosion if software steps fail to resolve flickering. These systematic checks isolate software conflicts from hardware faults before committing to component replacement.
Recommended
- What is LCD display in mobile: essential guide for repairs – buy2fix
- How to Get Phone Screen Fixed Safely and Efficiently – buy2fix
- How to Fix Phone Screen: Repair Guide for DIY Success – buy2fix
- How to Fix Broken Phone Screen Near Me: Step-by-Step Guide – buy2fix
- This screen does not support HDCP | allpaytv
- 7 Key Steps for an Effective Mobile Forensics Checklist
Let customers speak for us
Well made part very strong easy to fit great value for the money

Well packed, with fast shipping :)

Exactly what the doctor ordered…great color, comfort, and durability. Trust this watch band!

Brilliant strap, second purchase, bought bracelet before. Excellent value. Thank you

Great item for splitting your Audio signal

Outstanding product!
Next level customer service.

Very satisfied but the delivery needs to get more faster...

Good price,quick delivery

Best phone case ever! This is my second one as I broke my first. Would defo recommend

Great fitting Apple Watch bands

For Apple Watch Ultra 3 / 2 / 1 49mm RedPepper Armor Metal Case Integrated Silicone Watch Band(Steel Black White)

Good price and quick postage

Perfect fit.

Absolutely necessary

Second Purchase and still a very happy customer. Keep up the good work.
