

How to diagnose mobile display problems accurately
TL;DR:
- Many smartphone display issues are caused by loose connections or software glitches rather than hardware faults, making proper diagnosis essential. Understanding the layered structure of screens, including digitiser, backlight, and flex cables, helps distinguish faults and avoid unnecessary replacements. Accurate troubleshooting, such as the torch test and flex connector checks, ensures repair efforts are targeted effectively and economically.
A smartphone screen that goes dark, flickers, or stops responding to touch can send even experienced technicians reaching for a replacement part too quickly. The truth is that a significant number of display problems are not hardware faults at all, and replacing an expensive screen assembly when the issue is a loose connector or a software glitch wastes money and time. This guide walks you through how mobile displays actually work, how to identify specific symptoms accurately, and how to make the right call between repairing, replacing, or sourcing a new part.
Table of Contents
- Understanding how mobile displays function
- Common display problems and symptoms
- Diagnosing display problems: step-by-step process
- When to repair, replace, or seek professional help
- Selecting reliable replacement parts for display repair
- A realistic view: Why good diagnostics beat guesswork every time
- Your next step: Trusted parts and support for mobile display repair
- Frequently asked questions
Key Takeaways
| Point | Details |
|---|---|
| Accurate diagnosis is essential | Rushing to replace screens without proper diagnostics leads to wasted time and money. |
| Recognise common symptoms | Understanding display problem indicators helps you pinpoint the real cause quickly. |
| Use quality parts | Choosing reliable replacement screens ensures better performance and longevity after repairs. |
| Know when to seek help | Complex or persistent display faults often require professional repair services for best results. |
Understanding how mobile displays function
Before you can reliably diagnose a display problem, you need a working understanding of what you are actually looking at. Mobile displays are not single components. They are layered assemblies made up of several distinct parts that work together, and a fault in any one of them produces a different symptom.
The two dominant display technologies in modern smartphones are LCD (Liquid Crystal Display) and OLED (Organic Light Emitting Diode). As LCD display technology explains, LCD screens require a separate backlight layer to illuminate the pixels, which means a failed backlight produces a completely black screen even though the display panel itself may be functioning normally. OLED screens, by contrast, emit their own light per pixel, so they show different failure patterns such as burn-in or partial dimming rather than total blackouts.
Key components to understand include:
- The digitiser: The transparent layer that detects touch input. It sits above the display panel and can fail independently, which means you can have a perfectly visible image with zero touch response.
- The backlight unit: Found in LCD assemblies, this component provides the illumination behind the liquid crystal layer. Backlight failure is one of the most commonly misdiagnosed faults.
- The display panel: The actual image-producing layer, whether LCD or OLED.
- Flex connectors and ribbon cables: These connect the display assembly to the main board. Damage or poor seating on a flex connector can replicate almost any display fault convincingly.
- The frame and adhesive: Structural elements that, when compromised through a drop, can put physical pressure on the display stack and cause visual artefacts.
Understanding the layered structure of a display assembly is the single most important thing you can do before picking up a screwdriver. Misidentifying which layer has failed leads to unnecessary part swaps and repeat repairs.
This structural understanding is also what separates a confident repair from a guessing exercise. If you are newer to screen repairs, reviewing DIY repair essentials before starting any job is a practical first step.
Common display problems and symptoms
Once the basic technology is clear, the next step is identifying what specific display fault you are facing. Symptoms are your primary diagnostic data, and learning to read them precisely is a skill that saves significant time and money.
Here is a quick reference table of common display faults and their most likely causes:
| Symptom | Likely cause | Display or digitiser? |
|---|---|---|
| Completely black screen | Backlight failure or connector fault | Display |
| Flickering image | Loose flex connector or failing panel | Display |
| Dead or stuck pixels | Panel damage | Display |
| Colour distortion or tinting | Panel or connector fault | Display |
| Image visible but no touch response | Digitiser failure | Digitiser only |
| Ghost touches or erratic input | Digitiser fault or water ingress | Digitiser |
| Image ghosting or burn-in | OLED panel degradation | Display |
| Partial image loss | Physical crack stress on the panel | Display |
As faulty screen identification steps outline, recognising whether a fault is intermittent or persistent is equally important. An intermittent flicker that disappears when you press the frame gently is almost certainly a connector or flex cable issue. A persistent fault that never changes points more firmly at the panel itself.
One of the most commonly confused distinctions is the difference between a display fault and a digitiser fault. Many technicians and DIYers assume that a non-responsive screen means the screen needs replacing. In reality, if the image is clear and stable but touch input has completely failed, only the digitiser layer needs attention. Sourcing a full assembly when only the digitiser is at fault is an avoidable expense.
It is also worth noting that LCD screen essentials outline how some colour distortion issues on LCD devices are caused by pressure against the liquid crystal layer rather than electrical failure. A slightly bent frame after a drop can produce rainbow-like patches that look like panel damage but resolve once the physical pressure is relieved.
Pro Tip: Shine a torch at an angle across the display surface in a dark room. If you can faintly see the image, the backlight has failed but the panel is intact. This one test rules out a significant number of “dead screen” misdiagnoses instantly.

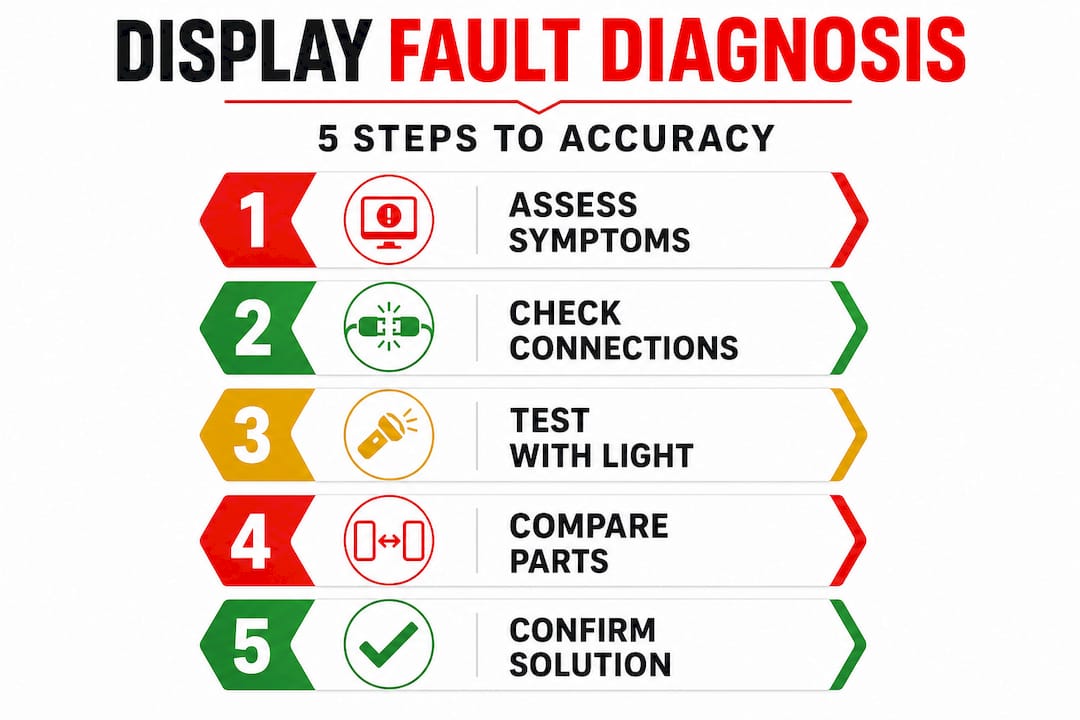
Diagnosing display problems: step-by-step process
Having identified the type of screen problem, here is a step-by-step process to diagnose the issue accurately before committing to any repair or replacement.
- Perform a soft reset first. Many software-driven display glitches, including freezing, flickering, and touch unresponsiveness, resolve with a simple restart. Never skip this step.
- Boot into safe mode. This disables third-party applications temporarily. If the fault disappears in safe mode, a rogue application is the cause, not the hardware. This is the fastest way to rule out software.
- Inspect the exterior physically. Look for cracks radiating from corners, frame damage, or signs of previous repair attempts. Any physical trauma is relevant context.
- Use a torch test for backlight failure. As described above, a faint visible image under direct torchlight confirms backlight failure rather than total panel failure.
- Check the flex connector seating. If you have the tools and experience to open the device safely, reseating the display flex connector is a low-risk, high-reward step. A significant proportion of intermittent faults resolve at this point. Step-by-step broken screen fixes cover this process in practical detail for common devices.
- Test with a known working screen. If you have access to a donor device or a test assembly, swapping in a confirmed working screen is the definitive way to isolate whether the fault lies with the display or elsewhere on the board.
- Check for water damage indicators. Most modern smartphones have internal liquid contact indicators that change colour when exposed to moisture. Water ingress can cause intermittent faults that mimic panel damage entirely.
- Assess the backlight circuit on the main board. If a replacement screen shows the same backlight failure, the fault is on the main board rather than the display assembly. This is a board-level repair requiring specialist skills.
The process described for diagnosing Samsung display problems applies broadly across most Android and iOS devices. The logical elimination method, ruling out software, then connectors, then the panel itself, prevents the trap of replacing parts sequentially without a clear rationale.
Pro Tip: Always use an anti-static mat and wrist strap when opening a device. Electrostatic discharge can damage display drivers on the main board, creating a new fault that looks identical to a screen fault but cannot be fixed by swapping the screen.
When you are confident about what part has failed, choosing replacement screens provides a practical guide to matching the correct specification to your device model.
When to repair, replace, or seek professional help
Now you know how to diagnose the problem, but the crucial decision is whether to repair, replace, or seek expert support. This depends on three factors: cost, complexity, and the availability of quality parts.
| Scenario | Recommended action |
|---|---|
| Loose connector identified | Reseat connector, no part replacement needed |
| Digitiser fault only, panel intact | Replace digitiser or digitiser-fused assembly |
| Backlight failure, panel intact | Replace backlight unit or full LCD assembly |
| Cracked panel, digitiser functional | Replace full screen assembly |
| Backlight circuit fault on main board | Seek professional board repair |
| Water damage with multiple faults | Professional assessment recommended |
Factors to weigh before deciding:
- Part availability: Genuine OEM parts for older or less common models can be difficult to source. Availability should influence your repair timeline.
- Repair complexity: Some devices, particularly modern ultra-thin flagships with fused OLED assemblies, require heat guns, suction tools, and significant experience to disassemble without causing further damage.
- Repair costs and reliability: A cheap aftermarket screen that fails within weeks costs more in total than a quality part fitted correctly the first time.
- Screen assembly differences: Understanding whether your device uses a fused or separated digitiser assembly affects both the approach and the part you need to source.
Pro Tip: If a device shows multiple simultaneous faults after a drop, such as a cracked screen, failed touch, and backlight issues together, it is often more cost-effective to assess total repair cost against device value before ordering parts.
As types of LCD screens explain, the grade and type of replacement screen you choose has a direct impact on repair longevity. Settling for the cheapest option available rarely produces a professional result.
Selecting reliable replacement parts for display repair
Once you are ready to repair or replace the display, it is essential to ensure you use reliable parts for lasting results. Part quality is where many otherwise competent repairs fall apart.
Replacement screens generally fall into three categories:
- OEM (Original Equipment Manufacturer) parts: Sourced from the same supply chain as the original manufacturer. These offer the best colour accuracy, brightness, and touch sensitivity. They are typically the most expensive option but provide the most predictable outcome.
- Aftermarket Grade A screens: Manufactured to a high specification but not from the original supply chain. Quality varies significantly between suppliers, making supplier reputation critical.
- Recycled or refurbished screens: Original screens that have been tested and graded. Can be excellent value if the grading process is rigorous and backed by a clear warranty.
The most reliable indicator of a quality replacement screen supplier is transparency: clear grading descriptions, compatibility information specific to device models, and a genuine warranty policy that covers defects beyond simply dead-on-arrival faults.
When evaluating a supplier or part, look for:
- Specific model compatibility listed, not just generic “fits iPhone X” claims
- Clear grading: OEM, Grade A, Grade B, or recycled with condition notes
- Warranty duration and what it covers in plain language
- Return policy that allows testing before final acceptance
As replacement screen choices detail, paying attention to connector type, resolution, and brightness rating ensures the replacement performs as expected in the finished repair rather than introducing new complaints from the customer.
A realistic view: Why good diagnostics beat guesswork every time
Here is something worth saying plainly: the repair industry loses significant money and credibility to the habit of replacing parts without proper diagnosis. It is understandable. When a phone screen looks cracked or dead, the instinct is to fit a new one. But experienced technicians will tell you that a meaningful proportion of devices that come in labelled as “screen fault” have something else going on entirely.
A software update can disable touch sensitivity entirely on certain devices. A failed IC (integrated circuit) on the main board can replicate every symptom of a faulty display panel perfectly. A hairline crack in the main board near the display connector can produce intermittent flickering that no screen swap will ever fix.
The uncomfortable reality is that ordering parts before completing thorough fault identification is the most expensive habit in mobile repair. Not because parts are always wrong, but because the cost of an unnecessary part compounds with the labour to fit it, the time lost, and the eventual repeat visit when the real fault surfaces.
Patient, methodical diagnostics also protect your reputation. A customer who returns with the same problem after a screen replacement has every reason to lose confidence in your work. A customer who is told clearly “your screen is fine, the issue is a connector that we reseated at no charge” becomes an advocate. The value of accurate diagnosis extends well beyond the individual repair.
We believe the best repair starts before any tool is picked up. The discipline of ruling things out systematically, even when the answer seems obvious, is what distinguishes genuinely skilled technicians from part-swappers.
Your next step: Trusted parts and support for mobile display repair
With a clear diagnostic process in place, the next step is sourcing parts you can trust to complete the job properly. At Buy2fix, we supply replacement screens and display assemblies for iPhone, Samsung Galaxy, Huawei, Xiaomi, OPPO, and a broad range of other devices, with quality checks carried out before dispatch and free UK mainland shipping on orders. Whether you are a DIY repairer fitting your first screen or a professional technician managing multiple repairs daily, our inventory covers OEM and quality aftermarket options with clear specifications. Explore our repair guides and product range to find the right screen for your device, backed by our 30-day return policy and warranty support on eligible items.
Frequently asked questions
How do I know if my display issue is hardware or software related?
Boot the device into safe mode and observe whether the fault persists. If the problem continues in safe mode, the hardware vs. software fault distinction points firmly towards a hardware cause requiring physical inspection.
Is it safe to use aftermarket LCD screens for repairs?
Quality aftermarket screens sourced from a reputable supplier are generally safe and functional, though OEM parts compatibility tends to provide the most reliable colour accuracy and touch performance in the finished repair.
Can display issues be fixed without replacing the screen?
Yes. Loose flex connectors, minor software faults, and some backlight issues can be resolved without a full screen swap, which is why identifying the fault clearly before ordering any parts is always the first priority.
What signs show I should seek a professional for display repair?
Persistent blank screens after connector checks, confirmed water damage affecting multiple components, or board-level backlight faults are all situations where professional repair expertise will save both time and further expense.
Recommended
Let customers speak for us
Well made part very strong easy to fit great value for the money

Well packed, with fast shipping :)

Exactly what the doctor ordered…great color, comfort, and durability. Trust this watch band!

Brilliant strap, second purchase, bought bracelet before. Excellent value. Thank you

Great item for splitting your Audio signal

Outstanding product!
Next level customer service.

Very satisfied but the delivery needs to get more faster...

Good price,quick delivery

Best phone case ever! This is my second one as I broke my first. Would defo recommend

Great fitting Apple Watch bands

For Apple Watch Ultra 3 / 2 / 1 49mm RedPepper Armor Metal Case Integrated Silicone Watch Band(Steel Black White)

Good price and quick postage

Perfect fit.

Absolutely necessary

Second Purchase and still a very happy customer. Keep up the good work.
