

iPhone XS Max Back Glass Replacement DIY Guide
Most British DIY phone repairers know the frustration of a cracked iPhone XS Max back glass, especially when high street repair quotes can soar over £100. For small repair businesses and tech-savvy enthusiasts alike, sourcing reliable yet affordable parts is key to superior results and happy customers. This guide unpacks proven steps and expert tips for selecting quality tools and executing a seamless back glass repair, helping British repairers save money while delivering professional outcomes.
Table of Contents
- Step 1: Gather Essential Tools And Replacement Parts
- Step 2: Prepare And Safely Power Down Your Device
- Step 3: Remove Damaged Back Glass With Precision Tools
- Step 4: Install New Back Glass Securely And Evenly
- Step 5: Verify Successful Installation And Device Functionality
Quick Summary
| Key Point | Explanation |
|---|---|
| 1. Gather the right tools and parts | Ensure you have a precision screwdriver set, suction cup, and quality replacement glass for effective repair. |
| 2. Safely power down the device | Turn off your iPhone XS Max by pressing the side and volume buttons to prevent electrical damage during repair. |
| 3. Remove damaged glass carefully | Use heat and precision tools to gently detach shattered glass, avoiding damage to internal components. |
| 4. Install new back glass properly | Clean the frame thoroughly before aligning and applying new glass, ensuring a secure bond without air bubbles. |
| 5. Verify device functionality post-repair | Test all features, including touch responsiveness and wireless charging, to confirm successful installation of the new glass. |
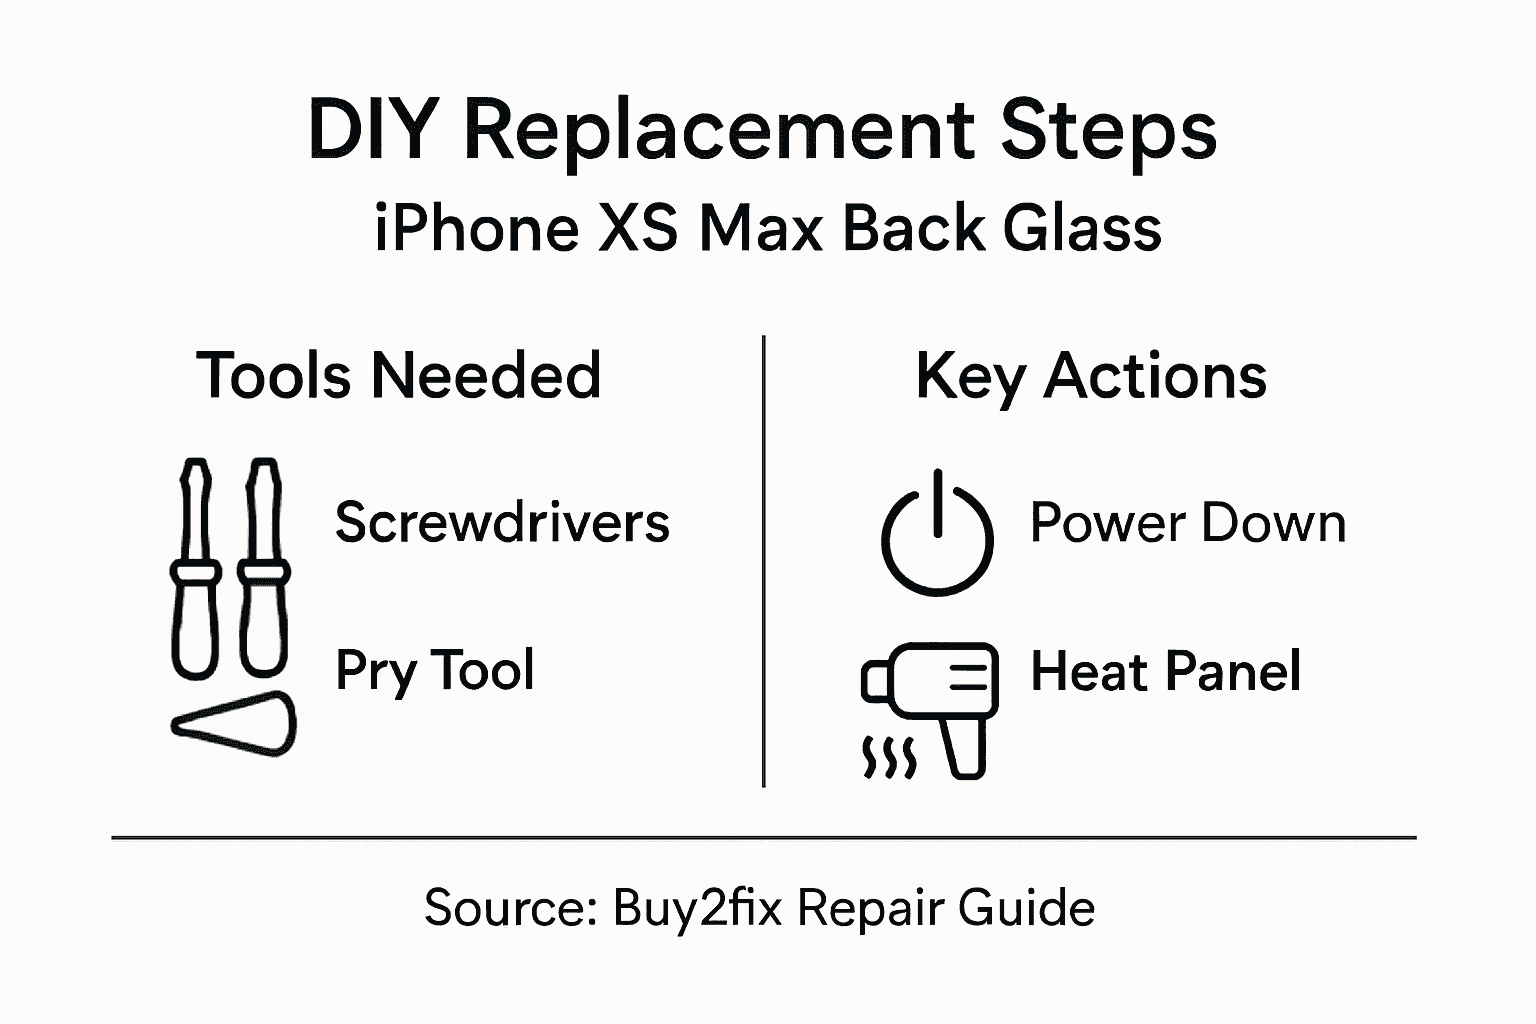
Step 1: Gather essential tools and replacement parts
Successfully replacing an iPhone XS Max back glass requires precision and the right equipment. You will need a curated set of specialised tools and a compatible replacement glass panel to complete this intricate repair.
Prepare your workspace by gathering the following essential tools. Professional repair technicians recommend essential mobile repair tools that will make your repair process smooth and efficient. Your toolkit should include:
- Precision screwdriver set with pentalobe and Phillips head attachments
- Suction cup for lifting the display
- Plastic prying tools
- Tweezers with fine tips
- Heat gun or hairdryer
- Protective work gloves
- Magnifying glass or task lighting
- Adhesive removal solution
- Isopropyl alcohol for cleaning surfaces
For the replacement back glass, ensure you purchase a genuine or high-quality aftermarket part specifically designed for the iPhone XS Max. Check compatibility carefully to avoid potential fitment issues or damage to your device.
Expert Tip: Always ground yourself and work in a clean, well-lit area to prevent static discharge and minimise the risk of introducing dust or debris during the repair process.
Step 2: Prepare and safely power down your device
Before starting your iPhone XS Max back glass replacement, you must carefully power down the device to prevent potential electrical damage or short circuits. Safety is paramount when performing any smartphone repair.
To safely power off your iPhone, power down the device completely by simultaneously holding the side button and either volume button until the power off slider appears. Slide the power off slider from left to right to shut down the device entirely. This process ensures no residual electrical current remains that could potentially cause damage during your repair.
Remove any protective cases or screen covers, and place the powered down iPhone on a clean, static free work surface. Ensure you have good lighting and a stable workspace to minimise the risk of accidental drops or additional damage during the repair process.
Expert Tip: Store all removed screws and components in a magnetic parts tray to prevent losing small pieces and maintain an organised repair workflow.
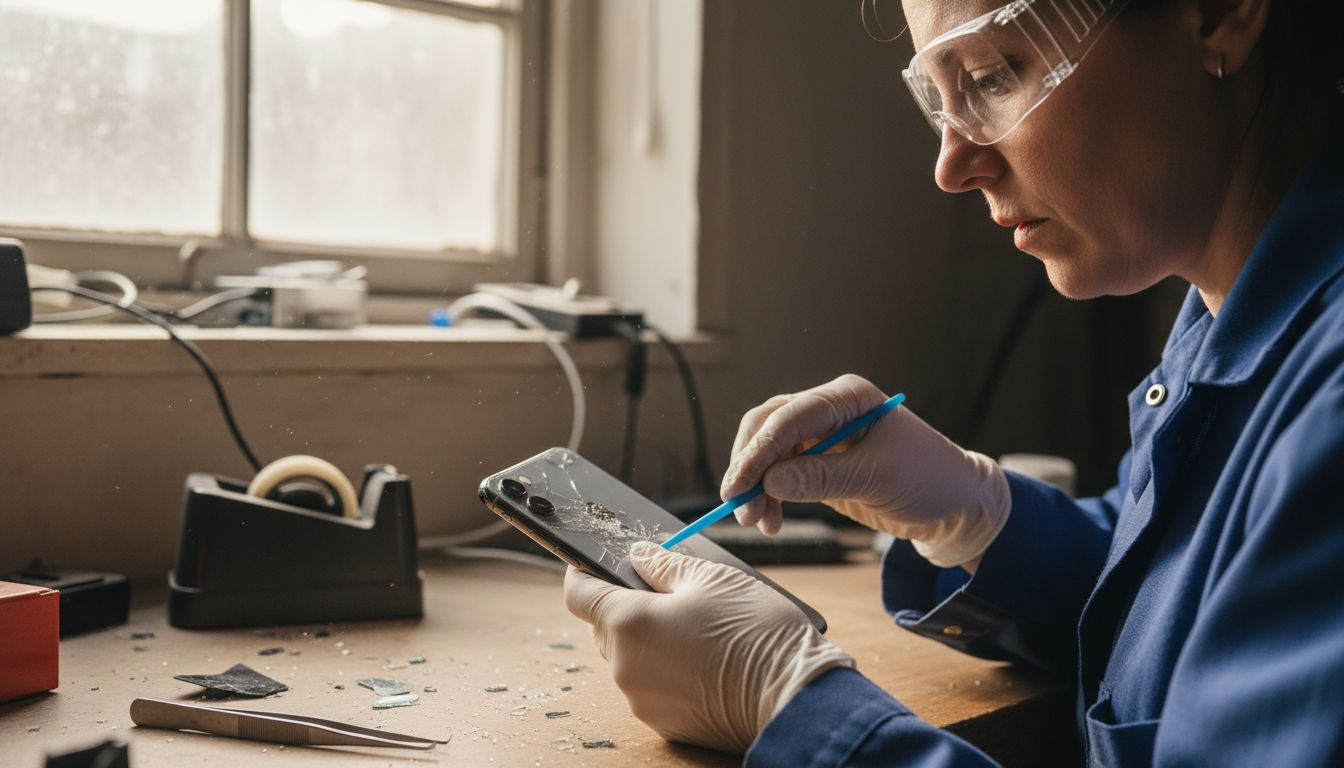
Step 3: Remove damaged back glass with precision tools
Removing a shattered iPhone XS Max back glass requires careful technique and specialised tools to prevent further damage to your device. Your primary goal is to safely separate the damaged glass without compromising the internal components.
Begin by heating the back panel gently using a heat gun or hairdryer on low setting to soften the adhesive holding the glass in place. iPhone back screen replacement techniques recommend applying consistent low heat for approximately 30 to 45 seconds. This will help loosen the adhesive without risking thermal damage to internal components.
Once the adhesive has softened, use a thin plastic prying tool to carefully create a small gap between the glass and the metal frame. Work slowly and methodically around the edges, applying gentle pressure to prevent cracking or further splintering. Use suction cups if necessary to lift the glass incrementally while maintaining even pressure. Remove any remaining glass fragments with fine tweezers, taking care not to scratch the underlying surface.
Expert Tip: Wear protective gloves and safety glasses to shield yourself from potential glass shards and minimise the risk of injury during the removal process.
Step 4: Install new back glass securely and evenly
With your iPhone XS Max prepared and the damaged back glass removed, you are now ready to carefully install the replacement glass panel. Precision and patience are crucial to achieving a professional looking repair.
Begin by thoroughly cleaning the iPhone frame using isopropyl alcohol and lint free microfibre cloths. DIY phone screen replacement techniques emphasise the importance of creating an absolutely clean surface to ensure optimal adhesive bonding. Remove any dust particles or residual adhesive using gentle motions and avoid touching the frame directly with your fingers.
Carefully align the new back glass panel, starting from one edge and slowly lowering it into position. Apply gentle even pressure across the entire surface to eliminate air bubbles and ensure a secure bond. Use a soft microfibre cloth to press down uniformly, working from the centre outwards to guarantee complete adhesion without creating additional stress points on the glass.
Expert Tip: Allow the newly installed back glass to cure for at least 24 hours in a room temperature environment before handling the device extensively to ensure maximum adhesive strength.
Here is a concise summary of common mistakes and their consequences during iPhone back glass replacement:
| Mistake During Repair | Likely Consequence | How to Prevent |
|---|---|---|
| Incorrect tool use | Internal component damage | Use manufacturer-recommended tools |
| Rushed glass removal | Increased glass shards, scratches | Work slowly with proper gloves |
| Poor cleaning of frame | Adhesive failure, loose glass | Clean surfaces thoroughly first |
| Touching adhesive areas | Reduced bonding strength | Handle edges only |
| Skipping functionality tests | Overlooked device issues | Test all features post-repair |
Step 5: Verify successful installation and device functionality
After completing your iPhone XS Max back glass replacement, a comprehensive functionality test is essential to ensure everything works correctly. Your goal is to systematically check all key device features and confirm the repair was successful.
Back glass repair verification requires testing multiple device functions comprehensively. Start by powering on the iPhone and checking the display responsiveness. Verify the touchscreen registers inputs accurately across all areas. Test critical functions like camera operation by taking several photographs from both front and rear cameras, ensuring image quality remains uncompromised.
Next, check wireless charging capabilities by placing the device on a compatible charging pad. Confirm that charging initiates smoothly and the battery icon appears as expected. Examine the physical integrity of the new back glass panel by running your fingers gently around the edges to ensure a seamless, secure fit with no lifting or gaps. Test all physical buttons including volume controls and power button to guarantee they function smoothly after the replacement.
Expert Tip: Keep the original packaging and repair notes for at least 30 days in case you need to troubleshoot or seek additional support.
The following table compares professional repair services with DIY repairs for iPhone XS Max back glass replacement:
| Factor | Professional Service | DIY Repair |
|---|---|---|
| Cost | £80–£150 | £15–£40 (tools & parts) |
| Convenience | Turnaround in 1–3 days | Time-consuming, needs preparation |
| Risk Level | Low, expert handling | Medium to high for novices |
| Warranty | Often included | Usually not covered |
| Skill Requirement | None for customer | Moderate to advanced |
| Personal Satisfaction | Minimal | High for successful DIY |
Expert Solutions for Your iPhone XS Max Back Glass Replacement
Repairing the iPhone XS Max back glass yourself can be challenging due to the delicate nature of the components and the need for precise tools. The article highlights key difficulties such as careful removal of shattered glass, using specialised tools correctly, and ensuring a dust-free, clean surface for adhesive bonding. We understand your goal is to perform a secure, flawless replacement while avoiding damaging internal parts or weakening the adhesive bond.
At Buy2fix, we provide a comprehensive range of high-quality replacement parts, including genuine and aftermarket back glass panels tailored for the iPhone XS Max. Alongside that, you will find the full suite of precision repair tools recommended for this job such as suction cups, plastic prying tools, and heat guns to make the process safer and more efficient. Our commitment to free UK Mainland Shipping and one-year warranty guarantees confidence and peace of mind to every DIY enthusiast and professional technician.
Take control of your device repair today by exploring our Mobile Phone Repair Parts and ensure you have the right components and expert support to complete your iPhone XS Max back glass replacement successfully. Order now from Buy2fix and avoid the common pitfalls of rushed or improper repairs.
Frequently Asked Questions
How do I power off my iPhone XS Max before replacing the back glass?
To safely power off your iPhone XS Max, hold the side button and either volume button simultaneously until the power off slider appears. Slide the power off slider from left to right to ensure the device is completely shut down.
What tools do I need for iPhone XS Max back glass replacement?
You will need a precision screwdriver set, suction cup, plastic prying tools, tweezers, heat gun or hairdryer, protective gloves, and isopropyl alcohol. Gather these tools before beginning your repair to ensure a smooth process.
How can I remove the damaged back glass without causing further damage?
To remove the damaged back glass, apply gentle heat to soften the adhesive and use a thin plastic prying tool to create a gap. Work slowly around the edges and use suction cups to lift the glass while applying even pressure to avoid cracking or splintering.
What do I need to do after installing the new back glass?
After installing the new back glass, thoroughly verify that all device functions work correctly. Check the touchscreen responsiveness, test the camera, and ensure that the wireless charging feature operates as expected.
Why is it important to clean the iPhone frame before installing the new glass?
Cleaning the iPhone frame before installing the new glass is essential for optimal adhesive bonding. A clean surface reduces the risk of adhesive failure, ensuring the new back glass adheres securely and does not come loose over time.
How long should I wait before using my iPhone XS Max after the back glass replacement?
It is recommended to allow the newly installed back glass to cure for at least 24 hours in a room temperature environment. This waiting period ensures the adhesive reaches maximum strength and secures the glass properly.
Recommended
Let customers speak for us
For Samsung Galaxy A26 SM-A266B Original Earpiece Speaker with Cable

Very good communication throught. Good product

Well made part very strong easy to fit great value for the money

Well packed, with fast shipping :)

Exactly what the doctor ordered…great color, comfort, and durability. Trust this watch band!

Brilliant strap, second purchase, bought bracelet before. Excellent value. Thank you

Great item for splitting your Audio signal

Outstanding product!
Next level customer service.

Very satisfied but the delivery needs to get more faster...

Good price,quick delivery

Best phone case ever! This is my second one as I broke my first. Would defo recommend

Great fitting Apple Watch bands

For Apple Watch Ultra 3 / 2 / 1 49mm RedPepper Armor Metal Case Integrated Silicone Watch Band(Steel Black White)

Good price and quick postage

