

How to Do Cell Phone Screen Replacement Near Me Easily
More than 40 million brits own smartphones, yet many avoid do-it-yourself repairs due to fear of costly mistakes. For british users, knowing how to safely replace a mobile screen saves both time and money. This guide explains each step in clear detail, offering the knowledge and confidence you need to tackle screen replacement like a pro using the right tools and careful techniques.
Table of Contents
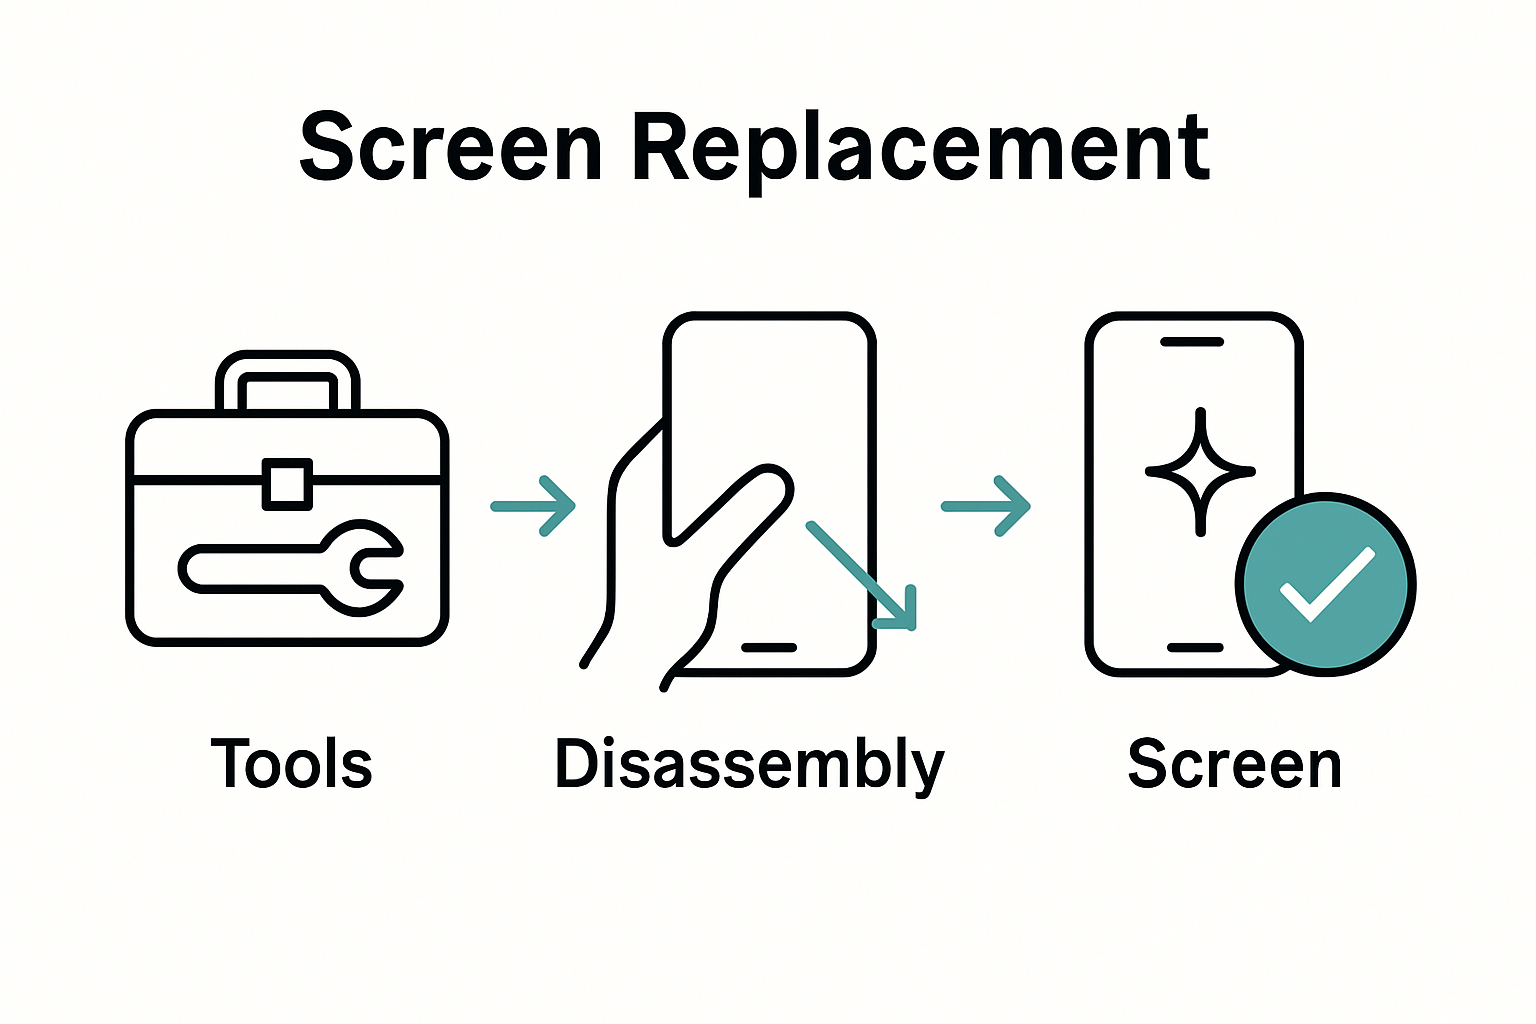
- Step 1: Gather Necessary Tools And Replacement Parts
- Step 2: Power Down And Disassemble The Device Carefully
- Step 3: Detach The Damaged Screen Safely
- Step 4: Install The New Screen Correctly
- Step 5: Test And Verify Screen Functionality
Quick Summary
| Key Point | Explanation |
|---|---|
| 1. Gather all necessary tools first | Ensure you have precision tools and a suitable replacement screen to streamline the repair process and avoid complications. |
| 2. Power down and disassemble with care | Always switch off your device and carefully remove components, keeping screws organised to facilitate reassembly. |
| 3. Detach the damaged screen gently | Handle the damaged screen carefully to prevent additional damage to internal components during disconnection. |
| 4. Install the new screen accurately | Align and connect the new screen thoughtfully, using references to prevent misalignments or damage to delicate components. |
| 5. Test for screen functionality post-installation | Conduct comprehensive checks after installation to ensure responsive touch and display functionality before finalising the repair. |
Step 1: Gather Necessary Tools and Replacement Parts
Before diving into mobile screen replacement, gathering the right tools and parts is crucial for a successful repair. A precise approach ensures you have everything needed to complete the job smoothly. To replace your cell phone screen, you’ll need a few specialised tools and a compatible replacement screen that matches your specific device model.
The essential toolkit for screen replacement typically includes a range of precision tools like Torx screwdrivers. According to technical guidance from repair experts, you’ll want to acquire tweezers, flat-head screwdrivers, and a compatible replacement screen specifically designed for your phone model. Paying attention to model specifications prevents potential installation errors and ensures a perfect fit.
One critical warning: purchasing generic replacement screens can lead to poor performance or damage. Always source high-quality parts from reputable suppliers that guarantee compatibility with your exact smartphone model. Having all tools and parts prepared beforehand streamlines the entire screen replacement process and reduces potential complications during repair.
Step 2: Power Down and Disassemble the Device Carefully
Before attempting any phone screen replacement, preparing your device correctly is paramount. Powering down and carefully disassembling your smartphone requires precision and patience to prevent potential damage during the repair process.
Powering off your mobile device completely is the critical first step in screen replacement. According to technical repair guidance, you should remove the back plate and battery, ensuring no electrical current runs through the device. Using a specialised Torx screwdriver, carefully locate and remove the screws positioned along the device’s edges. Each screw must be kept in a safe, organised location to facilitate reassembly.
Warning: Static electricity can permanently damage electronic components. Work in a dry environment and consider using an anti-static wrist strap to ground yourself during disassembly. Take photographs or create a diagram of screw placements and component locations to help you reassemble the device accurately. Gentle, methodical movements are key to preventing accidental damage to delicate internal components.
Step 3: Detach the Damaged Screen Safely
Detaching a damaged smartphone screen requires meticulous attention and gentle handling to prevent additional internal component damage. This critical stage demands precision and careful technique to ensure a successful screen replacement.
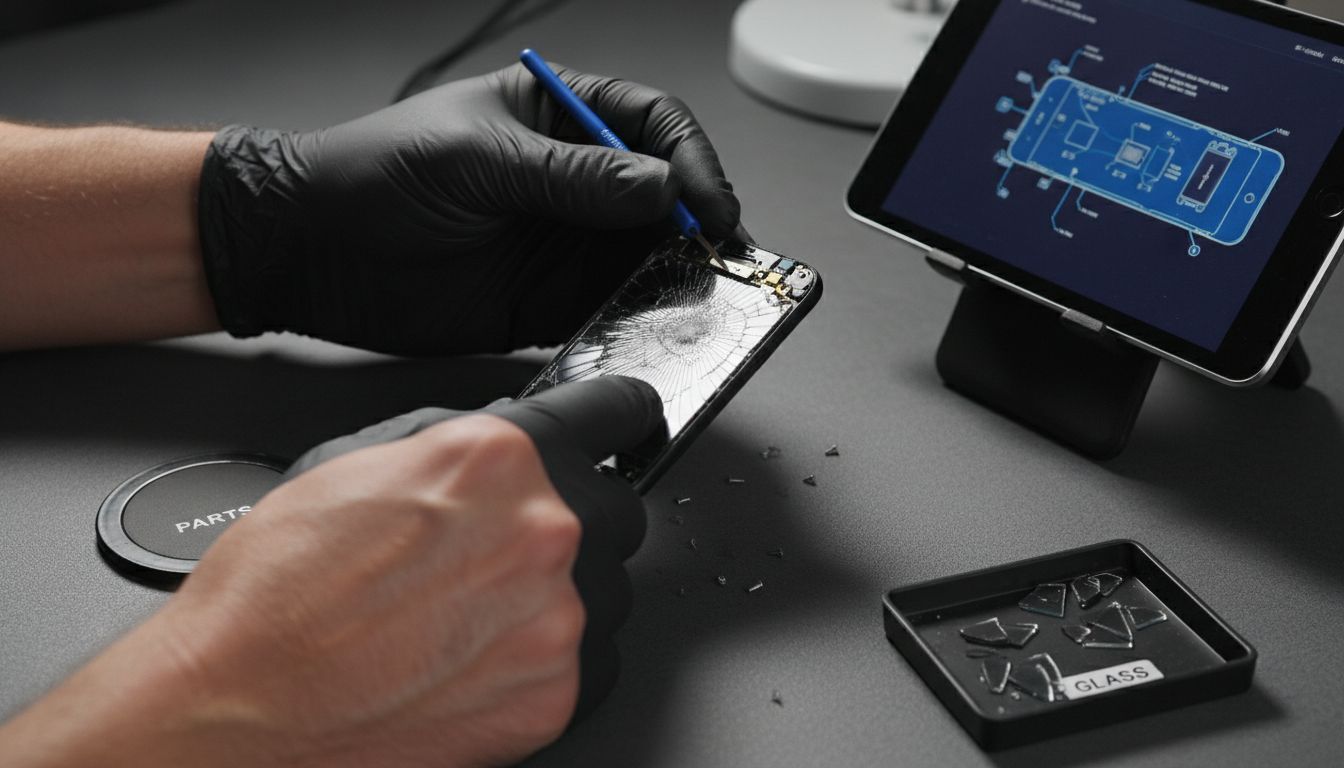
To remove the damaged screen, you will need to carefully unlock specific connectors using precision tweezers. Gently locate the side latch of the LCD screen and delicately release it, ensuring minimal pressure on surrounding components. With the latch unlocked, slightly lift the screen and methodically disconnect the cable connecting the screen to the phone’s internal circuitry.
Warning: Electronic components are extremely fragile. Work slowly and maintain a steady hand throughout the disconnection process. Use proper lighting and potentially a magnifying glass to ensure you can see minute connection points clearly. Any sudden movement or excessive force can permanently damage your device’s internal electronics, turning a simple screen replacement into a costly repair or complete device replacement.
Step 4: Install the New Screen Correctly
Installing a replacement smartphone screen demands precision, patience, and methodical attention to ensure your device functions perfectly after repair. This crucial stage represents the pinnacle of your screen replacement journey, where careful alignment and connection will determine your smartphone’s future performance.
Carefully position the new screen into the phone’s frame, ensuring perfect alignment with the internal mounting points. Gently attach the connection cable, making certain it sits flush and secure without any unnecessary tension. Use your earlier photographs or diagrams as a precise reference to guarantee each component returns to its original position.
Warning: Connector pins are incredibly delicate. Apply minimal pressure when reconnecting cables and verify each connection point visually before fully seating the screen. Misalignment or excessive force can permanently damage your device’s internal electronics. Work in a clean, well-lit environment with steady hands and take your time to ensure each step is completed with utmost care and precision.
Step 5: Test and Verify Screen Functionality
The final stage of screen replacement is crucial validation to ensure your repair has been successful. This moment determines whether your careful work has restored your smartphone to full operational status, requiring systematic and thorough testing.
Power on your device and perform comprehensive functionality checks across multiple touchscreen interactions. Test every corner of the screen for responsive touch sensitivity, checking for dead zones or irregular responsiveness. Navigate through different applications, rotate the screen, and ensure all display colours and brightness levels appear consistent and accurate.
Warning: If you encounter any irregular screen behaviour such as unresponsive areas, colour distortion, or flickering, do not assume the issue will resolve itself. Immediately power down the device and carefully review your installation steps. Persistent problems might indicate a faulty replacement screen or an improper connection that requires professional assessment. Your patience and methodical approach during this verification stage can prevent potential long term device damage.
Get Your Mobile Screen Replacement Right the First Time
Replacing your cell phone screen can feel overwhelming, especially without the right tools and parts. This article highlights common challenges like choosing compatible LCD screens and safely detaching fragile cables. If you want to avoid damaging your device or facing unresponsive screens after repair, sourcing high-quality replacement components is essential. At Buy2fix, we understand the importance of precision and reliability in every repair.
Explore our extensive selection of mobile phone repair parts including screens, connectors, and specialised tools tailored for leading brands such as iPhone and Samsung Galaxy. With free UK mainland shipping, rigorous quality control, and a one-year warranty, we support both DIY enthusiasts and professional technicians. Don’t risk costly mistakes or delays. Take control of your repair journey now by visiting Buy2fix and find exactly what you need to complete your screen replacement confidently.
Frequently Asked Questions
How do I gather the necessary tools for cell phone screen replacement?
To gather the necessary tools, collect precision tools such as Torx screwdrivers, tweezers, and a compatible replacement screen for your phone model. Ensure you have everything ready before starting the replacement to streamline the process.
What is the best way to power down and disassemble my device for the screen replacement?
The best way to power down your device is to turn it off completely, then carefully remove the back plate and battery to prevent any electrical issues. Organise the screws you remove during disassembly to facilitate easy reassembly later.
How can I safely detach the damaged screen from my phone?
To safely detach the damaged screen, gently unlock the connectors using precision tweezers and carefully lift the screen while disconnecting the cable. Perform this step methodically to avoid damage to other internal components, working slowly and ensuring a steady hand.
What steps should I follow to properly install the new screen?
To properly install the new screen, first align it accurately within the phone’s frame and then attach the connection cable securely without any excessive tension. Refer to diagrams or photographs taken during disassembly to ensure everything is positioned correctly before finalising the installation.
How do I verify the functionality of my new screen after replacement?
To verify the functionality of your new screen, power on your device and test all areas of the screen for touch sensitivity and responsiveness. Perform checks across multiple applications and ensure display colours and brightness levels are consistent; this will confirm a successful repair.
Recommended
Let customers speak for us
For Samsung Galaxy A26 SM-A266B Original Earpiece Speaker with Cable

Very good communication throught. Good product

Well made part very strong easy to fit great value for the money

Well packed, with fast shipping :)

Exactly what the doctor ordered…great color, comfort, and durability. Trust this watch band!

Brilliant strap, second purchase, bought bracelet before. Excellent value. Thank you

Great item for splitting your Audio signal

Outstanding product!
Next level customer service.

Very satisfied but the delivery needs to get more faster...

Good price,quick delivery

Best phone case ever! This is my second one as I broke my first. Would defo recommend

Great fitting Apple Watch bands

For Apple Watch Ultra 3 / 2 / 1 49mm RedPepper Armor Metal Case Integrated Silicone Watch Band(Steel Black White)

Good price and quick postage

