

iPhone 11 Pro Max Screen Replacement Near Me Guide
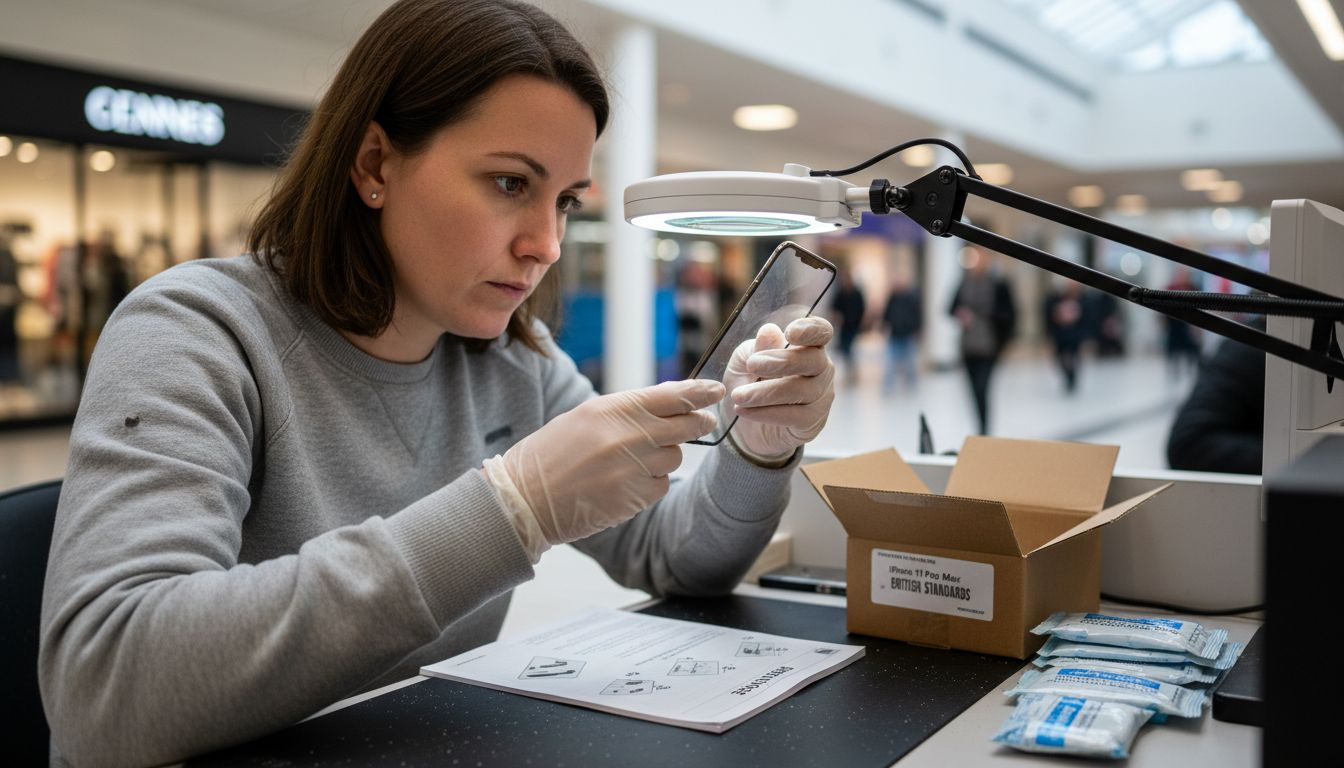
Cracked screens can turn even the sleekest iPhone 11 Pro Max into a daily hassle, but sourcing reliable and affordable parts for DIY repairs is easier than you might expect. For British enthusiasts keen on tackling screen replacement at home, creating a clean workspace and using a precision toolkit is vital for protecting your device and preventing costly mistakes. This guide walks you through step-by-step, with attention to quality and tips for effortless installation, so your repair feels just as solid as the original.
Table of Contents
- Step 1: Prepare Tools And Create A Safe Workspace
- Step 2: Select And Inspect Your Replacement Screen
- Step 3: Remove The Damaged Screen Carefully
- Step 4: Install The New Screen And Reconnect Components
- Step 5: Test Function And Verify Successful Replacement
Quick Summary
| Important Insight | Explanation |
|---|---|
| 1. Prepare tools and workspace | Set up a clean, well-lit area with essential tools to prevent damage and ensure smooth repairs. |
| 2. Inspect the replacement screen | Check compatibility, quality, and functionality to avoid future issues and ensure seamless operation. |
| 3. Remove the damaged screen carefully | Follow a methodical approach to avoid damaging internal components during the removal process. |
| 4. Install and reconnect components | Ensure precise alignment and secure connections to maintain device functionality after the replacement. |
| 5. Conduct thorough functional tests | Test all screen functions post-installation to confirm the quality of the replacement and proper operation. |
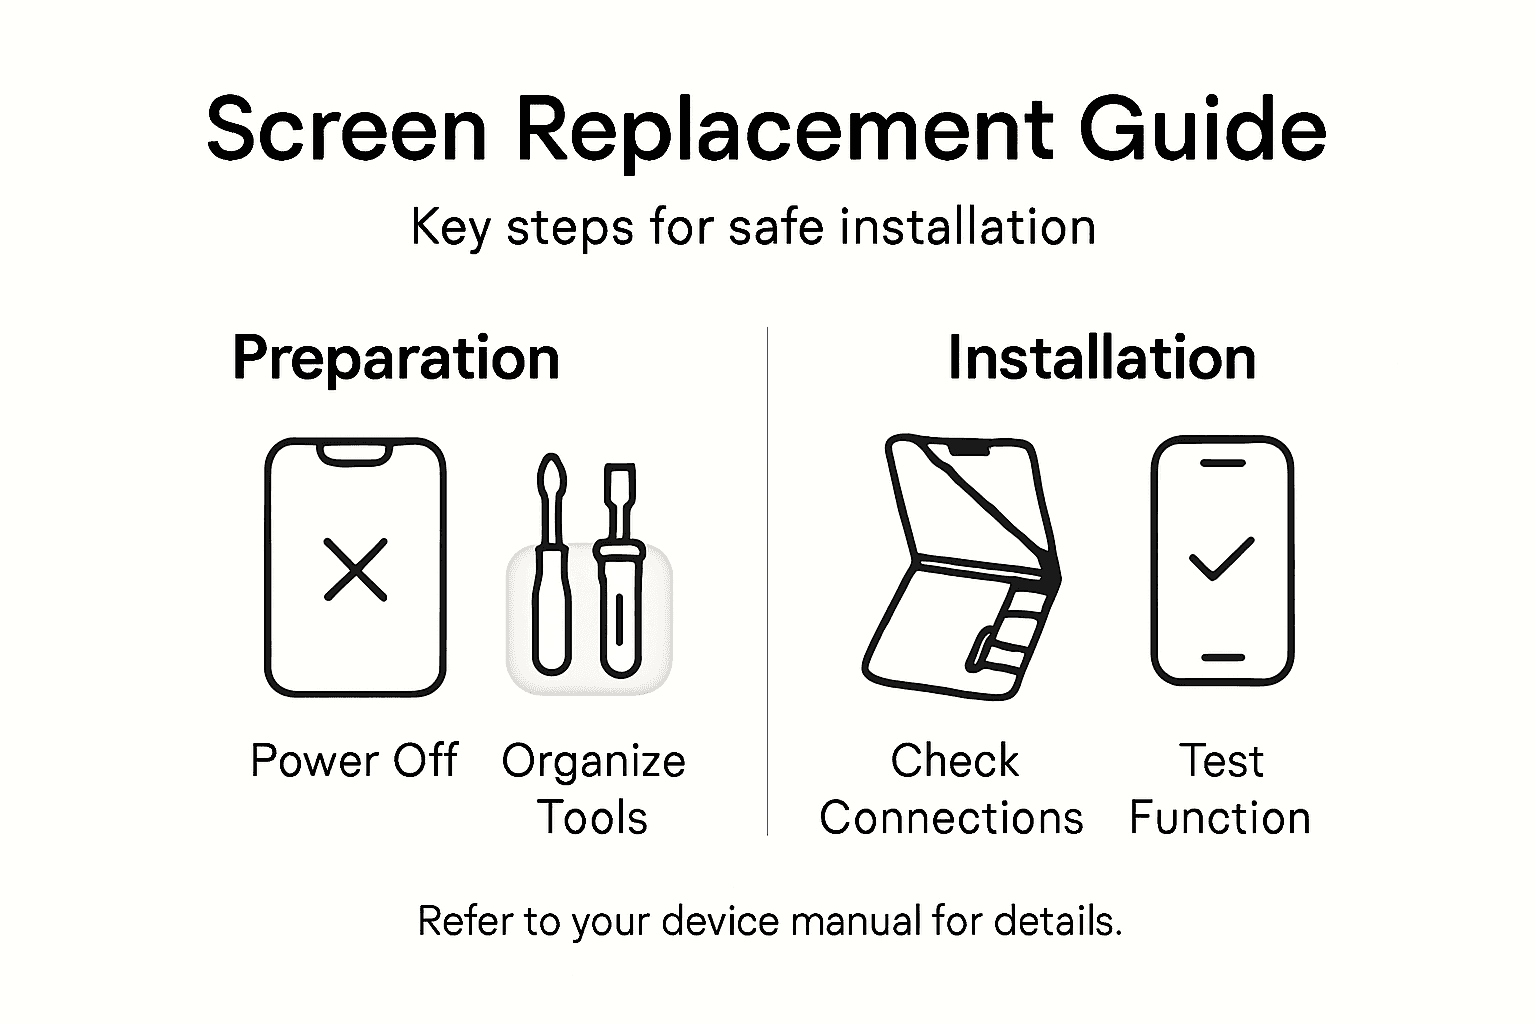
Step 1: Prepare tools and create a safe workspace
Screen replacement for your iPhone 11 Pro Max requires a methodical approach and precision toolkit. Before diving into the repair, you’ll need to set up a clean, organised workspace with the right equipment to ensure a smooth process.
First, gather your essential tools. Phone repair experts recommend collecting the following specialised items:
- Pentalobe P2 screwdriver
- Tri-point Y000 screwdriver
- Suction handle
- Plastic opening picks
- Heat source (hair dryer or heat gun)
- Clean microfibre cloth
- Anti-static work mat
- Bright desk lamp
- Magnifying glass or loupe
- Small parts tray
Choose a workspace that is clean, well-lit, and provides a stable surface. Ensure you have ample room to lay out your tools and work comfortably. A kitchen table or clean desk with good lighting works perfectly. Avoid carpeted areas which can generate static electricity that might damage sensitive electronic components.
A clean, dust-free environment is crucial for preventing debris from interfering with your iPhone’s delicate internal components.
Power down your device completely before beginning the repair process. Remove any cases or screen protectors, and ensure you have plenty of time without interruptions to complete the screen replacement carefully.
Expert tip: Place a white sheet of paper underneath your work area to help you quickly spot and recover any tiny screws or small parts that might accidentally fall.
Step 2: Select and inspect your replacement screen
Selecting the right replacement screen for your iPhone 11 Pro Max is critical to ensuring a successful repair. Your new screen must be compatible, high-quality, and free from any manufacturing defects that could compromise your device’s performance.
Experts recommend carefully inspecting the screen assembly before installation. Check the replacement screen for these essential characteristics:
- Exact model compatibility
- Pristine physical condition
- No dead pixels or touch zones
- Proper sensor assembly alignment
- Original True Tone functionality support
When purchasing a replacement screen, prioritise quality over cost. Cheaper alternatives might save money initially but could lead to subpar performance or potential future issues. Look for screens that come with:
- Manufacturer warranty
- Original component specifications
- Certified compatibility with iPhone 11 Pro Max
- Detailed installation documentation
A high-quality replacement screen should match your original screen’s specifications exactly, including colour calibration and touch sensitivity.
Before proceeding with installation, perform a thorough visual inspection. Check for any visible scratches, examine the connector pins, and verify the screen’s structural integrity. Ensure that any additional components like the front camera assembly, proximity sensor, and earpiece speaker are intact and properly positioned.
Here’s a quick reference comparing genuine versus third-party replacement screens for the iPhone 11 Pro Max:
| Criteria | Genuine Screen | Third-Party Screen |
|---|---|---|
| Colour Accuracy | Factory calibration | May vary by supplier |
| Touch Sensitivity | Highly responsive | Occasionally reduced |
| Warranty Coverage | Manufacturer support | Limited or none |
| True Tone Availability | Guaranteed | Frequently absent |
| Component Fit | Perfect match | Potential misalignment |
This table highlights the importance of selecting the correct replacement screen for quality and device functionality.
Expert tip: If possible, test the replacement screen with a multimeter to confirm electrical connectivity before beginning the installation process.
Step 3: Remove the damaged screen carefully
Removing the damaged screen from your iPhone 11 Pro Max requires precision, patience, and a methodical approach. This delicate process demands careful handling to prevent additional damage to your device’s internal components.
Begin by reviewing smartphone disassembly techniques with these critical preparatory steps:
- Power down the device completely
- Remove any protective case or screen protector
- Work on a clean, well-lit, anti-static surface
- Organise your specialised repair tools
- Keep a small parts tray nearby for screws
To remove the damaged screen, you’ll need to follow these detailed steps:
- Use the Pentalobe screwdriver to remove the two bottom screws
- Apply gentle heat around the screen’s edges using a hairdryer
- Carefully separate the screen using plastic opening tools
- Work slowly, applying consistent but minimal pressure
- Disconnect the display connector from the logic board
Patience is crucial. Rush this process, and you risk causing irreparable damage to your iPhone’s internal electronics.
Maintain consistent, gentle pressure when separating the screen. Avoid twisting or applying uneven force that could crack the glass or damage underlying components. If resistance occurs, stop and reassess your technique.
Expert tip: Keep your workspace brightly lit and use a magnifying glass to ensure you can see all delicate connection points and potential attachment areas.
Step 4: Install the new screen and reconnect components
Installing a new screen for your iPhone 11 Pro Max requires precision and careful attention to detail. You’ll need to methodically reconnect all components to ensure your device functions perfectly after the repair.
Phone repair experts recommend careful component reconnection by following these critical steps:
- Clean all connection surfaces thoroughly
- Align components precisely
- Check cable orientation before connecting
- Apply minimal, consistent pressure
- Verify connections before final assembly
Reconnect components in this specific sequence:
- Reattach Face ID sensor assembly
- Connect display cables to logic board
- Align screen carefully over device frame
- Secure screen with gentle, even pressure
- Replace bottom screws using Pentalobe screwdriver
Precision matters. Each connection must be perfectly aligned to prevent potential device malfunction.
Check each connection point carefully before proceeding. Ensure no cables are pinched or misaligned. The slightest misconnection can cause significant functionality issues with your iPhone.
Expert tip: Use a magnifying glass to inspect cable connections and ensure they are seated correctly before applying final pressure.
Step 5: Test function and verify successful replacement
With your new iPhone 11 Pro Max screen installed, it’s crucial to conduct a comprehensive functional test to ensure everything operates perfectly. Phone repair experts recommend systematic verification to confirm your repair’s success.
Perform these essential diagnostic checks:
- Power on the device
- Test touch screen responsiveness
- Check screen brightness levels
- Verify True Tone functionality
- Test Face ID performance
- Inspect for dead pixels
- Confirm sensor alignments
Follow this detailed testing sequence:
- Activate the device and observe startup
- Test touch sensitivity across entire screen
- Check display colour accuracy
- Validate Face ID recognition
- Run diagnostic applications if available
A successful screen replacement should feel and function exactly like the original factory-installed screen.
Examine each function meticulously. Pay close attention to subtle differences in performance, colour rendering, and touch responsiveness. Minor inconsistencies might indicate improper installation or component compatibility issues.
Below is a summary of essential post-installation diagnostic checks for your new iPhone screen:
| Test Category | What to Evaluate | Typical Issue Indication |
|---|---|---|
| Touch Responsiveness | Smooth, complete touch recognition | Lag or poor sensitivity |
| Colour Display | Accurate, vibrant colour rendering | Faded or uneven colours |
| Face ID Functionality | Swift, reliable recognition | Failure or slow authentication |
| True Tone Feature | Natural screen colour adjustments | Static or unnatural hues |
| Sensor Alignment | Proper functioning of sensors | Inactive sensors or random errors |
Use this table to systematically confirm a successful screen replacement.
Expert tip: Compare your newly replaced screen’s performance against your original device’s settings to quickly identify any potential discrepancies.
Get the Best Quality iPhone 11 Pro Max Replacement Screens and Repair Parts Today
Facing the challenge of replacing your iPhone 11 Pro Max screen means dealing with delicate components, precise connectors and ensuring True Tone functionality remains intact. Common concerns like compatibility, colour accuracy and touch sensitivity are crucial to prevent any future device malfunctions or disappointment after DIY repair. You need trusted parts that meet the highest quality standards and come with full UK warranty protection to give you peace of mind.
At Buy2fix, we specialise in providing premium mobile phone repair parts including genuine and aftermarket LCD screens, display assemblies, flex cables and small components tailored for the iPhone 11 Pro Max. With our free UK mainland shipping, competitive prices and rigorous quality control you can confidently restore your device with parts that fit perfectly and perform flawlessly. Whether you are a professional technician or a DIY enthusiast, our extensive inventory and expert guidance simplify every repair step.
Don’t risk costly mistakes with inferior parts. Explore our selection of repair essentials now and take your screen replacement project to the next level. Visit Buy2fix and start your successful iPhone 11 Pro Max screen repair today.
Frequently Asked Questions
What tools do I need for iPhone 11 Pro Max screen replacement?
To replace the screen of your iPhone 11 Pro Max, you’ll need a Pentalobe P2 screwdriver, a Tri-point Y000 screwdriver, a suction handle, plastic opening picks, and a heat source, among others. Collect these tools beforehand to ensure a smooth repair process.
How can I ensure my replacement screen is compatible with my iPhone 11 Pro Max?
Check the specifications of your replacement screen to confirm it matches your device’s model. Look for features such as original True Tone functionality and manufacturer’s warranty to ensure compatibility and quality.
What steps should I follow to remove my damaged iPhone 11 Pro Max screen?
Begin by powering down your device and removing any cases. Use the Pentalobe screwdriver to remove screws, gently heat around the edges, and then carefully separate the screen using plastic opening tools, ensuring minimal pressure to avoid additional damage.
How do I install the new screen on my iPhone 11 Pro Max?
Reattach the Face ID sensor assembly and connect display cables to the logic board, ensuring each connection is aligned. Apply gentle pressure to secure the screen and replace the bottom screws to finish the installation.
What should I test after replacing the screen on my iPhone 11 Pro Max?
After installation, power on the device and check the touch responsiveness, colour accuracy, and True Tone functionality. Verify Face ID performance and look for any dead pixels to ensure a successful screen replacement.
How do I avoid static damage during the screen replacement process?
Work on an anti-static surface and ensure your tools are grounded to reduce static buildup. Avoid working in carpeted areas, as they can generate static electricity that may harm your device’s sensitive components.
Recommended
Let customers speak for us
Well made part very strong easy to fit great value for the money

Well packed, with fast shipping :)

Exactly what the doctor ordered…great color, comfort, and durability. Trust this watch band!

Brilliant strap, second purchase, bought bracelet before. Excellent value. Thank you

Great item for splitting your Audio signal

Outstanding product!
Next level customer service.

Very satisfied but the delivery needs to get more faster...

Good price,quick delivery

Best phone case ever! This is my second one as I broke my first. Would defo recommend

Great fitting Apple Watch bands

For Apple Watch Ultra 3 / 2 / 1 49mm RedPepper Armor Metal Case Integrated Silicone Watch Band(Steel Black White)

Good price and quick postage

Perfect fit.

Absolutely necessary

Second Purchase and still a very happy customer. Keep up the good work.
