

Mobile Screen Replacement Guide: Achieve Pro Results
Did you know that over 50 million smartphone screens crack each year worldwide? A damaged screen is more than an annoying eyesore—it threatens your device’s performance and even your personal data. Taking the DIY route can save money and help you regain control, but it demands patience, the right setup, and careful technique. Learn step-by-step how to prepare your workspace, handle delicate parts safely, and bring your phone back to peak condition on your own terms.
Table of Contents
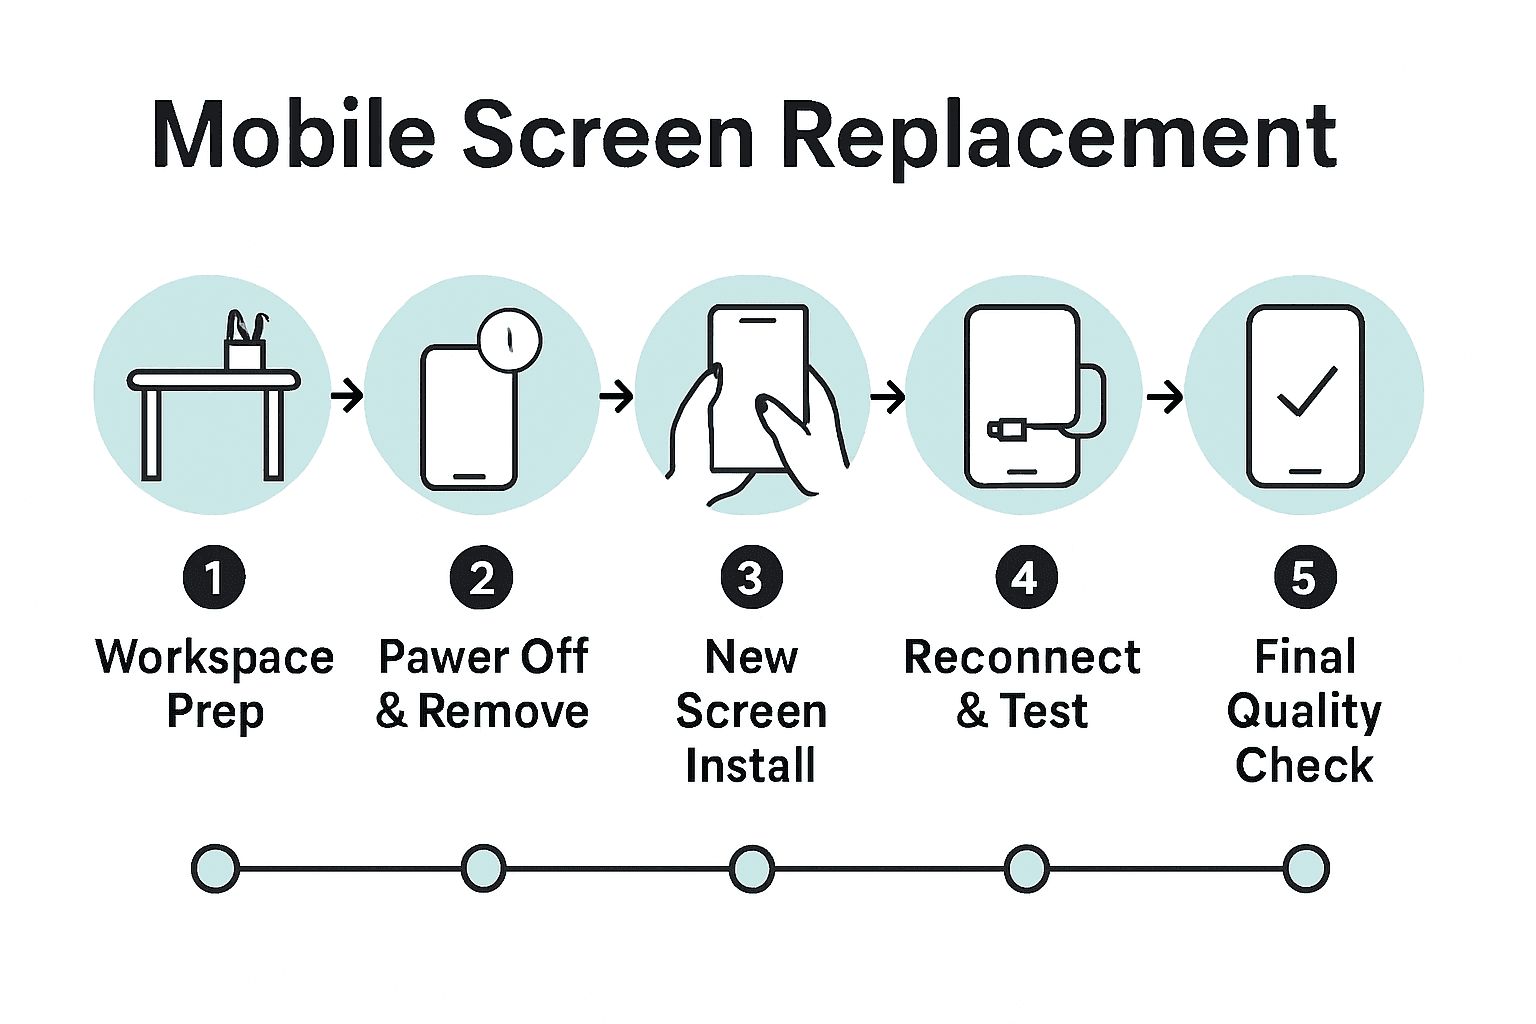
- Step 1: Prepare Workspace And Gather Tools
- Step 2: Power Off Device And Remove Damaged Screen
- Step 3: Install And Secure The New Screen
- Step 4: Reconnect Components And Test Functionality
- Step 5: Perform Final Quality Checks And Clean Up
Quick Summary
| Key Point | Explanation |
|---|---|
| 1. Prepare a static-free workspace | Ensure a clean, organized, and well-lit area to minimize damage to electronic components during repair tasks. |
| 2. Power off your device before disassembly | Always turn off your smartphone to prevent electrical short circuits when replacing the screen. |
| 3. Use proper tools for screen replacement | Gather precision screwdrivers, pry tools, and adhesive strips to ensure a successful screen installation. |
| 4. Reconnect all components correctly | Ensure all connections are aligned and secure to restore full functionality after repairing the screen. |
| 5. Conduct thorough quality checks | Inspect for screen defects and test functionality to confirm a successful repair before cleaning up your workspace. |
Step 1: Prepare Workspace and Gather Tools
Before diving into mobile screen replacement, you will need a clean and organised workspace that minimises potential damage to delicate electronic components. Preparing correctly means protecting your device and ensuring a smooth repair process.
According to essc-india, taking anti-static precautions is critical when handling mobile hardware. This means wearing ESD (electrostatic discharge) wrist straps or an anti-static apron to prevent electrical damage during your repair. Your workspace should be a well-lit, clean surface with minimal clutter preferably covered with an anti-static mat.
The essential tools you will need include precision screwdrivers (magnetic ones work best), plastic pry tools, tweezers, a soft microfibre cloth, isopropyl alcohol for cleaning, and a magnifying glass or task light for detailed work. A small compartmentalised tray or magnetic project mat will help you keep track of tiny screws and components during disassembly. Pro tip: always work in a static-free environment and ground yourself before beginning to minimise the risk of accidentally damaging sensitive electronics.
With your workspace prepared and tools gathered, you are now ready to move on to the next step of carefully removing the damaged screen.
Step 2: Power Off Device and Remove Damaged Screen
Removing a damaged mobile screen requires careful preparation and precise technique to prevent further damage to your device. This step is crucial for ensuring a successful screen replacement and protecting your smartphone’s internal components.
According to essc-india, the first critical action is to power off your device completely to prevent any electrical short circuits. Then, use appropriate case opening tools such as metal or plastic pry tools to carefully separate the device’s outer panel. Depending on your specific smartphone model, you might need to remove screws using brand-recommended precision screwdrivers. Work slowly and systematically to avoid damaging delicate internal connections.
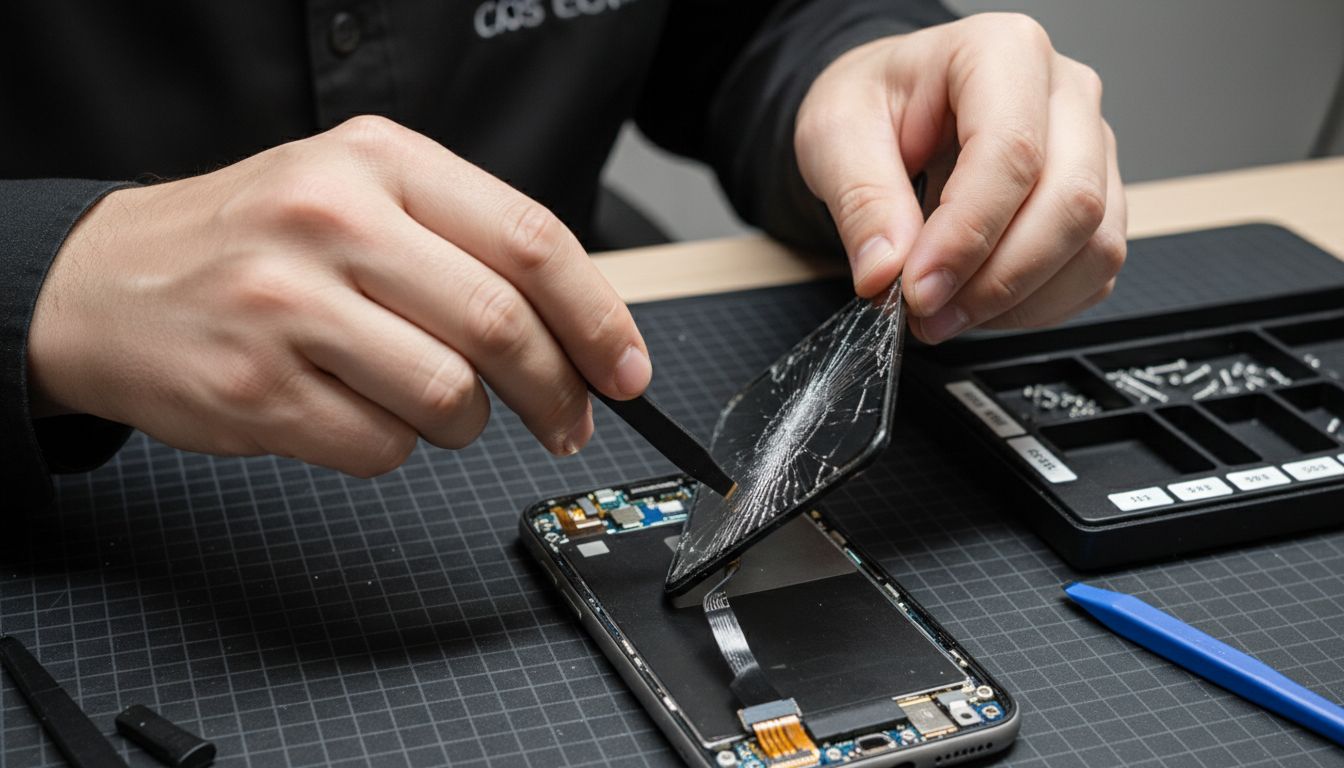
Before attempting to remove the screen, identify and release any connectors linking the damaged screen to the motherboard. A plastic spudger or specialised pry tool can help gently disconnect these sensitive connections. As you work, keep track of every screw and component placement. Pro tip: use a magnetic project mat or small compartmentalised tray to organise your screws and prevent losing these tiny but critical parts.
With the damaged screen carefully disconnected and removed, you are now prepared to replace the damaged screen with a new replacement and restore your device to full functionality.
Step 3: Install and Secure the New Screen
Installing a new mobile screen requires precision and careful attention to detail. This critical step will restore your device’s functionality and ensure a professional quality repair that looks seamless and performs perfectly.
According to umatechnology, after positioning the new screen, you should apply double-sided adhesive strips around the screen’s edges to create a secure seal. Begin by carefully aligning the new screen onto the device’s frame, ensuring all connection points and mounting brackets match precisely. Gently press the screen into place, making certain that all connectors are properly seated and aligned.
Following the manufacturer’s specific guidelines is crucial. As recommended by essc-india, you must follow standard operating procedures unique to your mobile phone brand and model. Reattach any mounting screws systematically, tightening them to the manufacturer’s recommended torque to prevent future loosening. Pro tip: work in a well-lit area and use a magnetic screw tray to keep track of tiny components during the installation process.
With your new screen carefully installed, you are now ready to test your DIY phone screen replacement and bring your device back to life.
Step 4: Reconnect Components and Test Functionality
After carefully installing your new screen, the final step involves systematically reconnecting your device’s components and verifying its complete functionality. This crucial stage determines the success of your mobile screen replacement process.
According to umatechnology, you should carefully align and reconnect the battery connector to its socket, pressing down until it clicks securely into place. Gently replace the back cover by snapping it back or reinstalling the original screws. Once everything is reassembled, power on your device to conduct a comprehensive functionality check.
As recommended by essc-india, use self diagnostic tools to perform standard diagnostic processes and ensure all device components are working correctly. Test critical functions like touch responsiveness, screen brightness, colour accuracy, and all primary buttons. Pro tip: check both landscape and portrait orientations to confirm complete screen functionality. Run multiple applications to verify system stability and screen performance.
With your device now fully operational, you can confidently troubleshoot any remaining connectivity issues if they arise during your initial testing phase.
Step 5: Perform Final Quality Checks and Clean Up
With your new mobile screen installed, the final stage involves comprehensive quality verification and meticulous cleanup to ensure your repair meets professional standards. This crucial step will determine the overall success of your screen replacement project.
According to commongoodventures, you should thoroughly verify display quality by carefully inspecting for potential defects like dead pixels or colour inconsistencies. Test full functionality by making test calls, checking the proximity sensor, and performing various touch gestures across different applications. Systematically navigate through multiple screens and apps to confirm complete touchscreen accuracy and responsiveness.
As recommended by essc-india, use self diagnostic tools to perform standard diagnostic processes and ensure comprehensive device functionality. Clean your workspace and device with isopropyl alcohol and a microfibre cloth, removing any dust or fingerprints from the new screen. Pro tip: photograph each repair stage for your records and potential future reference. Use compressed air to remove any residual debris from device crevices and ensure a pristine final presentation.
With your device now thoroughly tested and cleaned, you can master the intricacies of electronic device maintenance and celebrate your successful screen replacement.
Achieve Professional Mobile Screen Replacement with Expert Tools and Parts
Facing the challenge of replacing a cracked or damaged mobile screen can be frustrating, especially with the precision required to avoid harming internal components. This guide highlights key issues such as carefully disconnecting fragile connectors and ensuring perfect alignment of the new screen. If you want to avoid common pitfalls and achieve results that match professional repairs, having the right parts and tools is essential.
Buy2fix offers a comprehensive selection of mobile phone repair parts including LCD screens, flex cables, and small components for top brands like iPhone, Samsung Galaxy, Huawei, and more. Our carefully sourced products come with quality assurance and a one-year warranty, giving you confidence in every DIY repair. Ready to replace your screen with confidence? Explore our range of mobile phone repair parts today. Don’t wait to restore your device’s full functionality and appearance—visit Buy2fix now and get professional-grade components delivered with free UK mainland shipping. Start your repair journey with the right parts and detailed guidance all in one place.
Frequently Asked Questions
What tools do I need for a mobile screen replacement?
To replace a mobile screen successfully, you will need precision screwdrivers, plastic pry tools, tweezers, and isopropyl alcohol for cleaning. Gather all necessary tools before starting the repair to ensure a smooth process.
How can I prevent static damage while replacing my phone screen?
To minimize the risk of static damage when replacing a phone screen, wear an ESD wrist strap or anti-static apron. Ground yourself before starting the repair to protect sensitive electronics throughout the process.
What is the first step in removing a damaged mobile screen?
The first step in removing a damaged screen is to power off the device completely to prevent electrical short circuits. Then, use appropriate case opening tools to gently separate the device’s outer panel and access the damaged screen.
How do I ensure that my new screen is installed correctly?
To install a new screen correctly, align it carefully with the device’s frame and secure it with double-sided adhesive strips. Press down gently to ensure all connection points are seated properly before replacing screws.
What should I check after installing the new mobile screen?
After installing the new screen, conduct a comprehensive functionality check to verify features like touch responsiveness and screen brightness. Test each function multiple times to confirm that the device operates as expected.
How can I clean my workspace after the phone screen replacement?
To clean your workspace, use isopropyl alcohol and a microfibre cloth to wipe down the area and your device, removing any dust or fingerprints from the new screen. Ensure your workspace is tidy to maintain a professional standard in repairs.
Recommended
Let customers speak for us
Well made part very strong easy to fit great value for the money

Well packed, with fast shipping :)

Exactly what the doctor ordered…great color, comfort, and durability. Trust this watch band!

Brilliant strap, second purchase, bought bracelet before. Excellent value. Thank you

Great item for splitting your Audio signal

Outstanding product!
Next level customer service.

Very satisfied but the delivery needs to get more faster...

Good price,quick delivery

Best phone case ever! This is my second one as I broke my first. Would defo recommend

Great fitting Apple Watch bands

For Apple Watch Ultra 3 / 2 / 1 49mm RedPepper Armor Metal Case Integrated Silicone Watch Band(Steel Black White)

Good price and quick postage

Perfect fit.

Absolutely necessary

Second Purchase and still a very happy customer. Keep up the good work.
